Text Links: You can add a link to any text element, on any page of your campaign! In the Design section, just highlight text that you have already typed into the text element, click the “chain” icon at the top of the slider panel, and enter the destination URL. Click Save then the highlighted text will turn blue, and your link has been added!


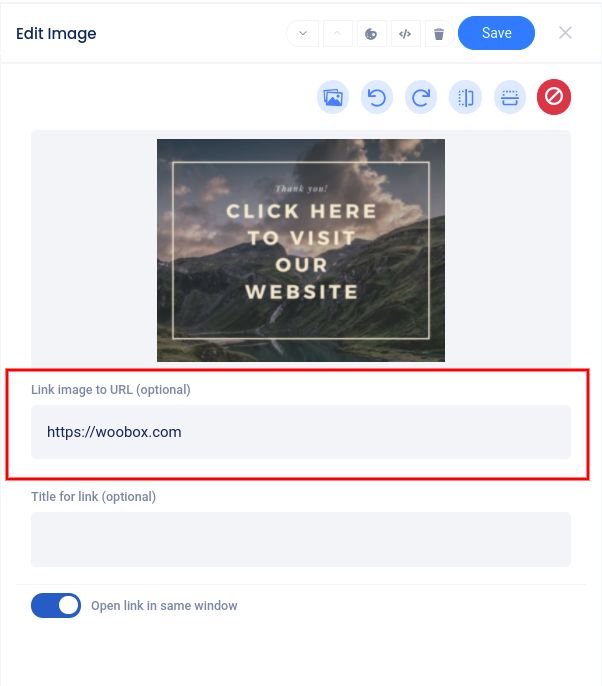
Image Links: Another option is using an image element as a link. If you hadn’t noticed before, when you upload a picture, there is also a Link URL field just under the file upload area. Adding a URL to this field will turn the entire image into a clickable link! This is an excellent way to present entrants with eye-catching creative that invites them to visit your website for more information, or maybe a link to an exclusive offer available only to those who have entered this one.

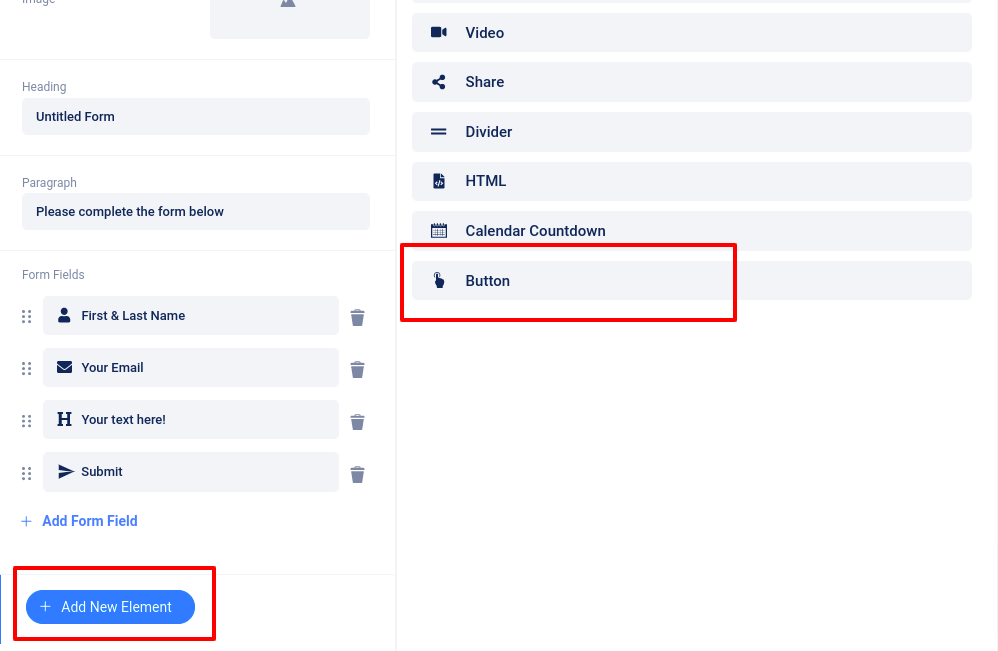
Button Element: The newest option to add links is the Button element. Click “Add new element” in the Design section and select “Button”.

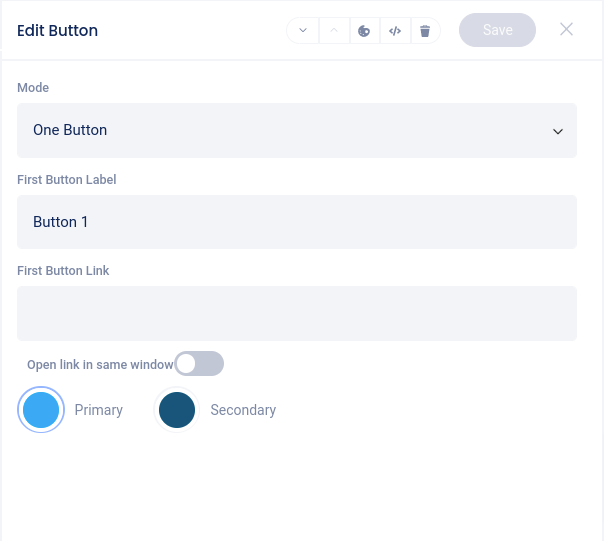
In the secondary panel that opens, you can choose one or two buttons, edit the button’s label and color, add the destination URL, and choose if the link will open in the same window or a new one.

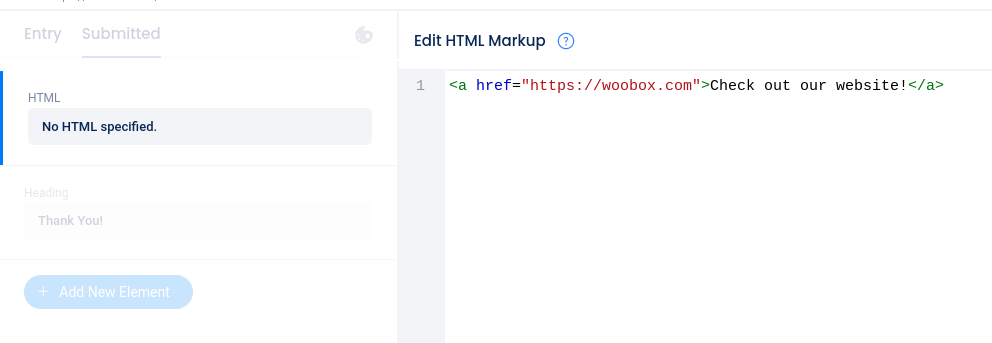
HTML Links: On an Advanced or Power plan, you can add an HTML Element in the Design section (or access the HTML of existing elements) and code your link using the “a href=” attribute.
