*This article applies to the Classic Woobox campaign templates found at the bottom of the “New Site” creation screen.
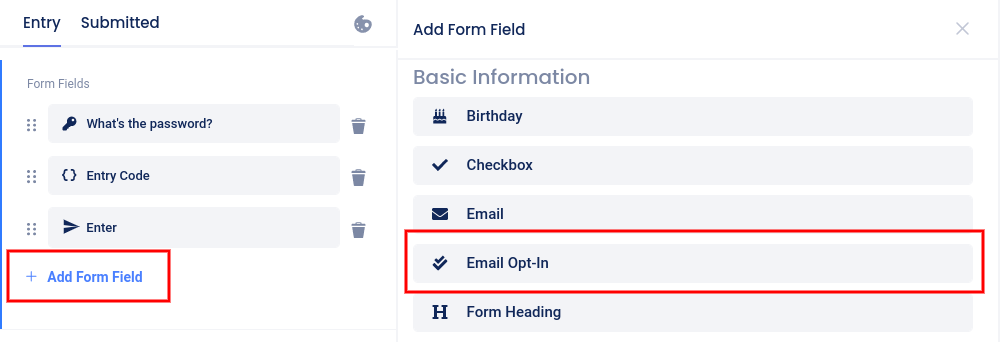
Woobox Form elements have an email field by default, but you may want to add an Email Opt-in checkbox for confirmation.
To add the checkbox, click to select the Form element on the Entry page in the Design section, then click Add Form Field and select Email Opt-In. Set the label to anything you’d like, and choose whether the checkbox should be marked by default.

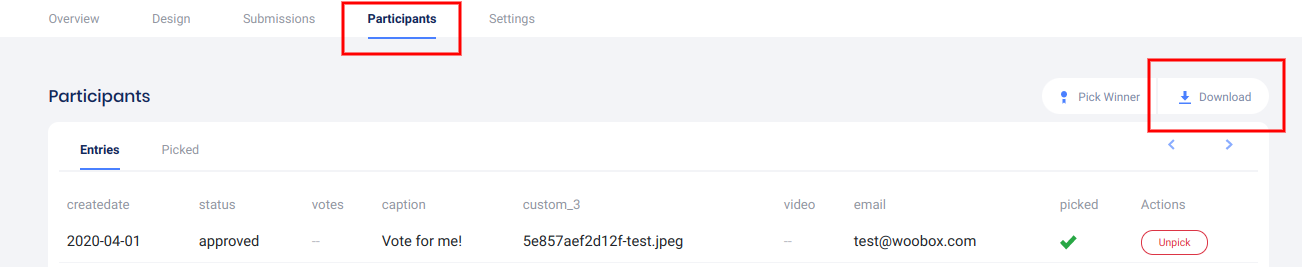
From then on, every time a user enters, they may choose to be opted-in to emails. Once you have started collecting this data, all you need to do is export all of your user data to a spreadsheet file.
Where do I get the entrant data?
From the Participants or Votes tab (depending on the campaign type) click Download and select the Entries export.
How do I identify the form input associated with each column?
The label that you give most fields will become the title of the column on the Entries CSV.
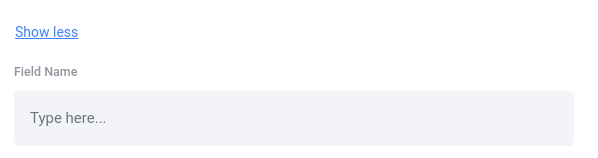
You can also create a hidden Field Name. The field name is separate from the Label and will only appear as the title of a column in the Entries CSV. Set this under the Advanced link.