Woobox offers a real-time API (webhook) that you can use to export data from your campaigns on-the-fly to your own server. You can then pass that data along to your own CRM, mailing list, or any other database you like.
Warning: This is an advanced setup and would require an experienced developer on your end to help support the creation of the Callback URL.
SETTING IT UP
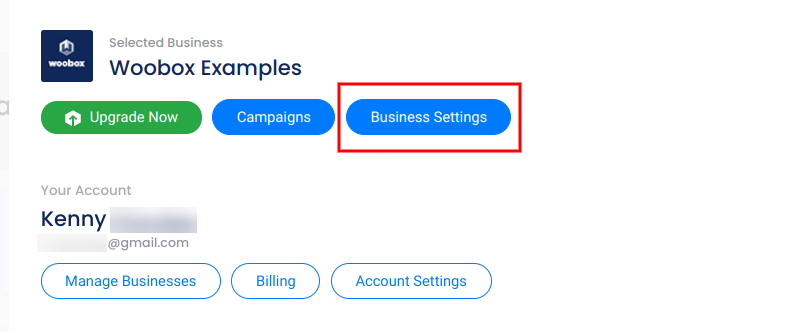
The first step to setting up this API integration is to create a webhook URL in your Woobox Business Settings.
Click Webhook to open the panel


Type in the webhook URL, and hit save. Note: this URL can be different for each business page in your account.
*Update 02/05/2020: You can now enable your webhook connection for all new or copied campaigns. Just click the Auto-Enable switch under the Callback URL field (pictured below).

WHAT THE WEBHOOK ACTUALLY DOES
Anytime someone enters one of your promotions, our server will send a JSON array to your callback URL for parsing. See the section DATA FORMAT below for details.
Your server will need to listen for this JSON array, and parse it into a local variable using a server-side language like PHP, Python, or Ruby. From there, you can save it to your database or push it out to any other API of your choosing.
AUTHENTICATION
The first time you set up the webhook URL, our system will need to verify that you can actually receive data at that URL. To do this, we send an initial POST to that URL containing a unique identifying code: realtimeapi_code as arbitrary chars using enctype “multipart/form-data”.
Your script will need to record that code into a log file (or anywhere you can view it). Then, you’ll need to set your headers from that page to include the code.
Here’s an example in PHP:
function callback_test() {
    header("realtimeapi: {$_POST['realtimeapi_code']}");
    file_put_contents('/tmp/data.txt', $_POST, FILE_APPEND | LOCK_EX);
}
Once the webhook URL has been saved, it’s ready to be tested. The easiest way to do that would be to create a new Woobox campaign, turn on the webhook for that campaign, and make a test entry into the campaign via the form.
Note: For any campaign to send out data via our API, you will need to go to the “Automatic Exports” section of your campaign dashboard in the Settings tab and enable the Webhook if it is not enabled for all campaigns.
DATA FORMAT
We will send data to your webhook URL as a POST variable named “entries”. Inside that POST variable will be a string which can be parsed as JSON.
That JSON will always be an array of data objects. It can include up to 100 objects per call.
Here is an example JSON array:
[
    {
        "id": "abc123",
        "email": "test@example.com",
        "favorite_food": "pizza"
    },
    {
        "id": "abc123",
        "email": "sample@example.com",
        "favorite_food": "ice cream"
    }
]
The “id” refers to the shard at the end of your campaign URL, e.g. https://woobox.com/abc123
There will be a value in the data object for every input that you collect in your form. The keys for those values will match what you see in your standard .CSV export files.
In this example, both entries came from the campaign https://woobox.com/abc123, and the form contained fields named “email” and “favorite_food”.