This guide will walk you through setting up the perfect Photo, Video or Caption contest for your brand. Accept content from fans while collecting data, and enable voting in the gallery for even more engagement.
Create a Photo/Video Contest
From the Campaigns screen, select the template type – Landing Pages.

Choose the Photo/Video Contest or Hashtag Contest from the campaign types. *The Hashtag Contest template does not have an entry page or form, so direct form-entries are not an option in this campaign type.

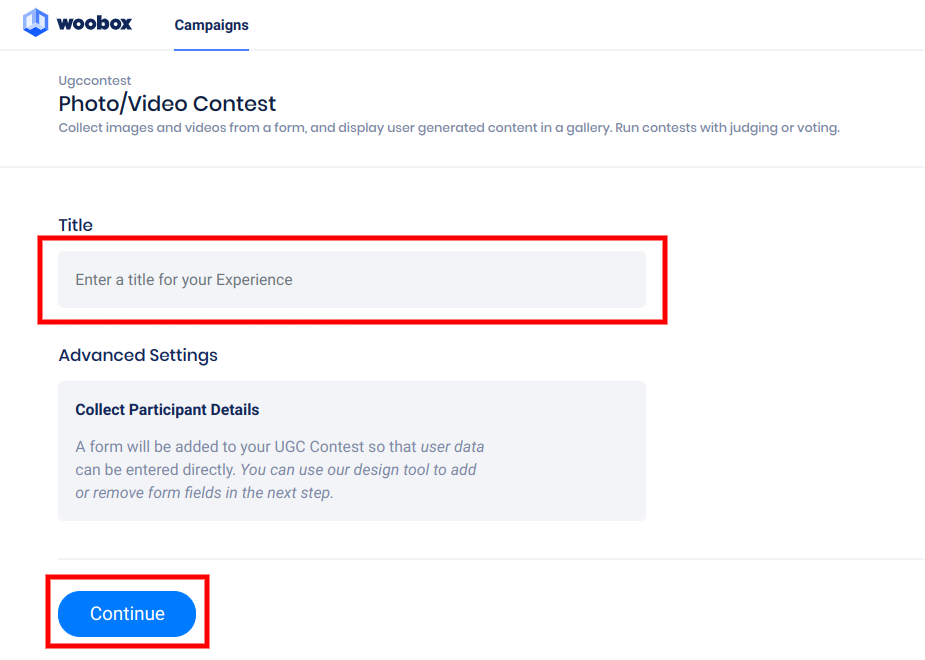
On the next screen, enter a title for your experience and click Continue.
Design tab
After clicking Continue, you’ll be taken to the Design tab where you can add backgrounds, images, videos, and customize the campaign’s Form Element.
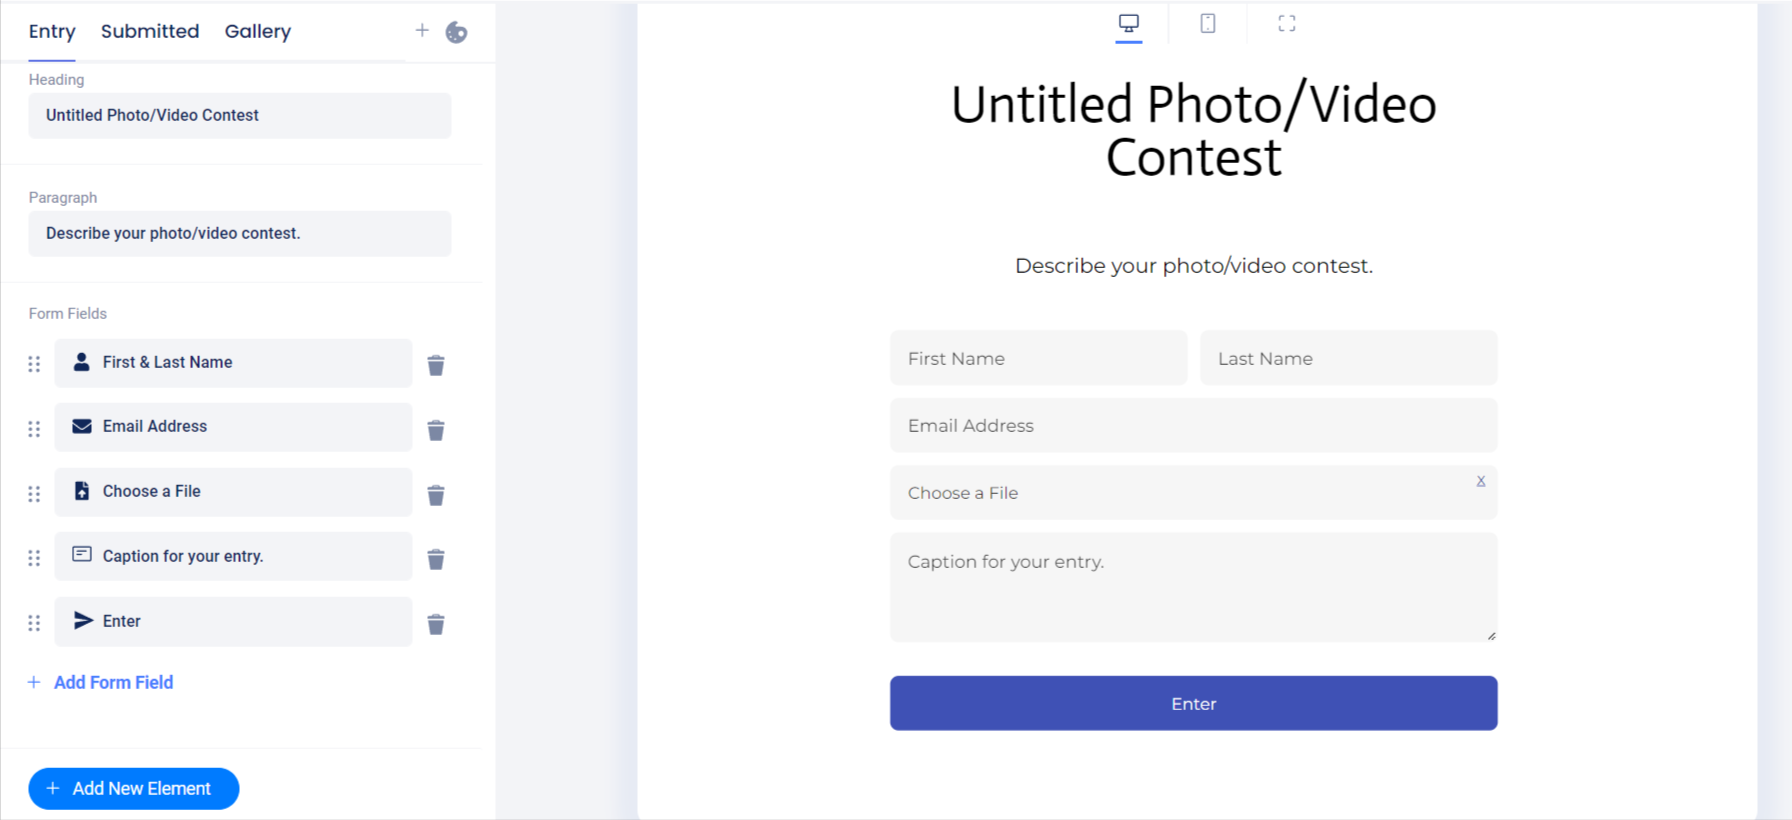
You can switch between the Entry, Submitted, and Gallery pages by clicking on those options in the top left.

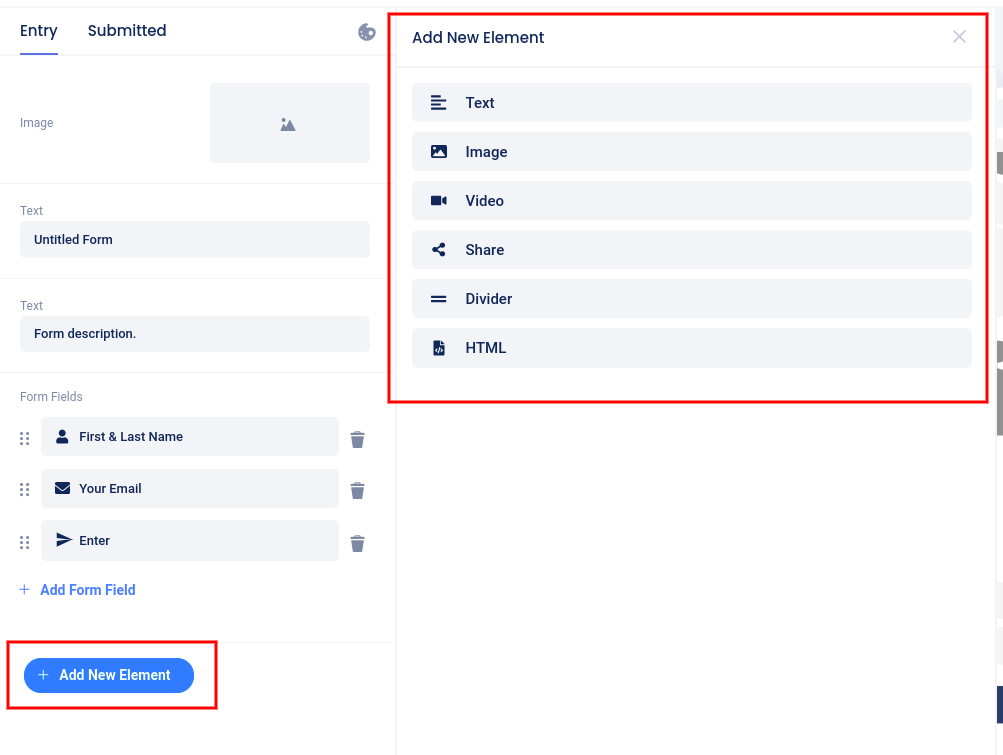
By clicking Add New Element in the left navigation, you can add images, videos, text, and more.
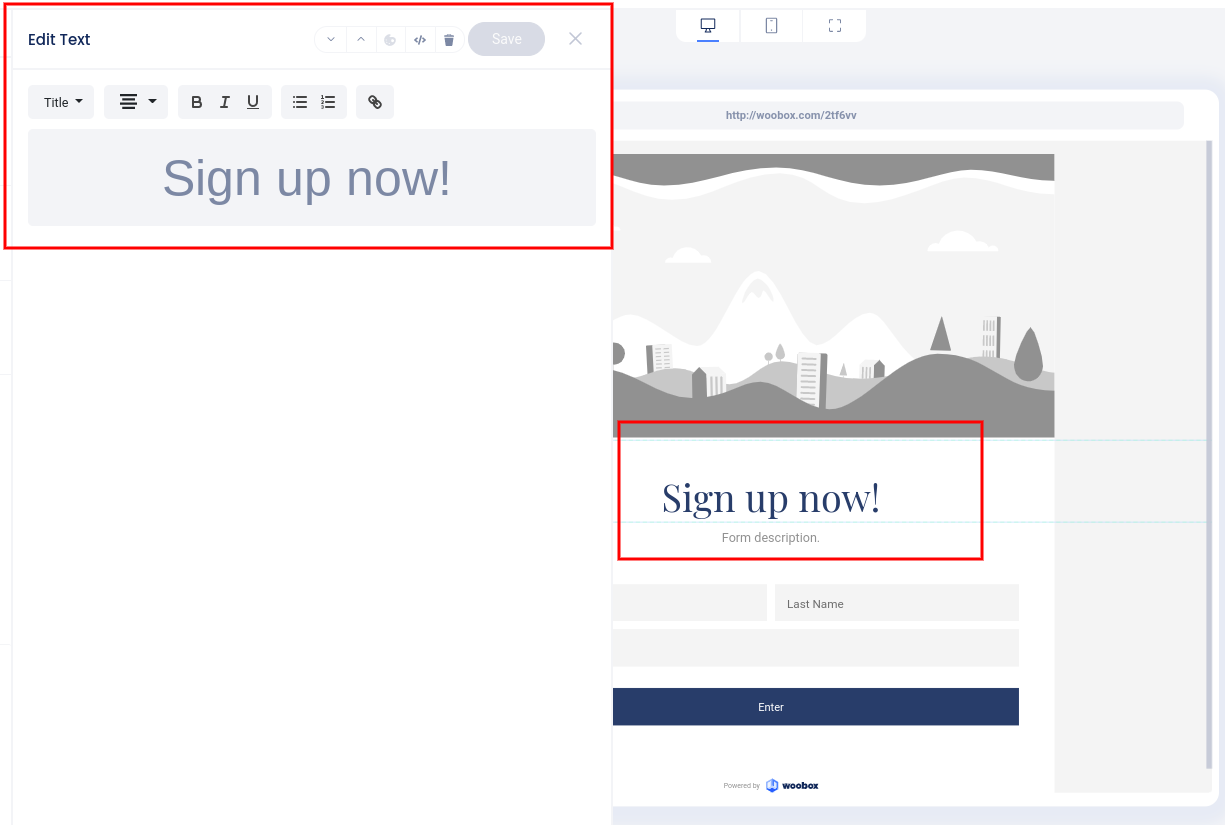
Clicking directly on an existing element allows you to edit that element.
Click the “Painter’s Palette” icon to set a theme, background, and other styling options.
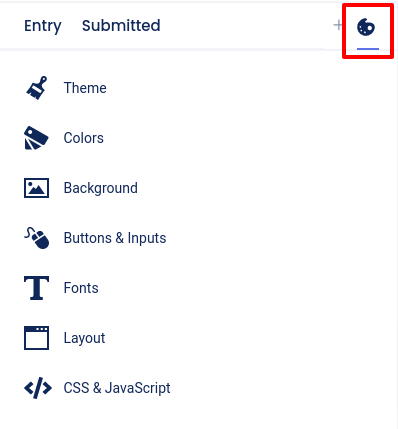
Theme menu selected:

Customizing the Form Fields
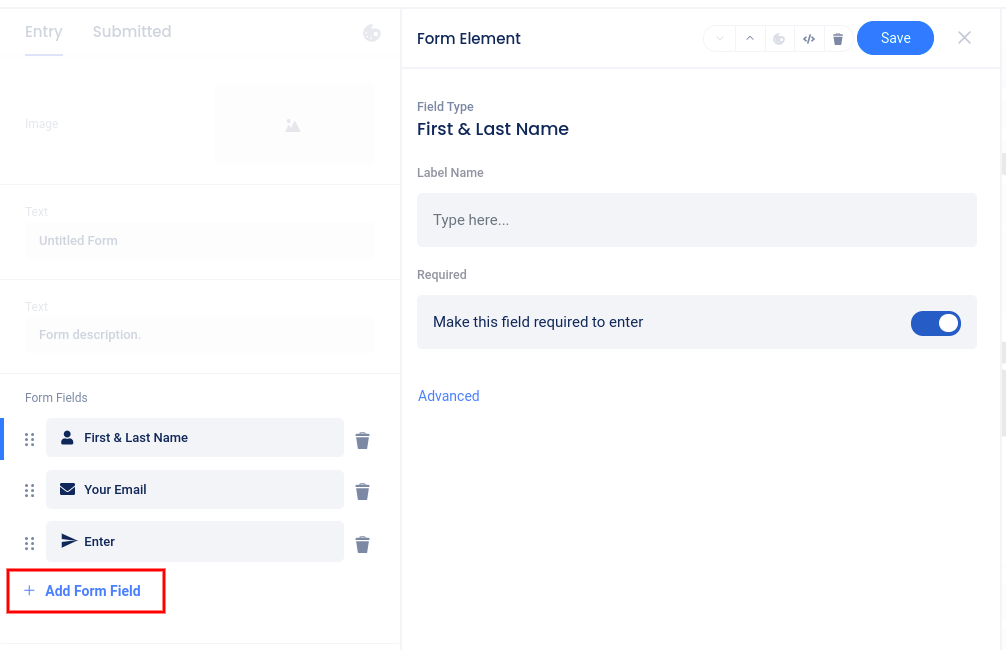
While in the Design section, click on the Form element itself, or the Form Fields area in the left sidebar, then click Add Form Field to add fields. Click directly on an existing field to edit that specific field.
Once a user has successfully entered, they will be directed to the Submitted page. This page acts as confirmation that the user has successfully entered. Be sure to customize your post-entry message and add a share element to encourage sharing.
Gallery Categories
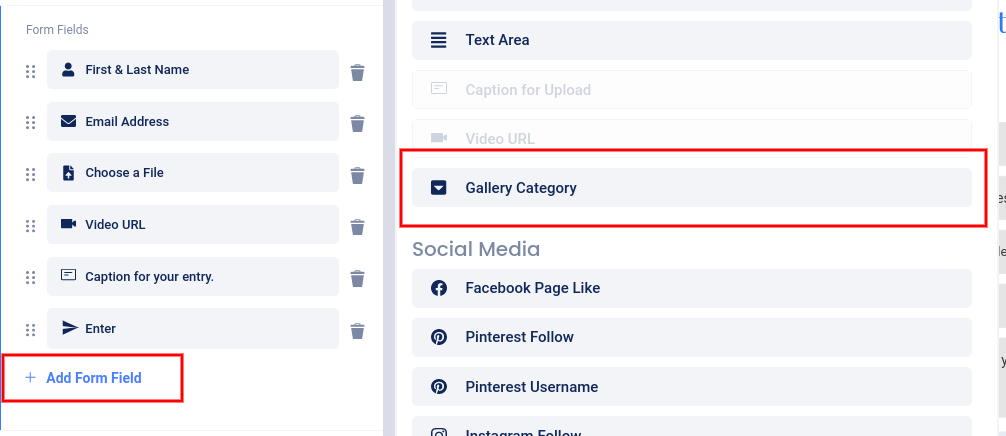
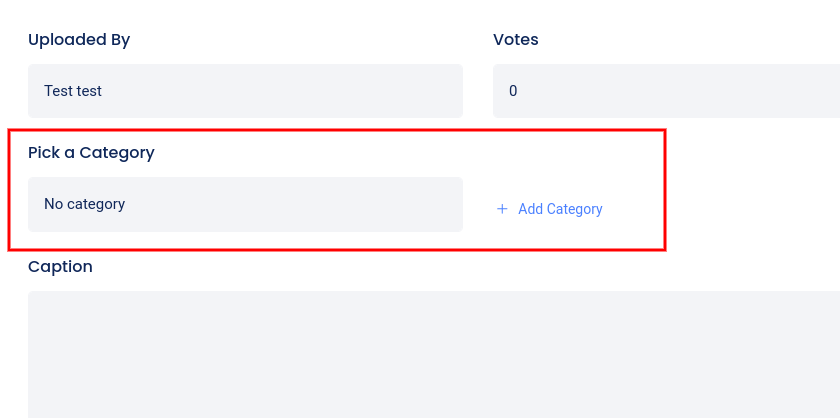
To create gallery categories, click Add Form Field and select Gallery Category.
In the panel that opens on the left, add as many categories as you’d like.
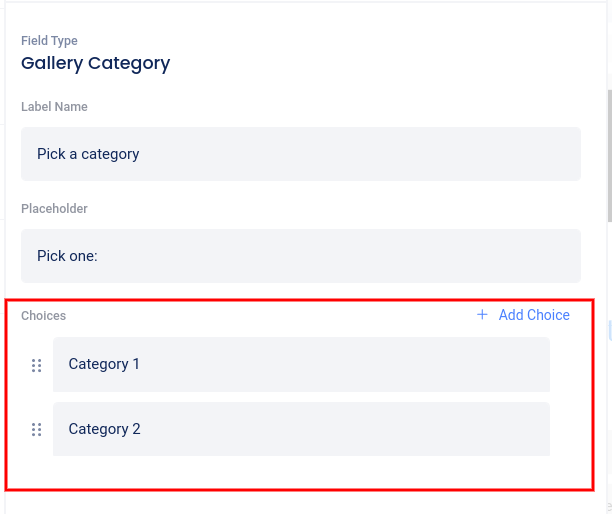
The Gallery Category dropdown menu will be added to your form. Once an entrant selects a category, the gallery page will populate a category selection dropdown.

You can also assign existing entries to categories (or add new categories) in the Submissions section.
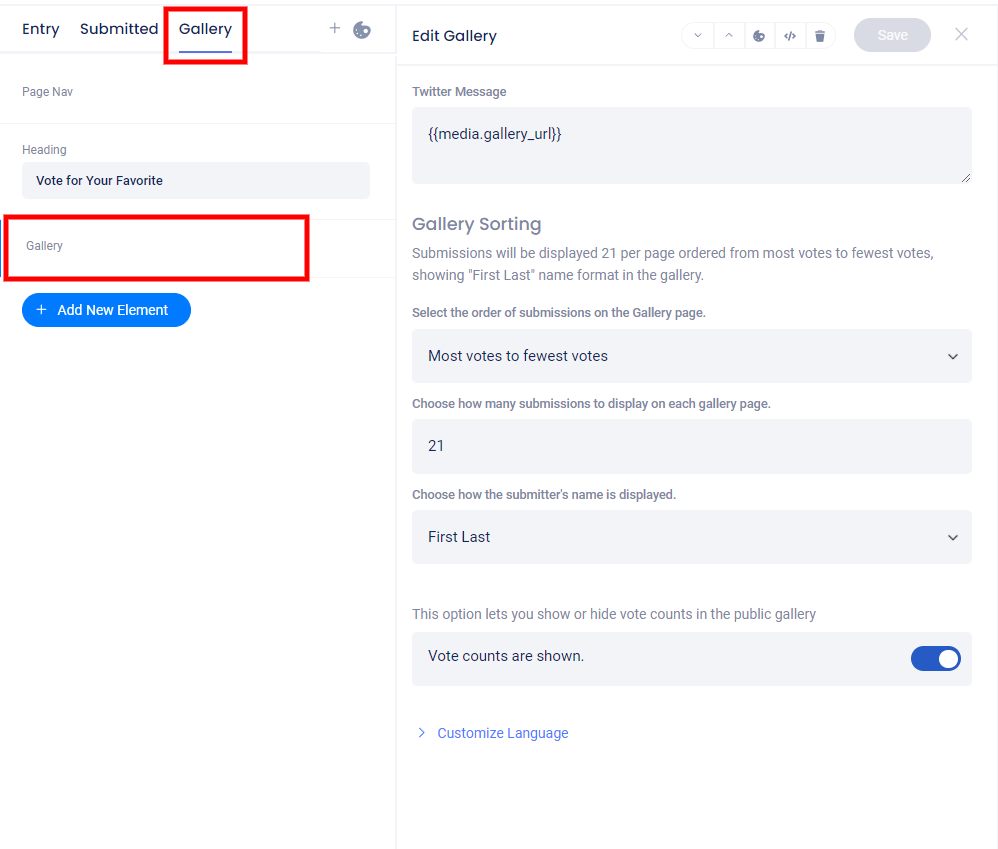
Gallery Element Settings
By clicking on the Gallery element in the Design section, you can choose how submissions are ordered, how many submissions display per page, and other gallery settings options.
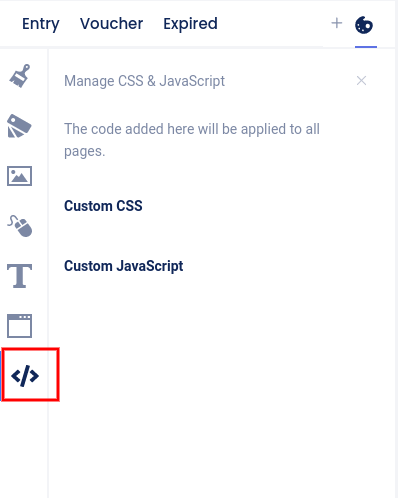
Custom Coding
In the Design section, at the bottom of the “Painter’s Palette” section, you can access the CSS section (on Advanced plans or higher) or the Javascript section (on the Power plan) to add custom coding.
Overview tab
The Overview section is where you can edit basic settings and view or download stats.
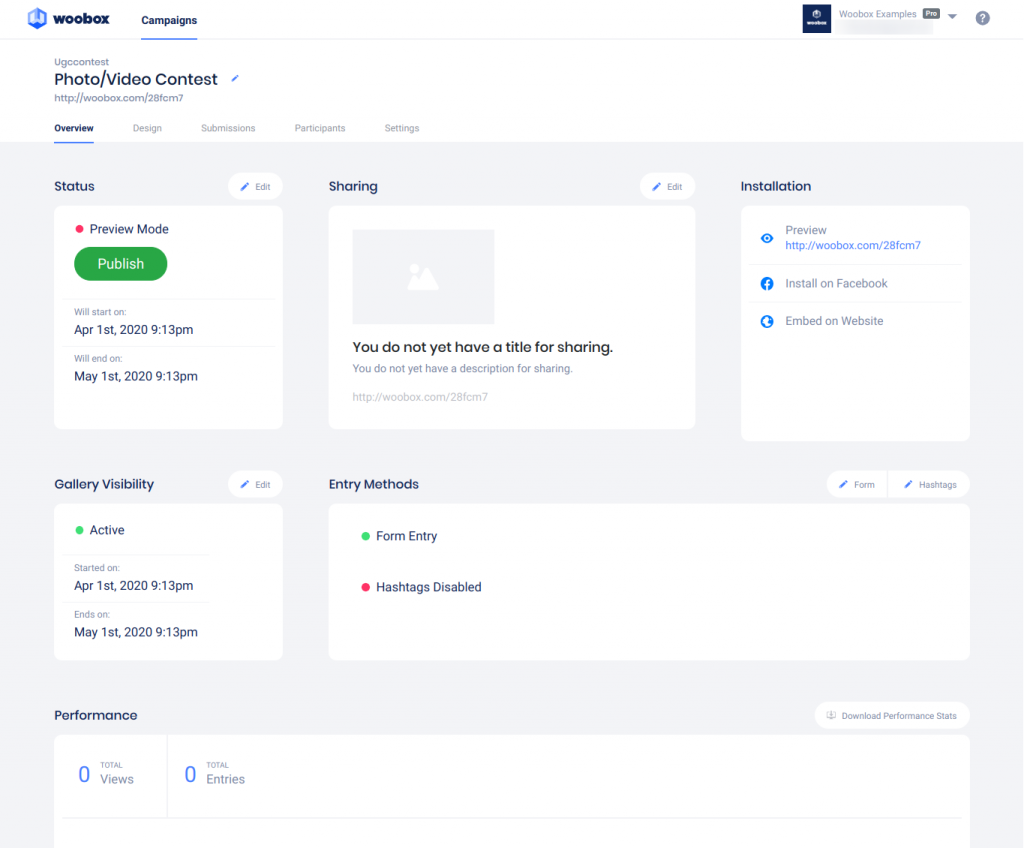
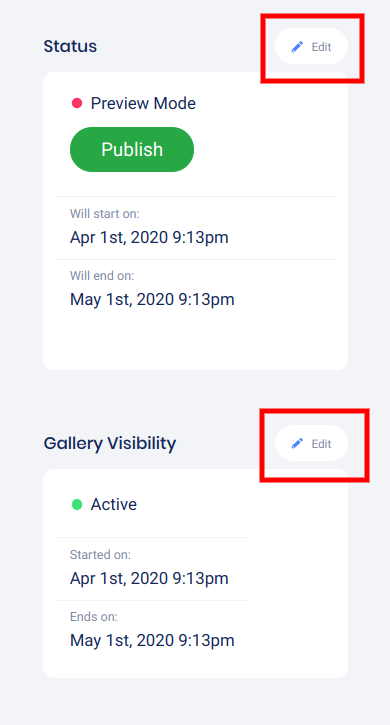
Click the Edit button above the Status and Gallery Visibility sections to set the start and end dates of the contest’s Entry and Gallery pages.
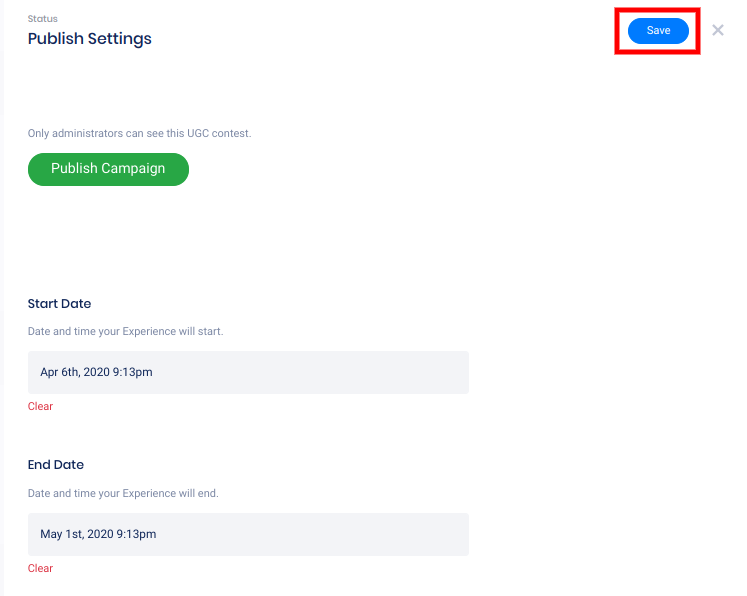
Select the dates and times, then click Save.
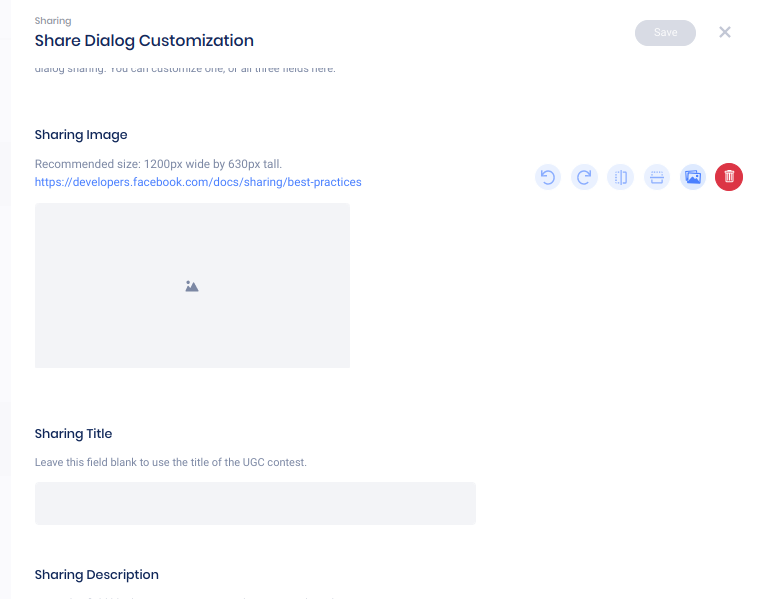
Click Edit above the Sharing section to customize the sharing image, title, and description for your experience URL.
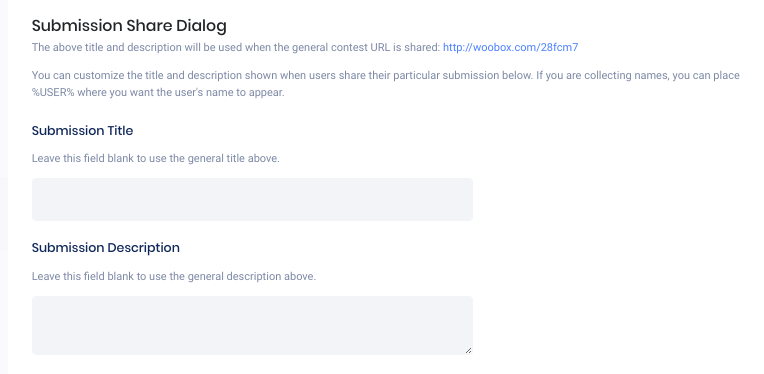
In the Sharing panel, you can also customize user submission shares:
Above the Entry Methods area, click Form to enable or disable Form Entry. *Disabling Form Entry will hide the experience’s Entry page.

Hashtag Entry
Clicking Hashtags above the Entry Methods area will open the Hashtag Entry panel. Click the Enable Hashtag Entry button to add required tags.

Type the required hashtag into the field under Hashtag Entries and click the toggle switch to enable Instagram.

Add another hashtag to require multiple hashtags to enter, or click Add Hashtag Group to give entrants different, single-hashtag options. Click here for more information on hashtags.

*Don’t forget to click Save
Video Submissions
Video files up to 250MB can be directly entered via the File Upload field in the form.
Hashtag video submissions must be publicly posted to Instagram with your required hashtag(s) in the caption to be entered.
Performance Stats
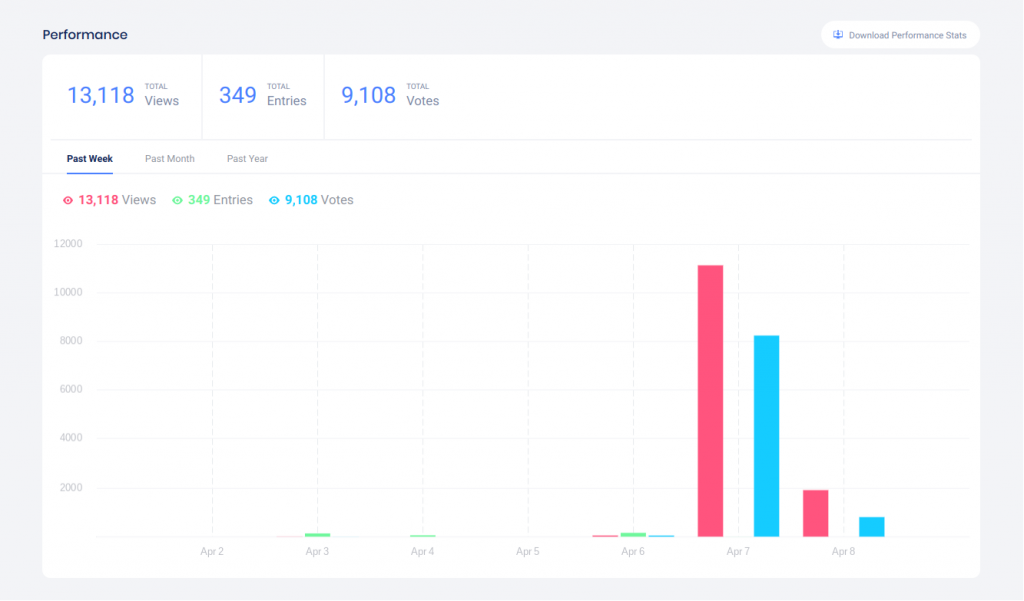
Once your experience receives views or entries, you can view a graph of these stats for the past past week, past month, or past year. Click Download Performance Stats to export a detailed traffic stat CSV file.
Submissions tab
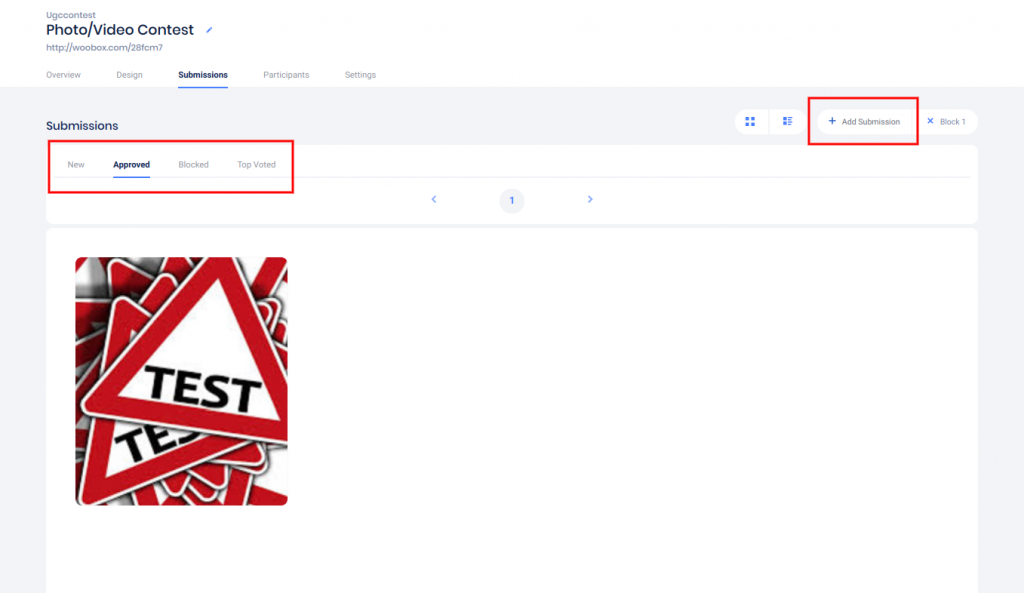
In the Submissions section, you can edit or block and delete submissions, and manually add submissions to the gallery.
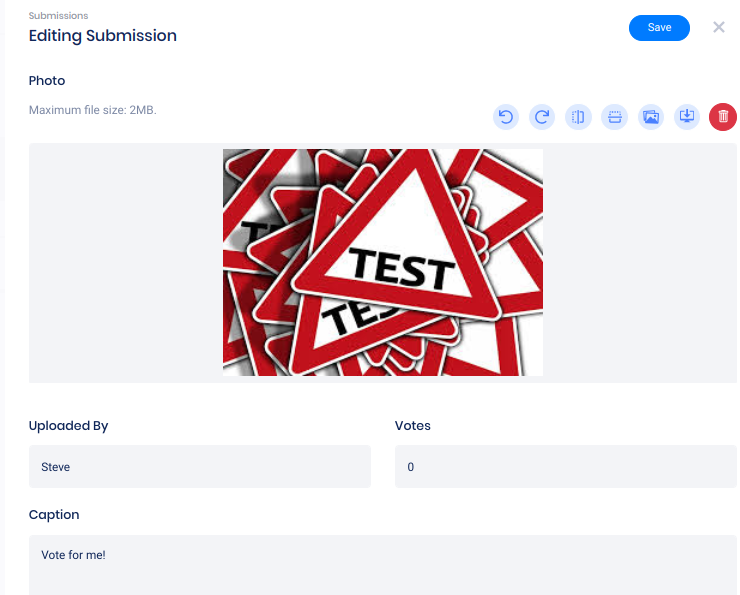
Click on a Submission to edit the image, name, and other data – or export the uploaded image.
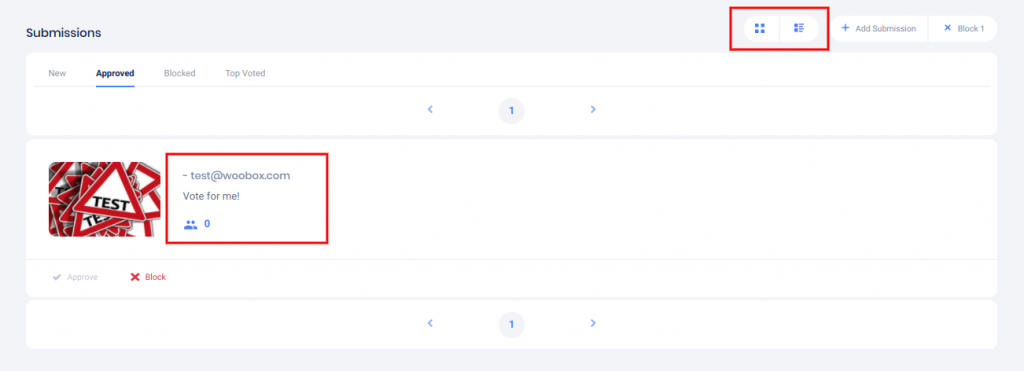
Switch to list view to see entrants’ email address, caption, and vote count.
Participants tab
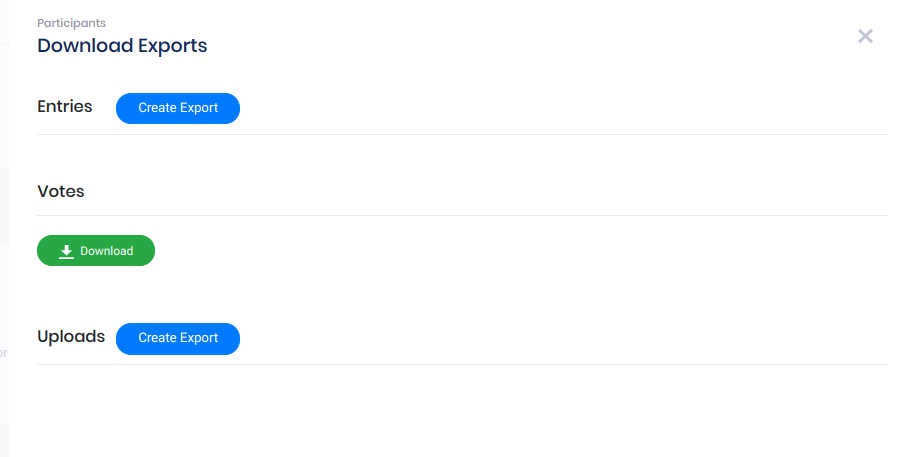
In the Participants tab, you can view entry data for the first 1,000 entries, pick winners, and download your Entries, Votes, and Uploads exports.

Click Download to open the Exports panel
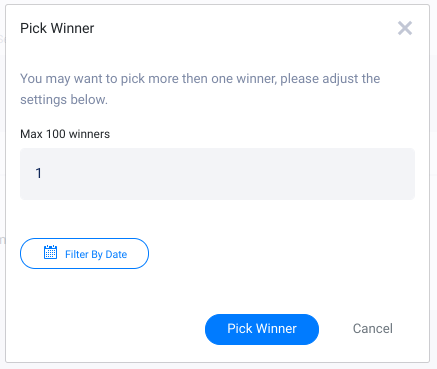
Click Pick Winner to randomly select one or more winners
Settings tab
In the Settings tab, you can edit your Entry Methods and Gallery Visibility, as well as Upload Visibility (auto or manual approval) as well as other settings options.
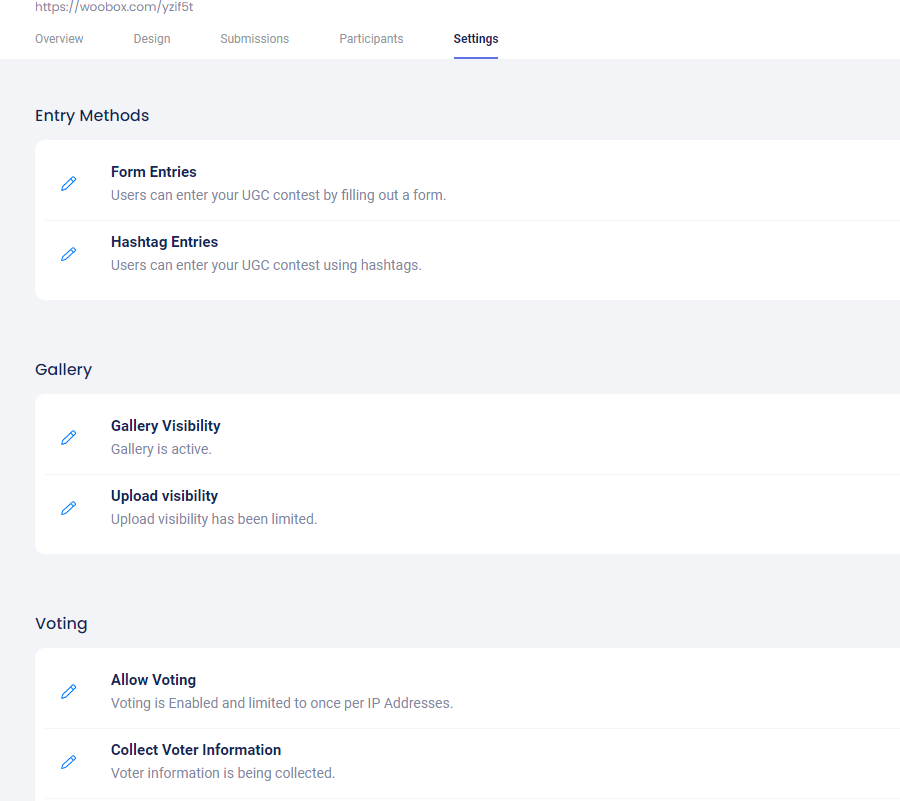
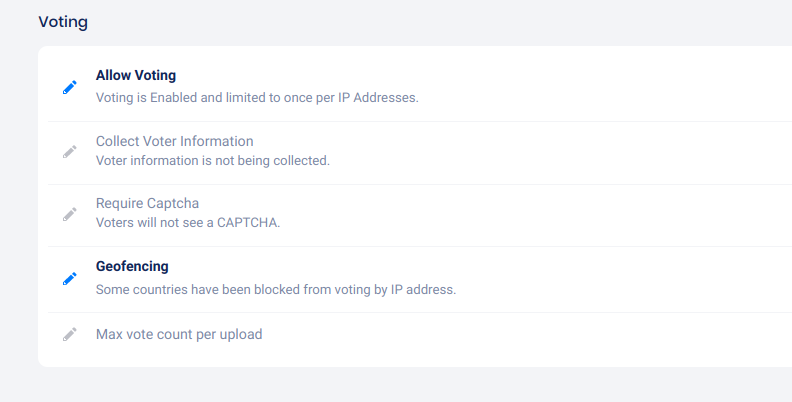
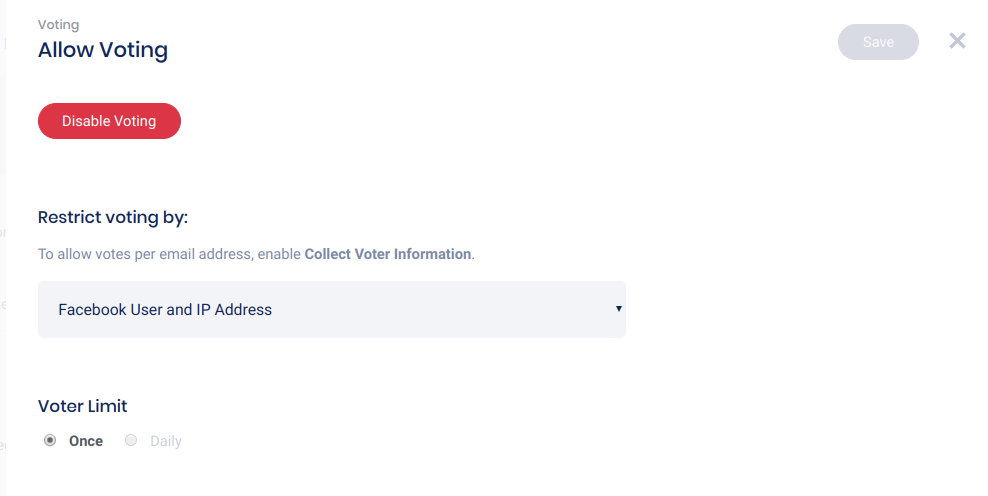
Enable Voting and voting restrictions and optional voter data collection
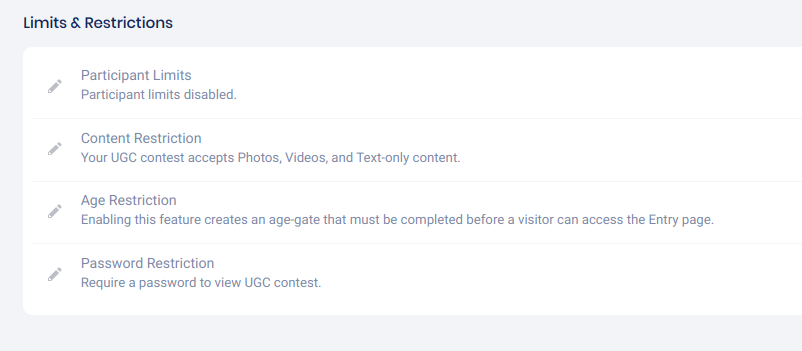
In the Limits & Restrictions area, you can restrict the frequency of entries, choose what types or content can be submitted, and enable password-protection or an age-gate.

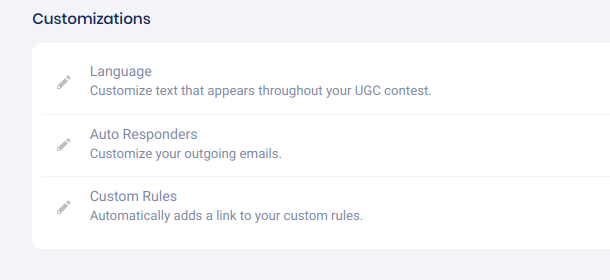
Under Customizations, you can edit the language displayed on your contest, setup automatic emails, and add your experience’s Custom Rules.
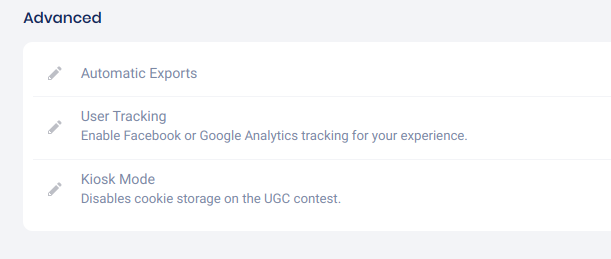
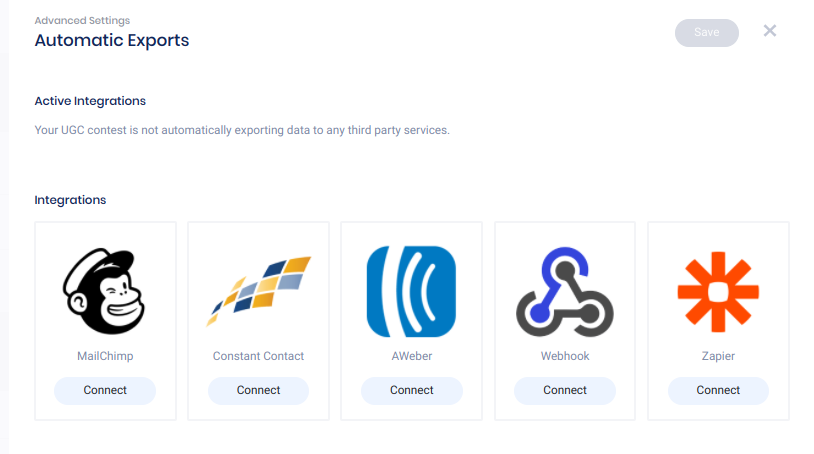
In the Advanced section, you can setup real-time integration for Automatic Exports, Facebook and Google Tracking, or enable Kiosk Mode for on-site campaigns.
At the bottom of the Settings page, you can Reset, Copy, or Delete your experience.

Preview and Publish
When you’re ready, go back to the Overview tab and test/preview your contest by clicking the experience URL under Installation.

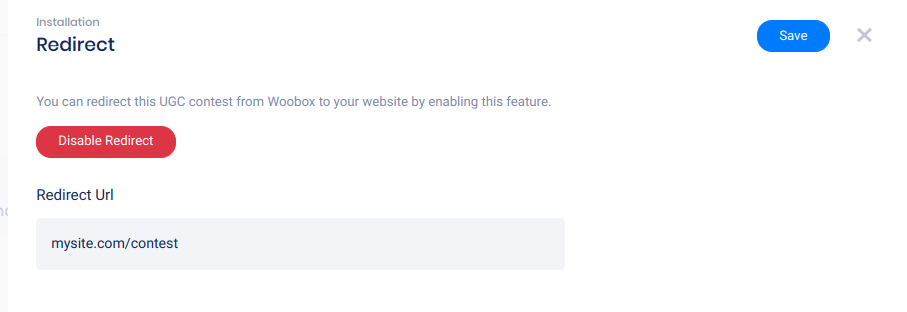
Click Preview to redirect the URL to an embed on your website.
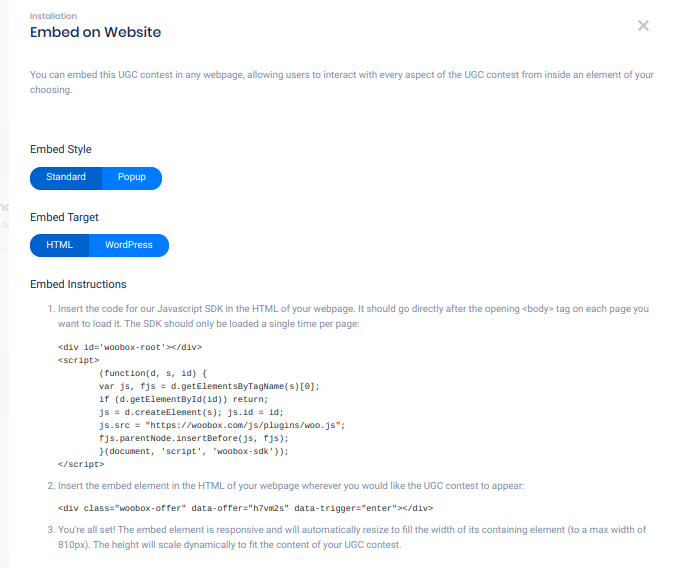
Clicking Embed on Website will open the Embed panel where you can copy the JavaScript embed code or WordPress short-code and adjust optional popup settings.
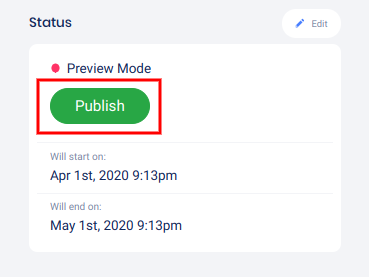
To turn off Admin-Only mode and publish your experience, click the Publish button in the Status area.
If you have any questions or issues setting up your experience, don’t hesitate to email us at support@woobox.com!