Creating the Quiz
From the Campaigns screen, select the template type – Landing Pages.

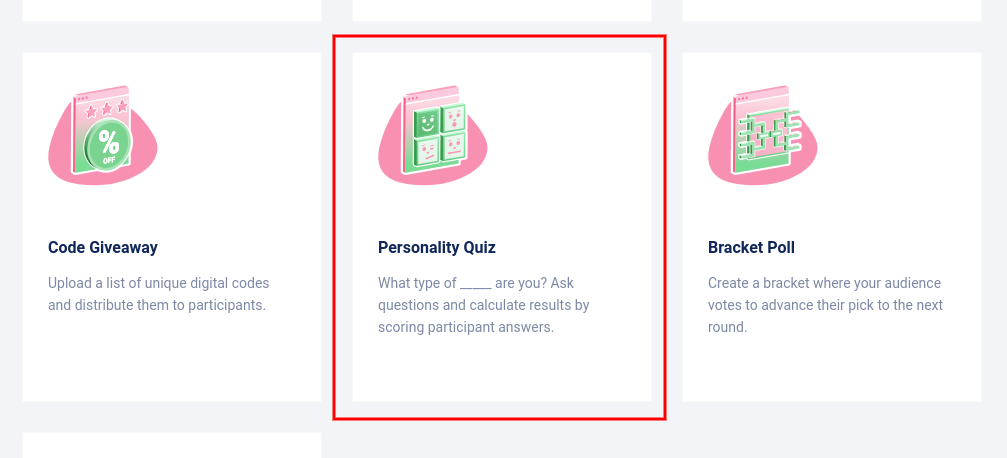
Then choose Personality Quiz from the campaign types.
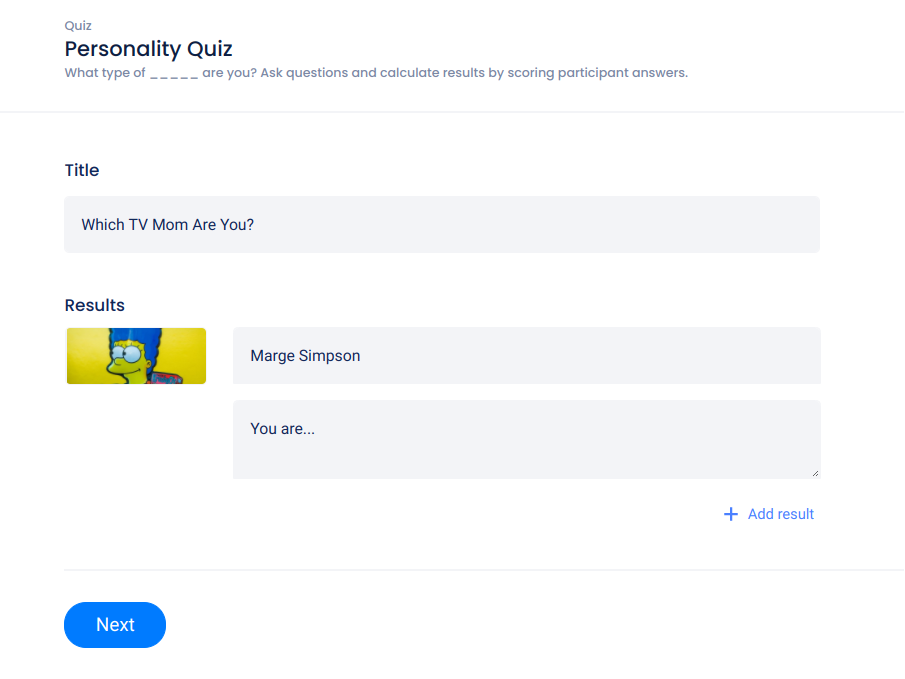
Give your experience a title and add start adding results. You can click +Add Result to input all possible results here, or add more results later in the Settings section. When you’re ready, click Next.
Adding Questions
After clicking Next you will be taken to the Questions page.
Add your questions and their answer choices here. Questions and answer options can be text, image, or both.

Click +Add Question at the bottom to add more questions.
Click Results Scoring to assign a point value to each answer choice, leading to a particular result. If an answer should not lead to a result, the value should be “0”. If some answers are more important than others, their scores can be higher.
The user’s final result will be selected based on the total score of all the answer choices, whichever result option has the greatest number of points will be the user’s quiz result.


Design Tab
After setting up some questions, answer choices, and results, then clicking “Continue”, you’ll be taken to the Design tab where you can add backgrounds, images, videos, and customize the campaign’s Form Element.
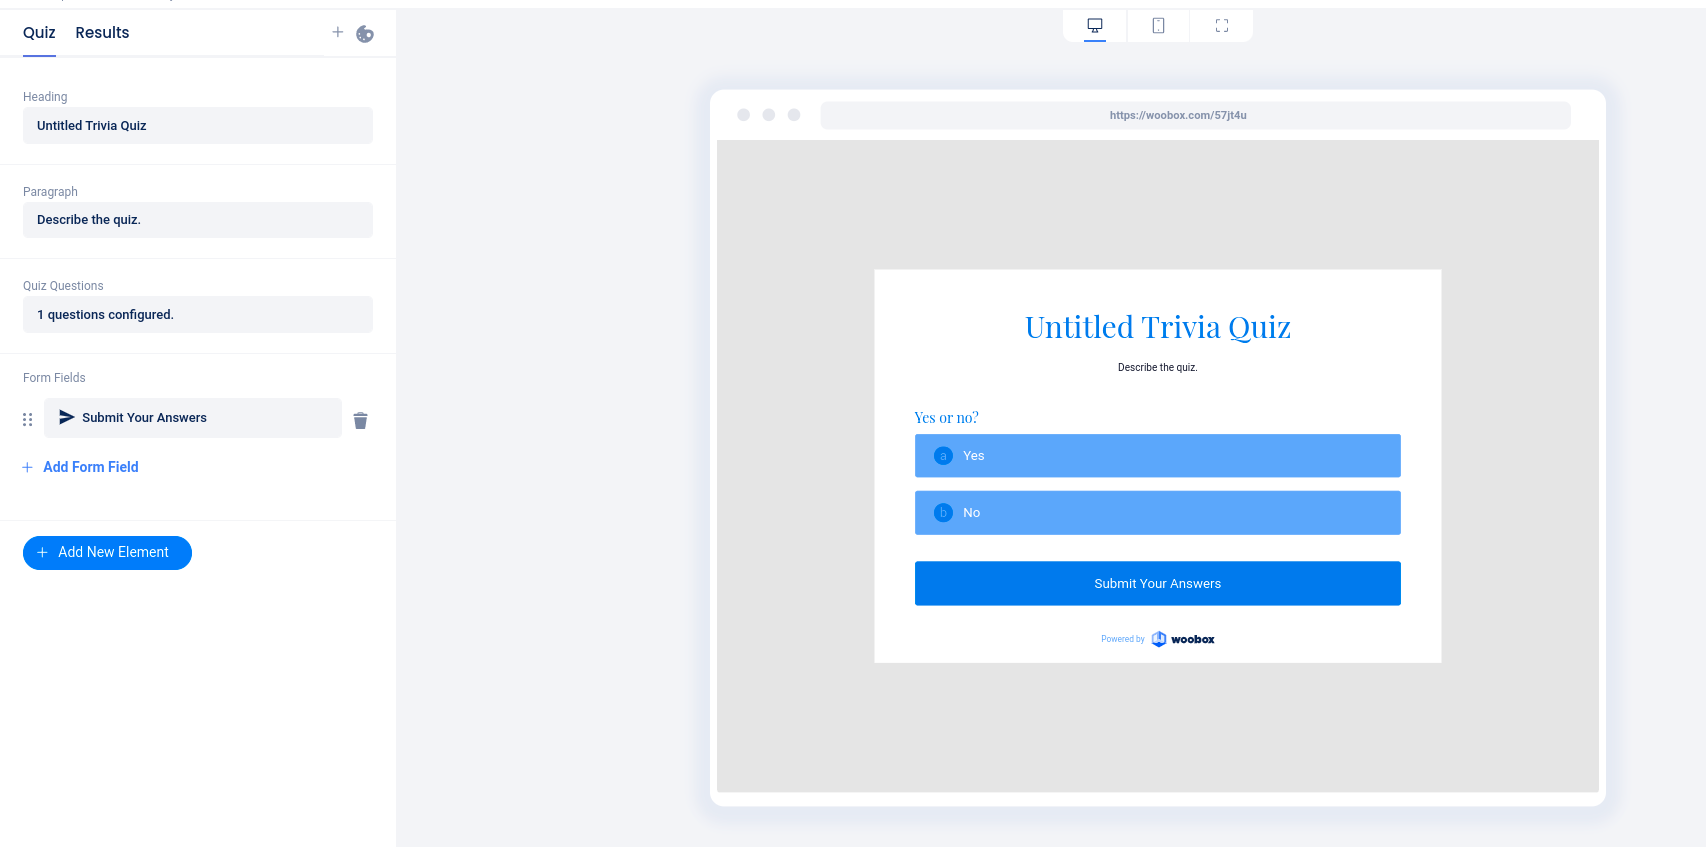
You can switch between the Quiz and Results pages by clicking on those options in the top left. You can also add a pre-start or ended page by clicking the “+” icon.

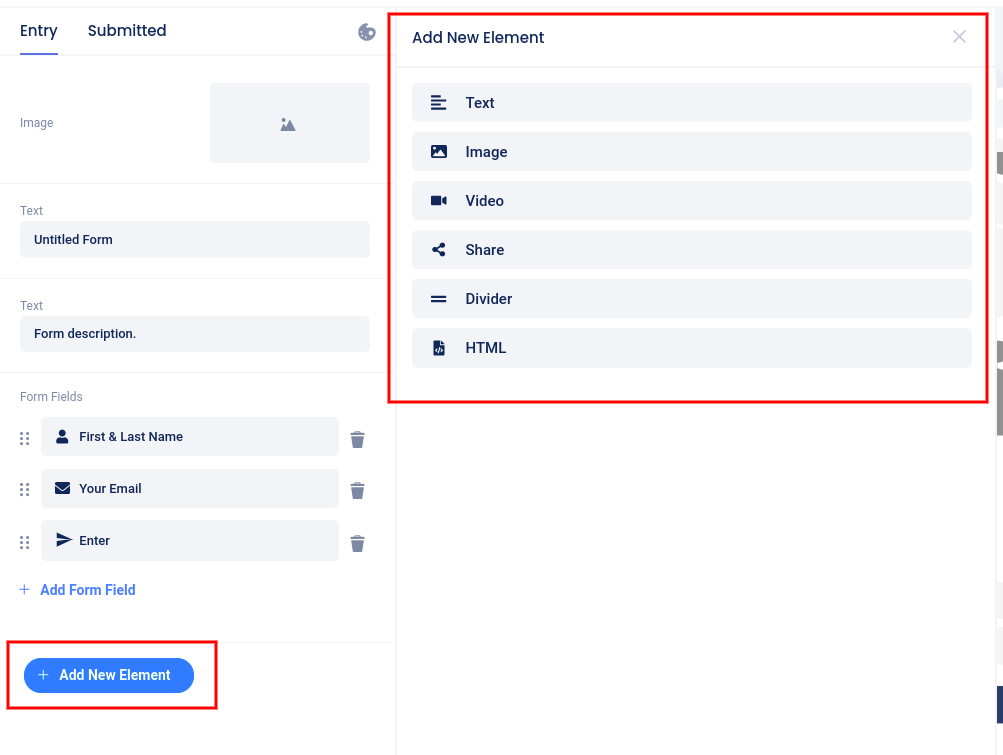
By clicking Add New Element in the left navigation, you can add images, videos, text, and more.
Clicking directly on an existing element allows you to edit that element.
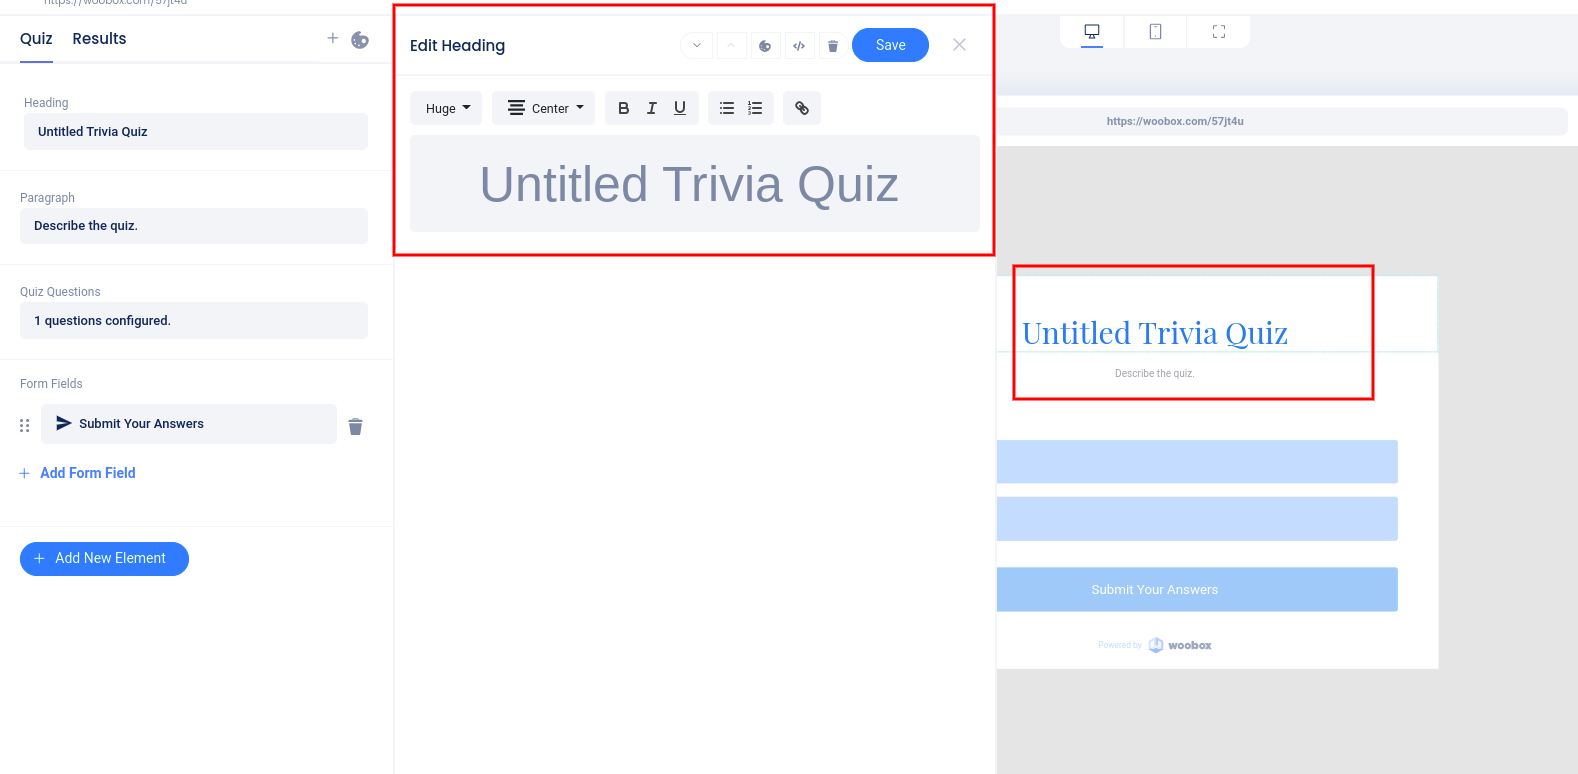
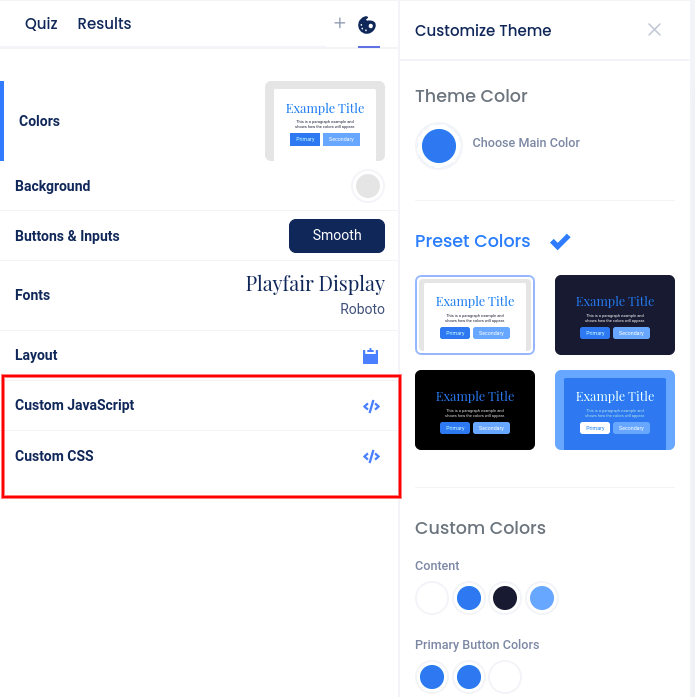
Click the “Painter’s Palette” icon to set a theme, background, and other styling options.
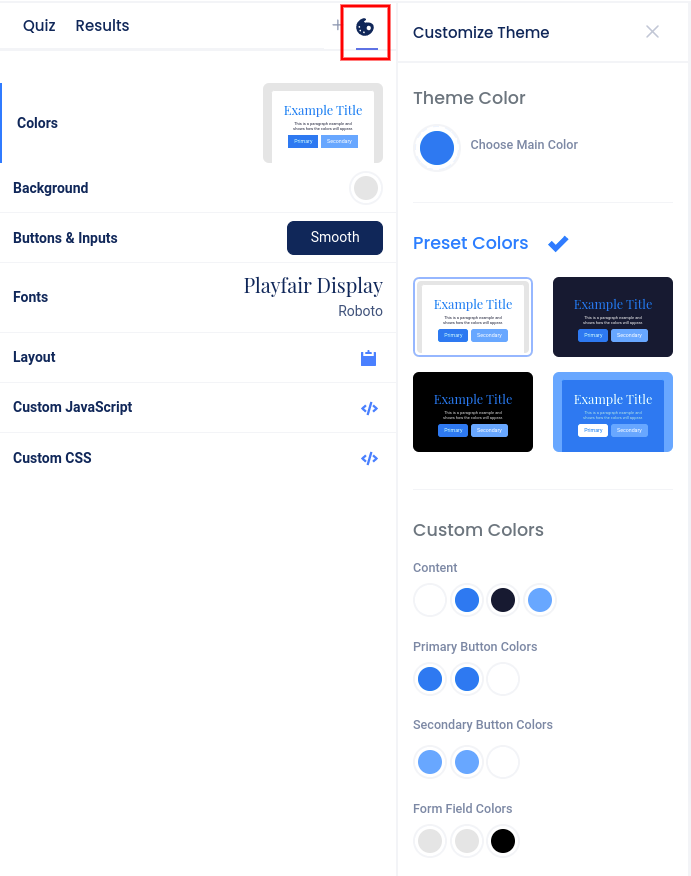
Theme menu selected:

Customizing the Form Fields
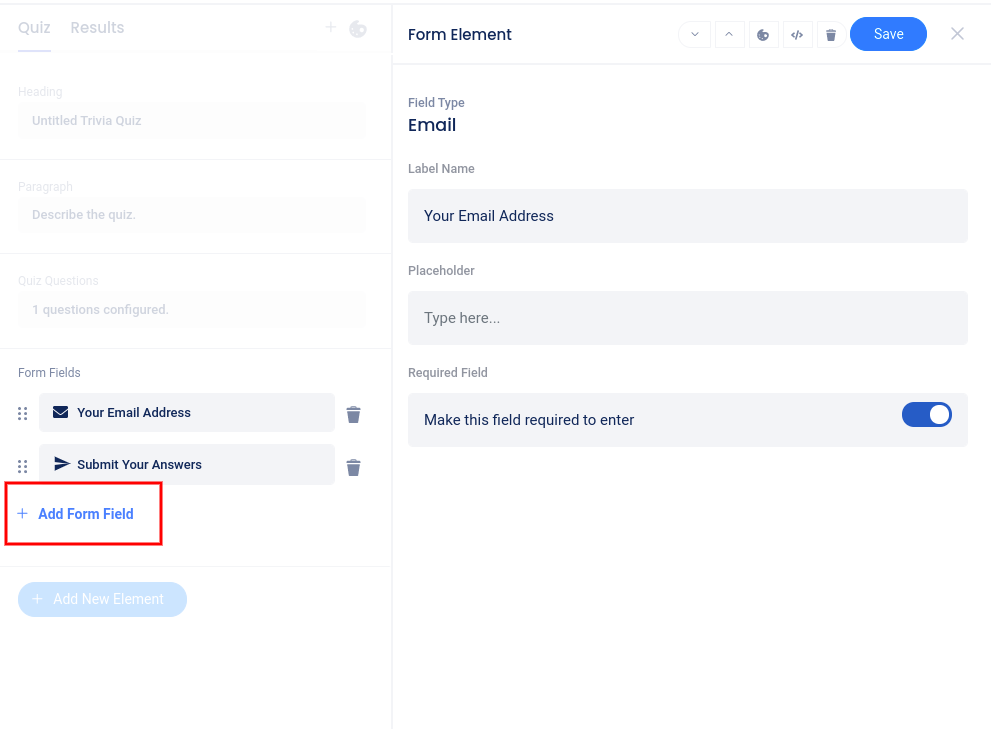
While in the Design section, click on the Form element itself, or the Form Fields area in the left sidebar, then click Add Form Field to add fields. Click directly on an existing field to edit that specific field.
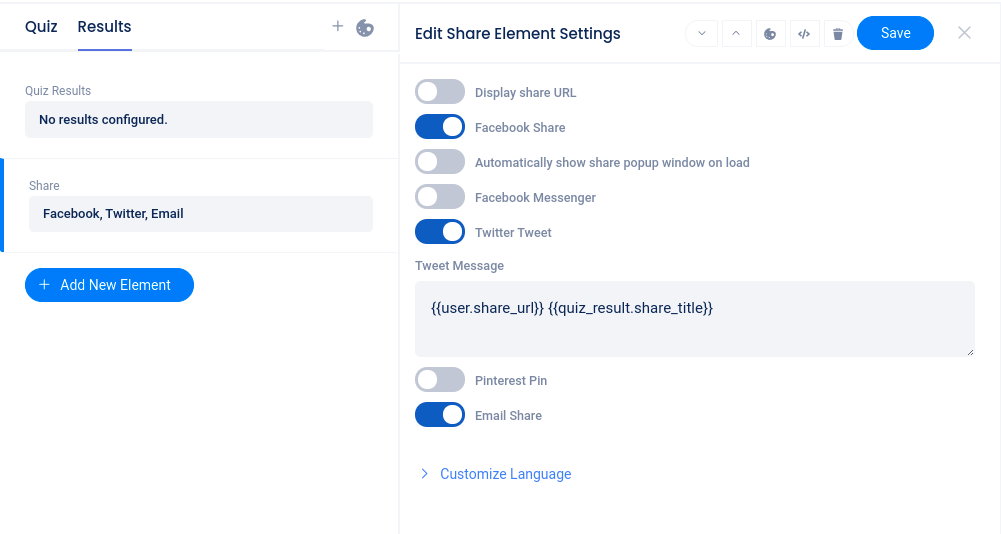
Once a user has successfully entered, they will be directed to the Results page. This page acts as confirmation that the user has successfully entered and displays their result. Be sure to customize your post-entry message and share element to encourage sharing.
Custom Coding
In the Design section, at the bottom of the “Painter’s Palette” section, you can access the CSS section (on Advanced plans or higher) or the Javascript section (on the Power plan) to add custom coding.
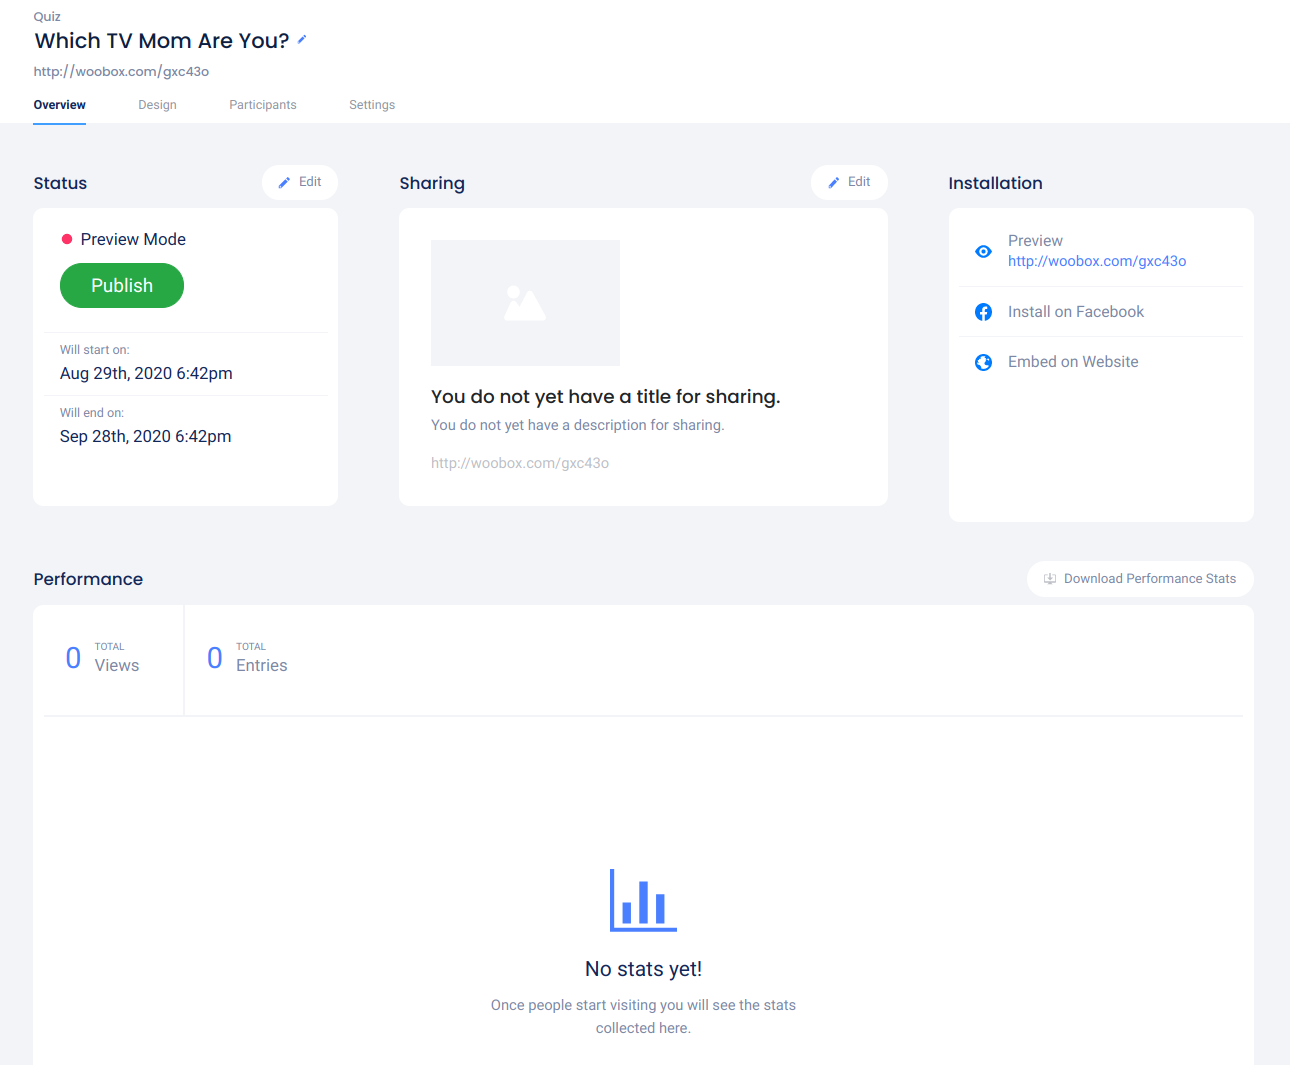
Overview Tab
The Overview section is where you can edit basic settings like start and end dates and view or download stats.
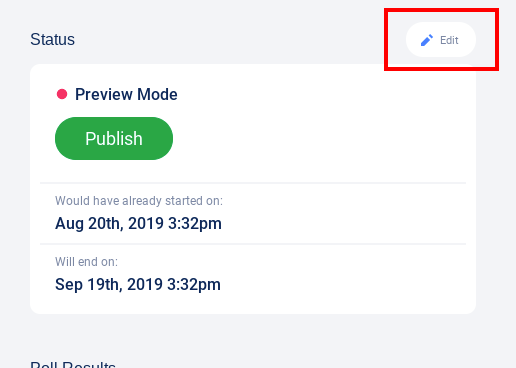
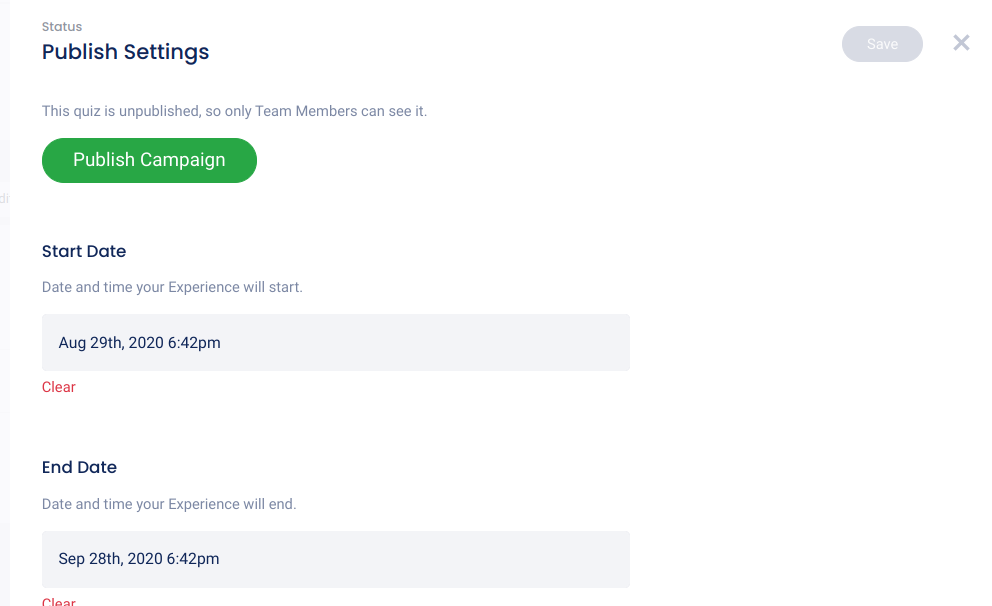
Start by clicking the Edit button above the “Status” area to adjust the experience’s start and end dates and times (times reflect your local time-zone).
Share Dialogue
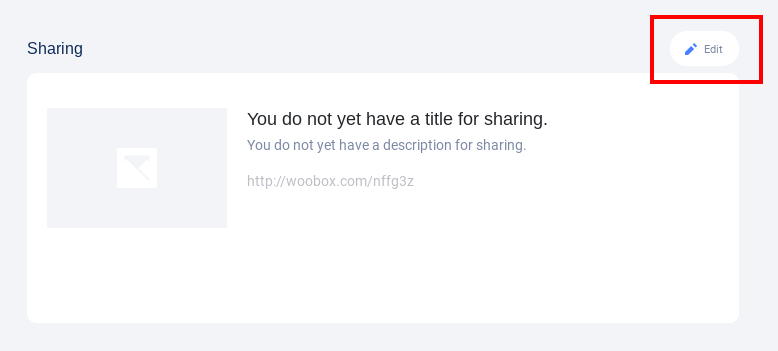
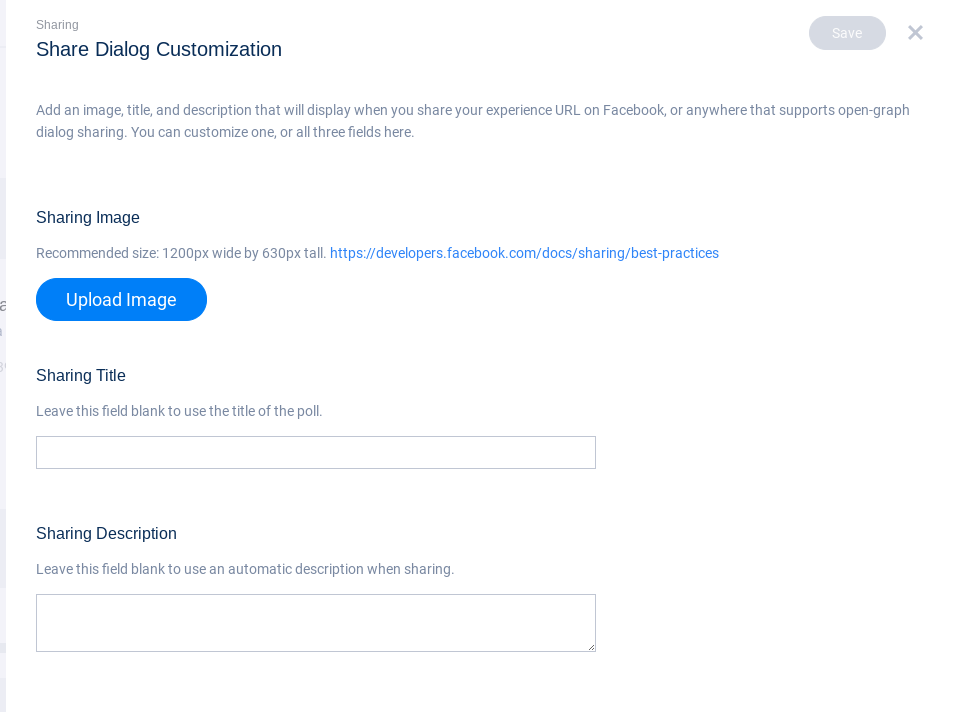
Also in the Overview section is Sharing. Click the edit button to customize the shared title, description, and/or image. *This will apply to Facebook, Twitter, and anywhere that recognizes open graph share dialog.
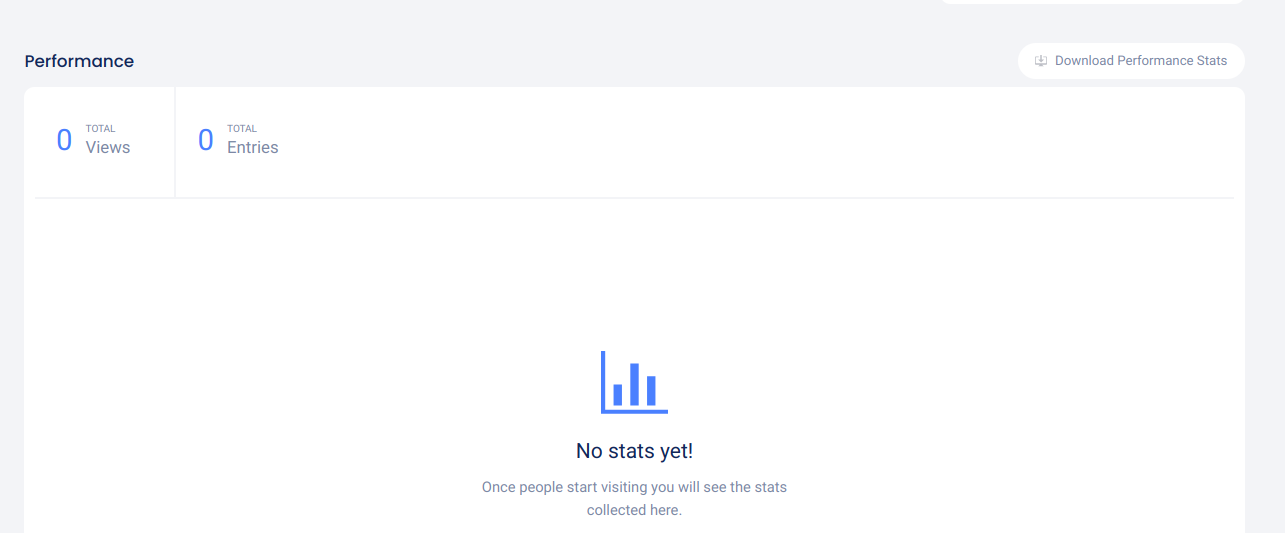
In the Performance section below, you can see views and entries by date, as well as download performance stats.
Participants tab
In the Participants tab, you can view entry data for the first 1,000 entries, pick winners, and download your Entries and Uploads exports.
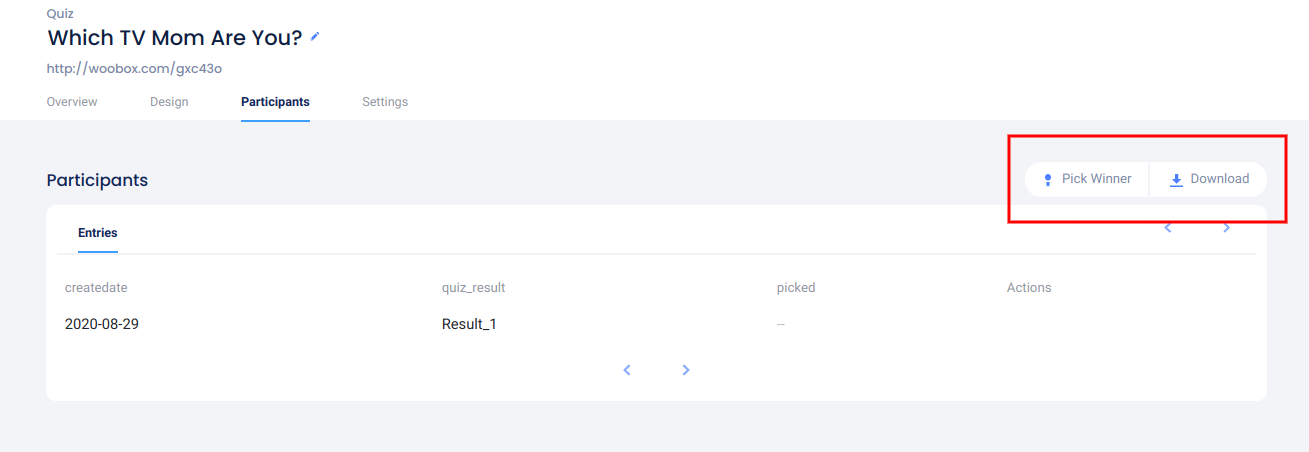
Click Download to open the Exports panel

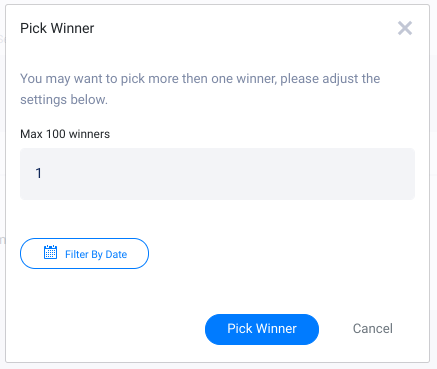
Click Pick Winner to randomly select one or more winners
Settings Tab
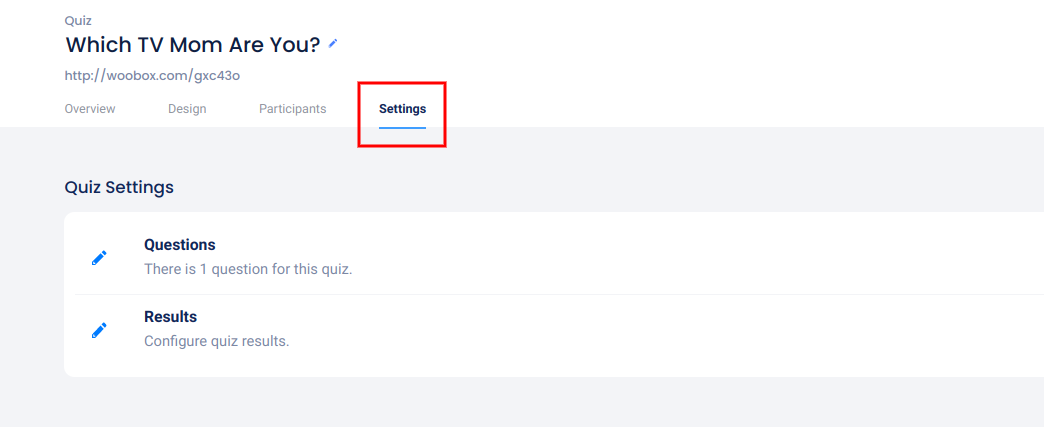
In the Settings tab, you can add and edit questions and results, edit entry and age restrictions, password-protect the experience, customize the language, add rules, and more.
In the Limits and Restrictions section, you can enable entry limits, enable bonus entries for referrals, and enable age-gate or password restrictions.
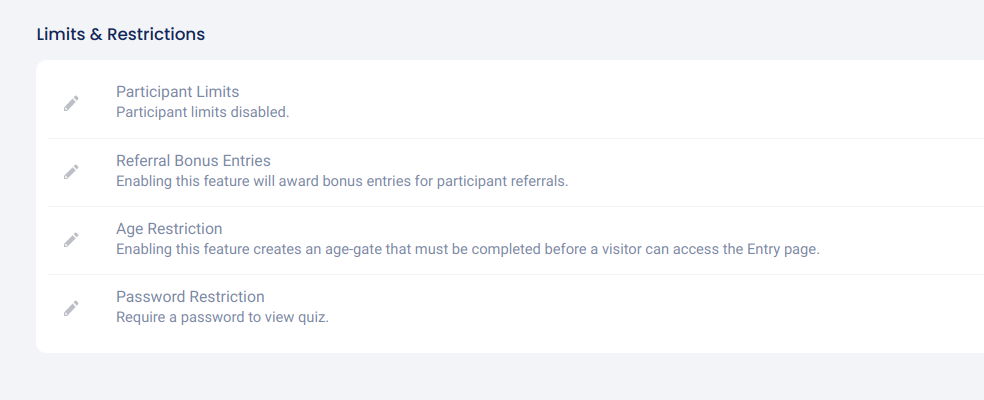
Entries can be restricted by Email Address, or Facebook User (once overall, or daily).
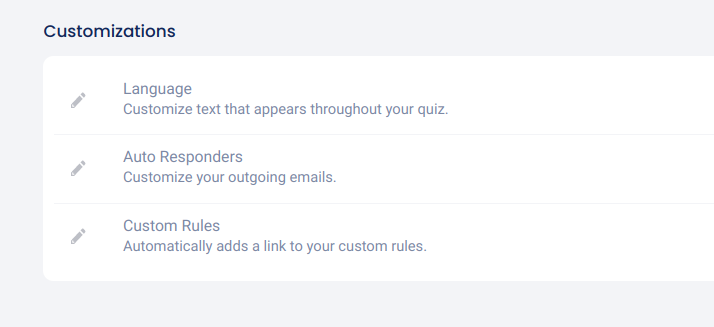
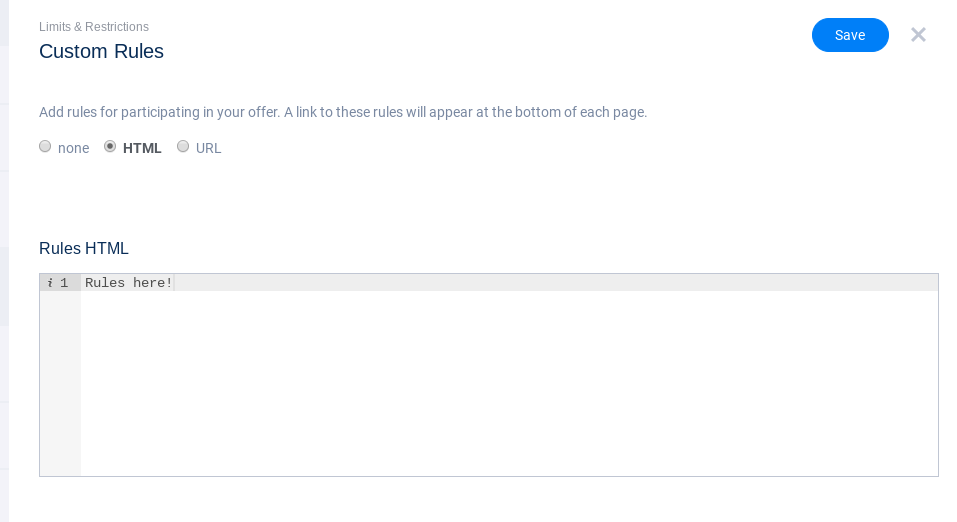
Clicking “Custom Rules” in the Customizations section will allow you to type/paste in your rules, or add a URL to the site where your rules are hosted. The Language panel allows you to customize any default dialogue in your campaign.
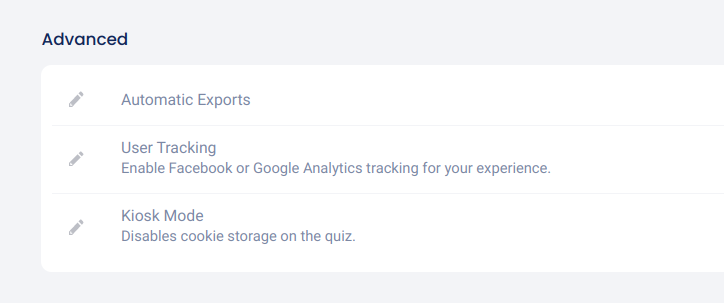
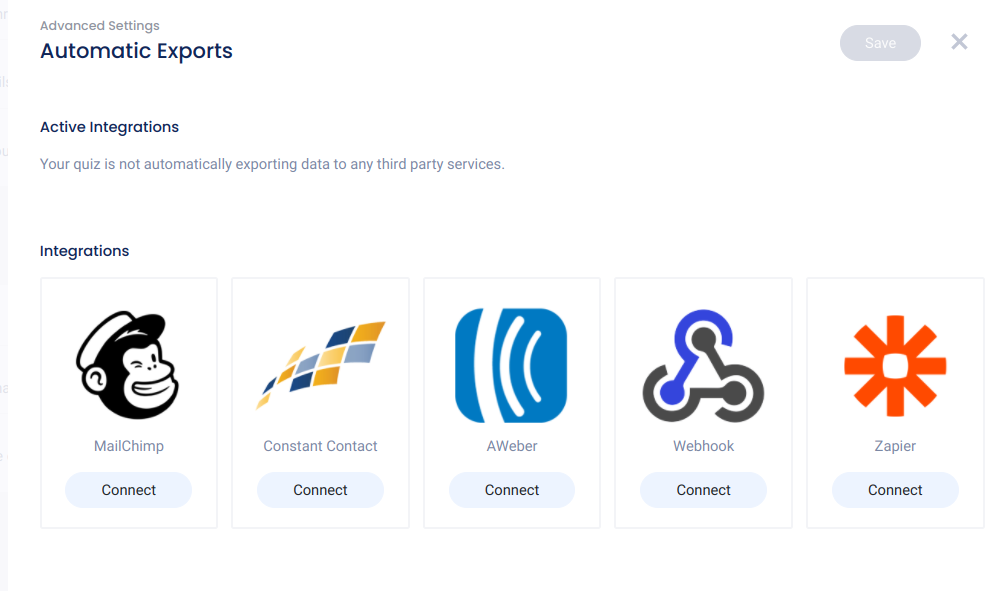
The Advanced section allows you to add your Google Analytics or Facebook tracking pixels, enable Kiosk-mode, and setup real-time data exports.
At the bottom of the Settings section, you can Reset, Copy, or Delete your Quiz.

Preview and Publish
When you’re ready, go back to the Overview tab and test/preview your contest by clicking the experience URL under Installation.

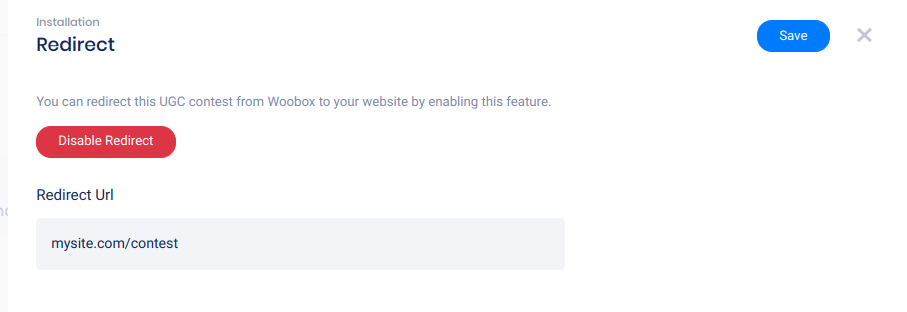
Click Preview to redirect the URL to an embed on your website.
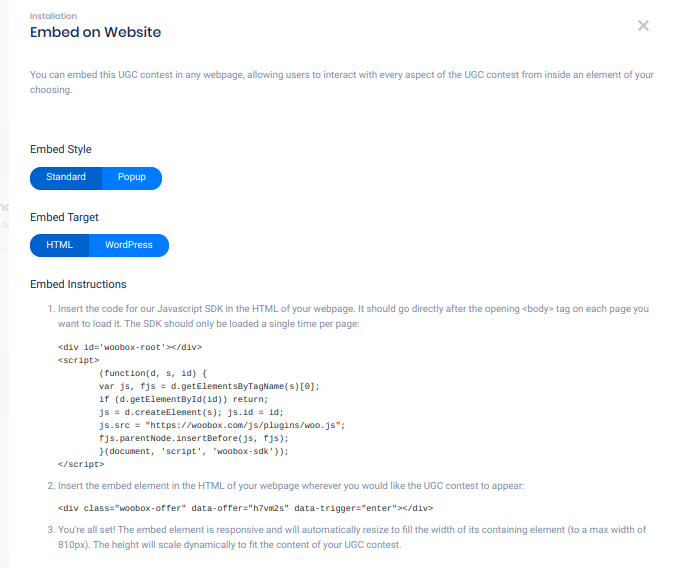
Clicking Embed on Website will open the Embed panel where you can copy the JavaScript embed code or WordPress short-code and adjust optional popup settings.
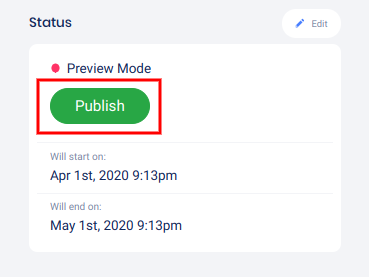
To turn off Admin-Only mode and publish your experience, click the Publish button in the Status area.
If you have any questions or issues setting up your campaign, don’t hesitate to email us at support@woobox.com!