*This setup guide applies to the Classic Woobox campaign templates found at the bottom of the “New Site” creation screen.
From the Campaigns screen, select the template type – Landing Pages.

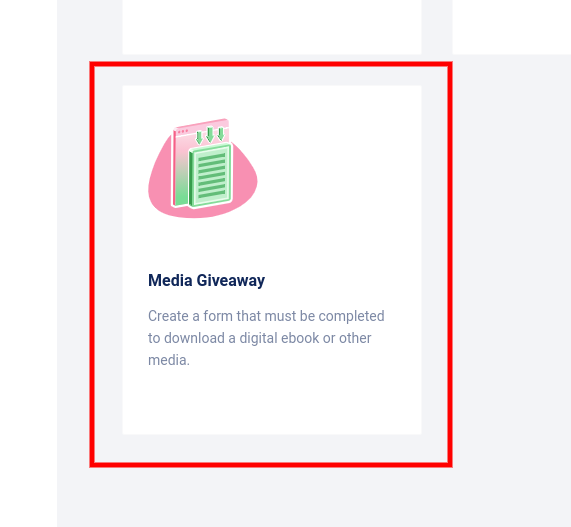
Then choose Media Giveaway from the campaign types.
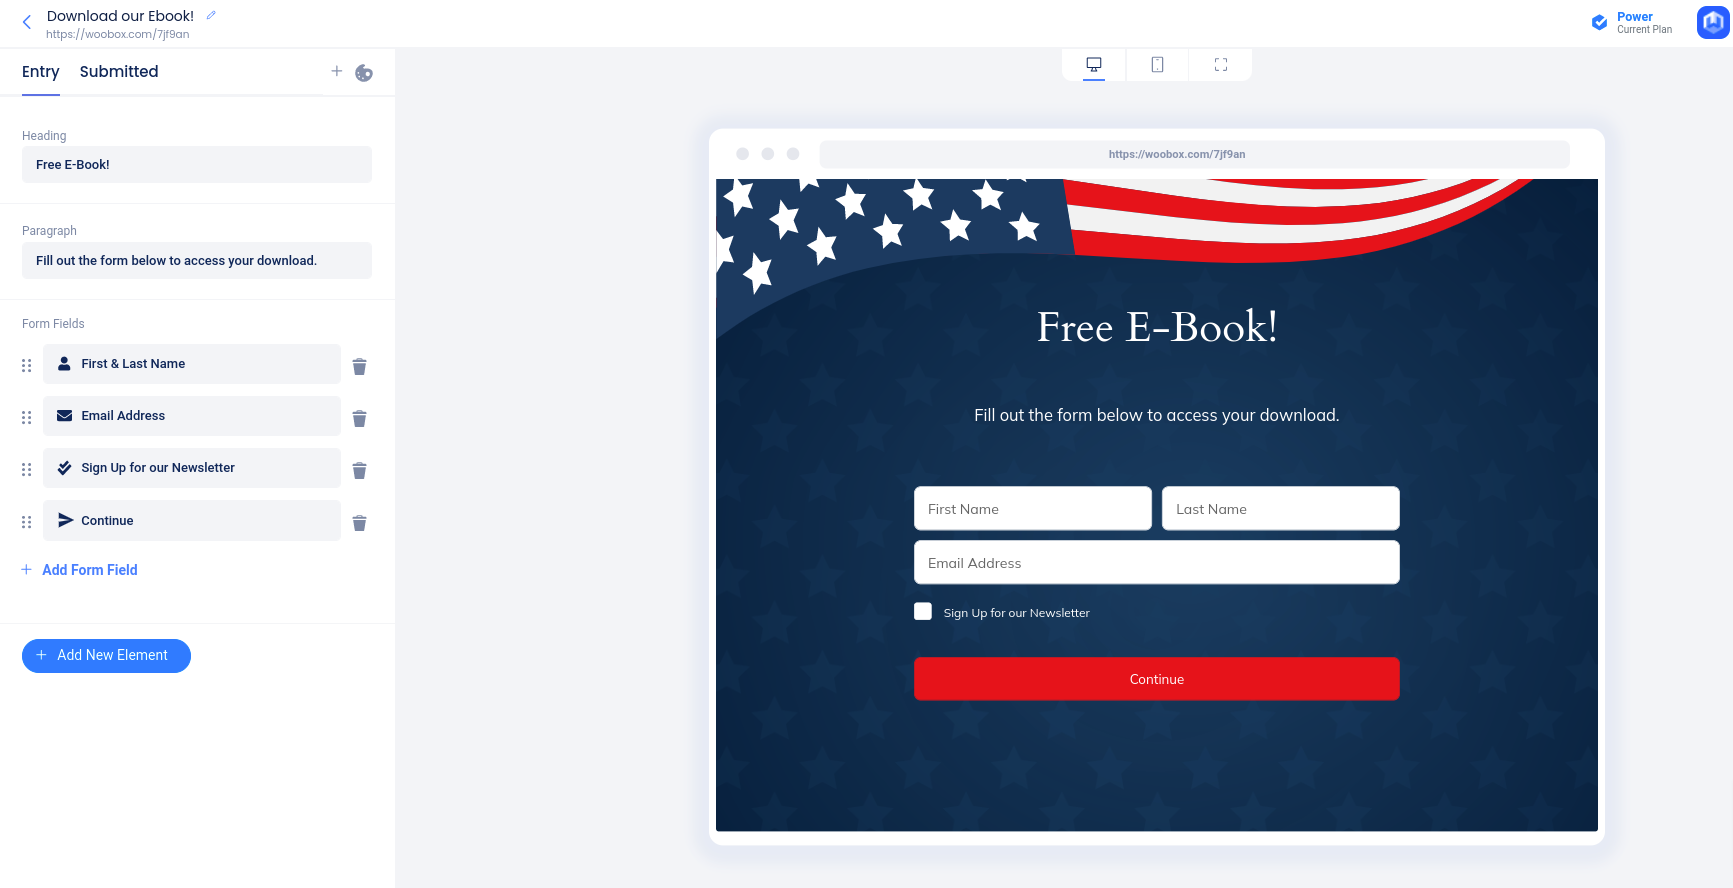
Design tab
In the Design tab, you can add backgrounds, images, videos, and customize the campaign’s Form Element. For more information on adding elements, styles, and more, check out this article. You can add a title for the campaign by clicking on “Untitled Download” in the upper left corner.
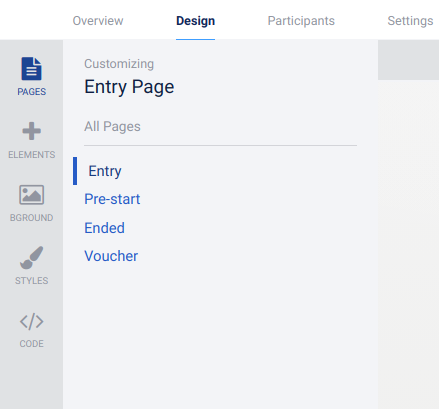
You can switch between the Entry and Submitted pages by clicking on those options in the top left.
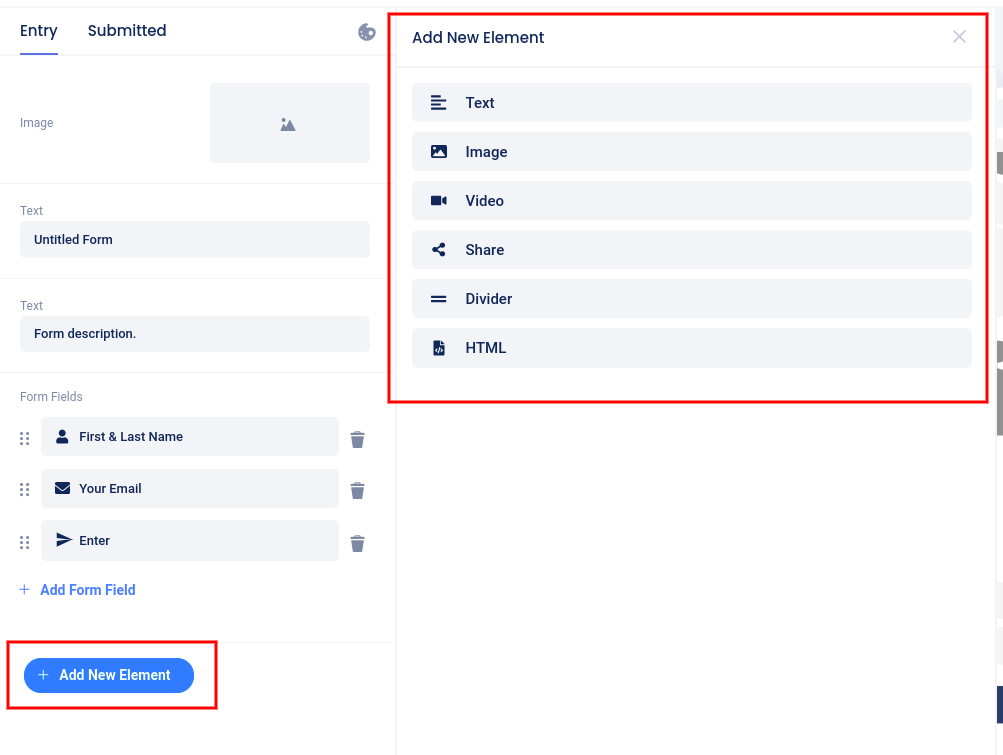
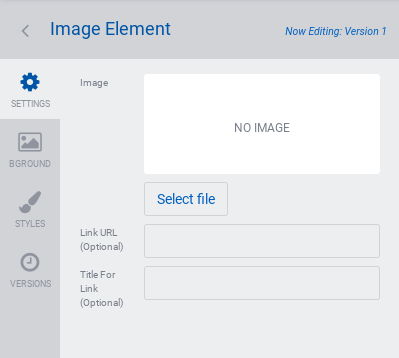
By clicking Add New Element in the left navigation, you can add images, videos, text, and more.
Clicking directly on an existing element allows you to edit that element.
Click the “Painter’s Palette” icon to set a theme, background, and other styling options.
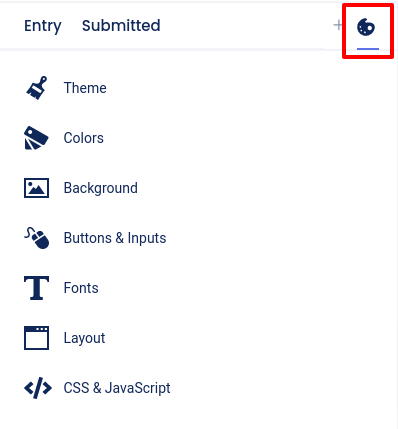
Theme menu selected:
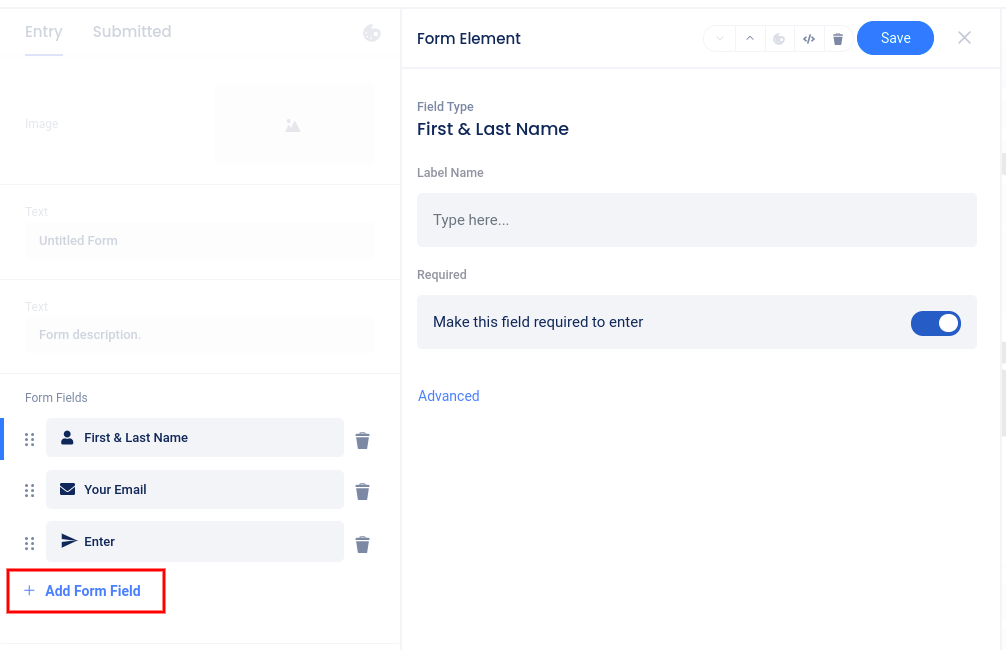
Customizing the Form Fields
While in the Design section, click on the Form element itself, or the Form Fields area in the left sidebar, then click Add Form Field to add fields. Click directly on an existing field to edit that specific field.
Once a user has successfully entered, they will be directed to the Submitted page. This page acts as confirmation that the user has successfully entered. Be sure to customize your post-entry message and add a share element to encourage sharing.
Adding your Download
Go to the Submitted page in the Design section and click on the Download element to select it, then click the Choose File button secondary panel to upload the file to be distributed. Click Customize Language to edit the text on the “Download” button.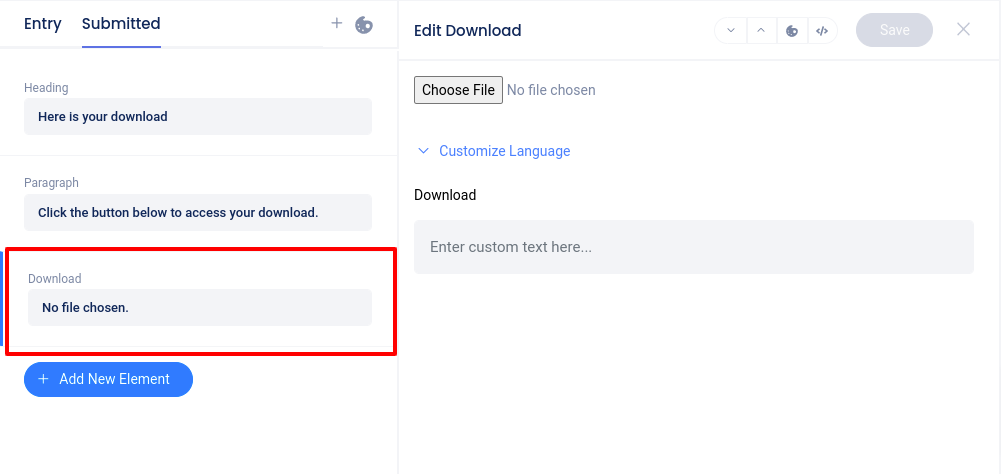
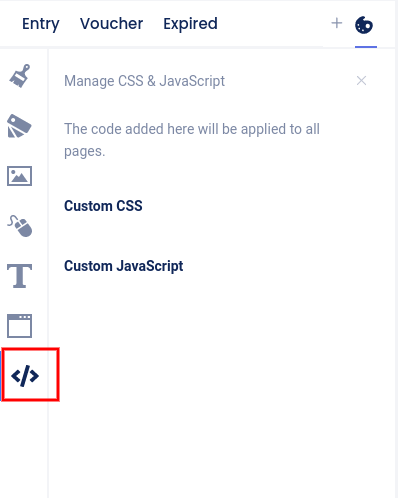
Custom Coding
In the Design section, at the bottom of the “Painter’s Palette” section, you can access the CSS section (on Advanced plans or higher) or the Javascript section (on the Power plan) to add custom coding.
Overview tab
Exit out of Design and visit the Overview section where you can edit basic settings and view or download stats.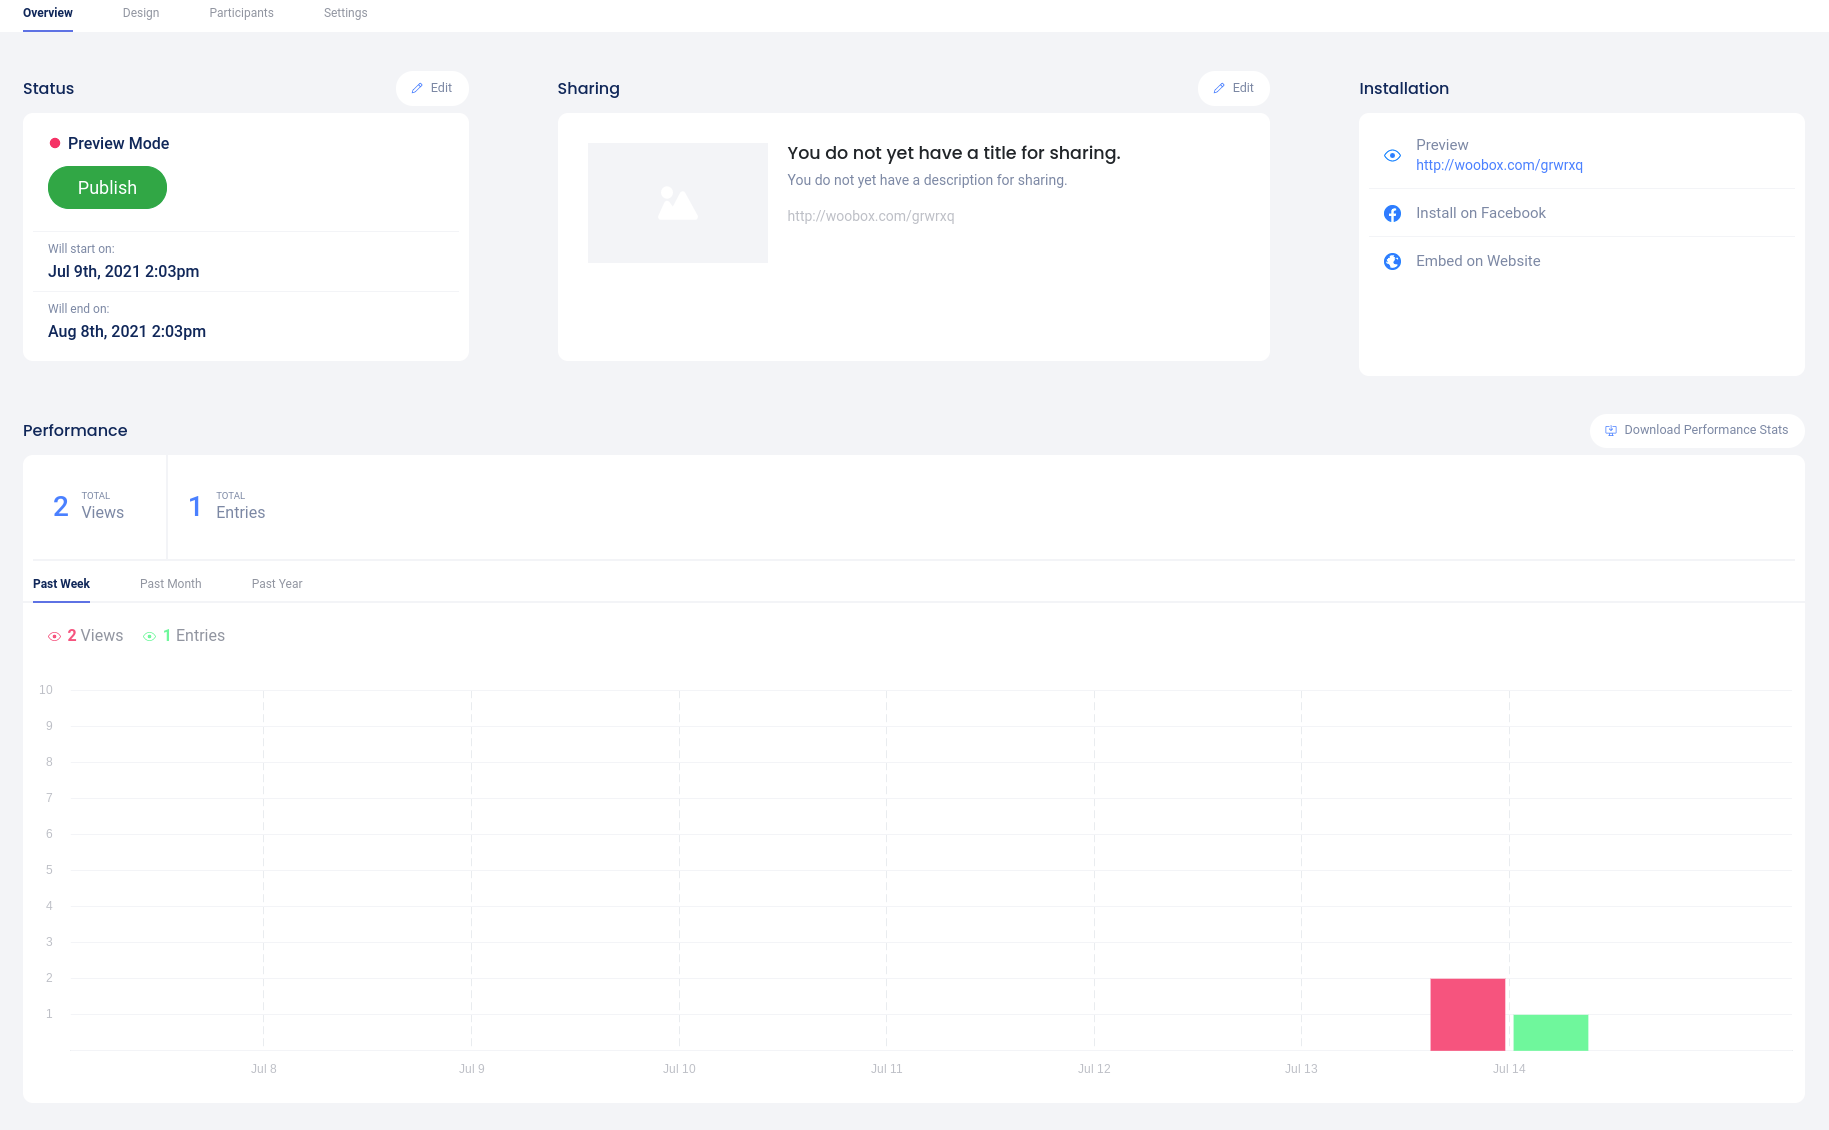
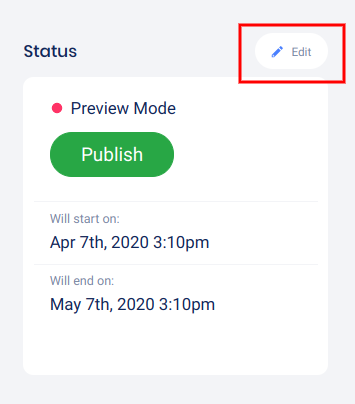
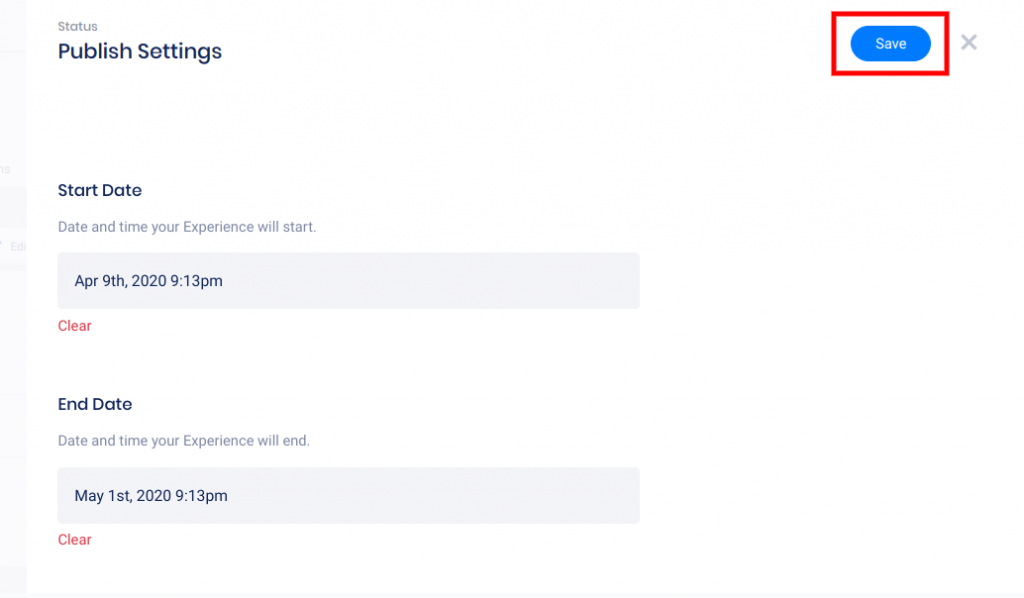
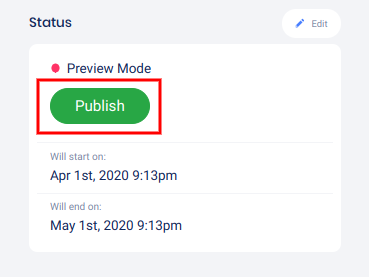
Click the Edit button above the Status section to set the start and end dates of the experience’s entry period.
Select the dates and times, then click Save.
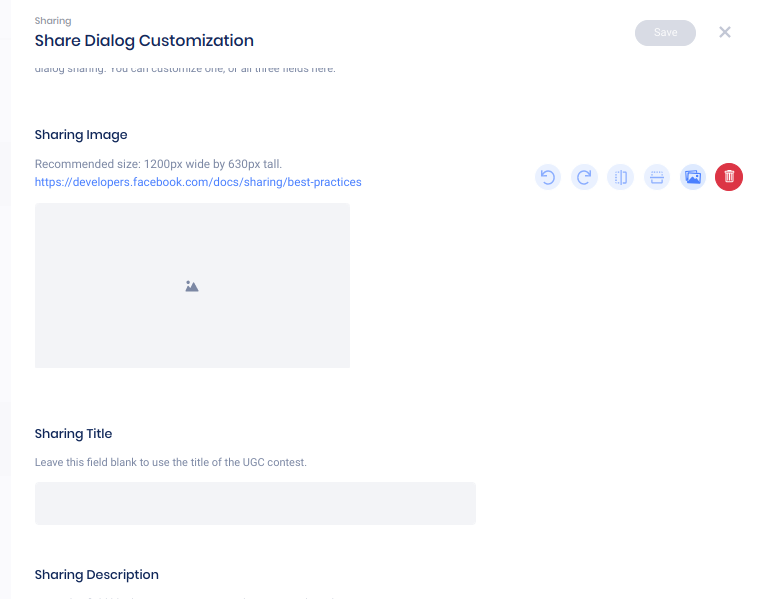
Click Edit above the Sharing section to customize the sharing image, title, and description for your experience URL.
Performance Stats
Once your experience receives views or entries, you can view a graph of these stats for the past past week, past month, or past year. Click Download Performance Stats to export a detailed traffic stat CSV file.

Participants tab
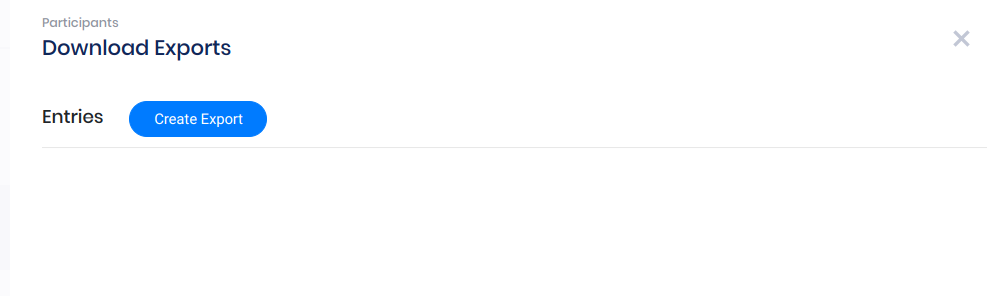
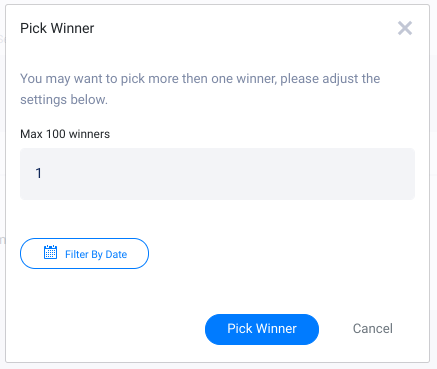
In the Participants tab, you can view entry data for the first 1,000 entries, pick winners, and download your full Entries CSV export.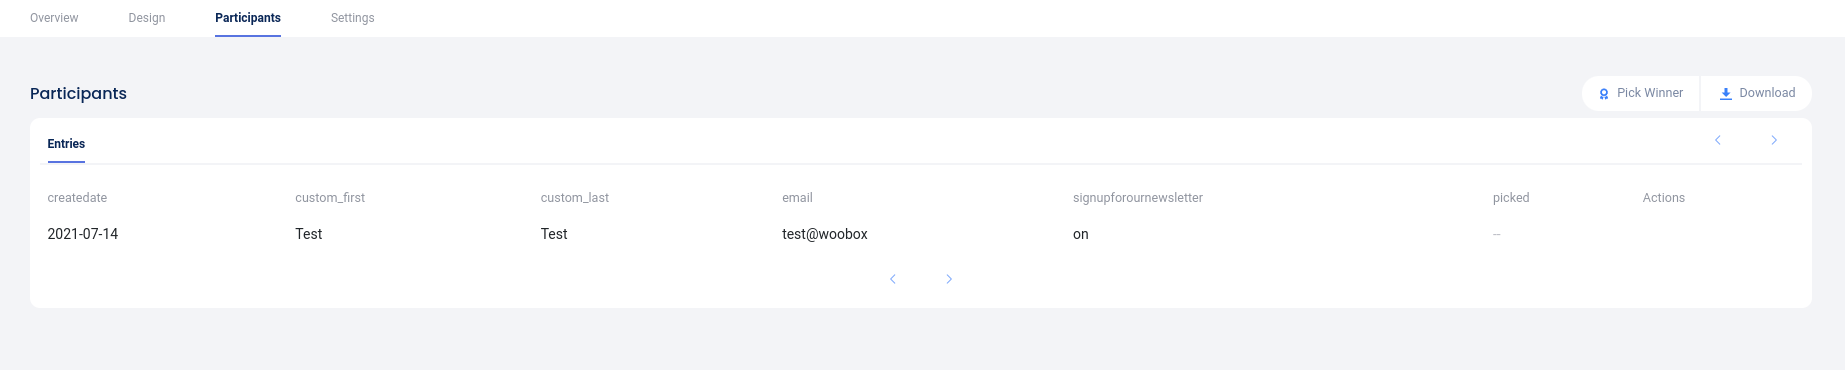
Click Download to open the Exports panel
Click Pick Winner to randomly select one or more winners
Settings tab
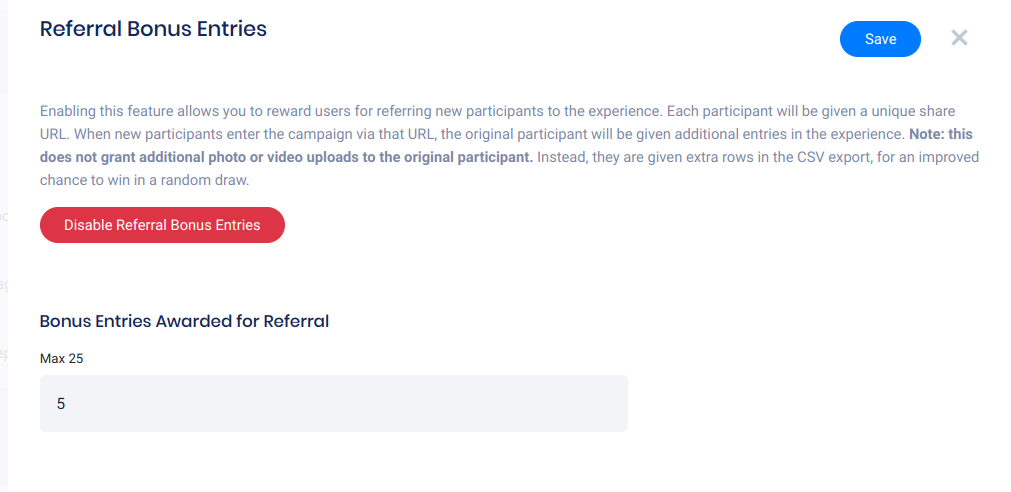
Under the Settings tab, enable entry restrictions and limits, bonus entries for referrals, and age or password restrictions in the Limits & Restrictions section.
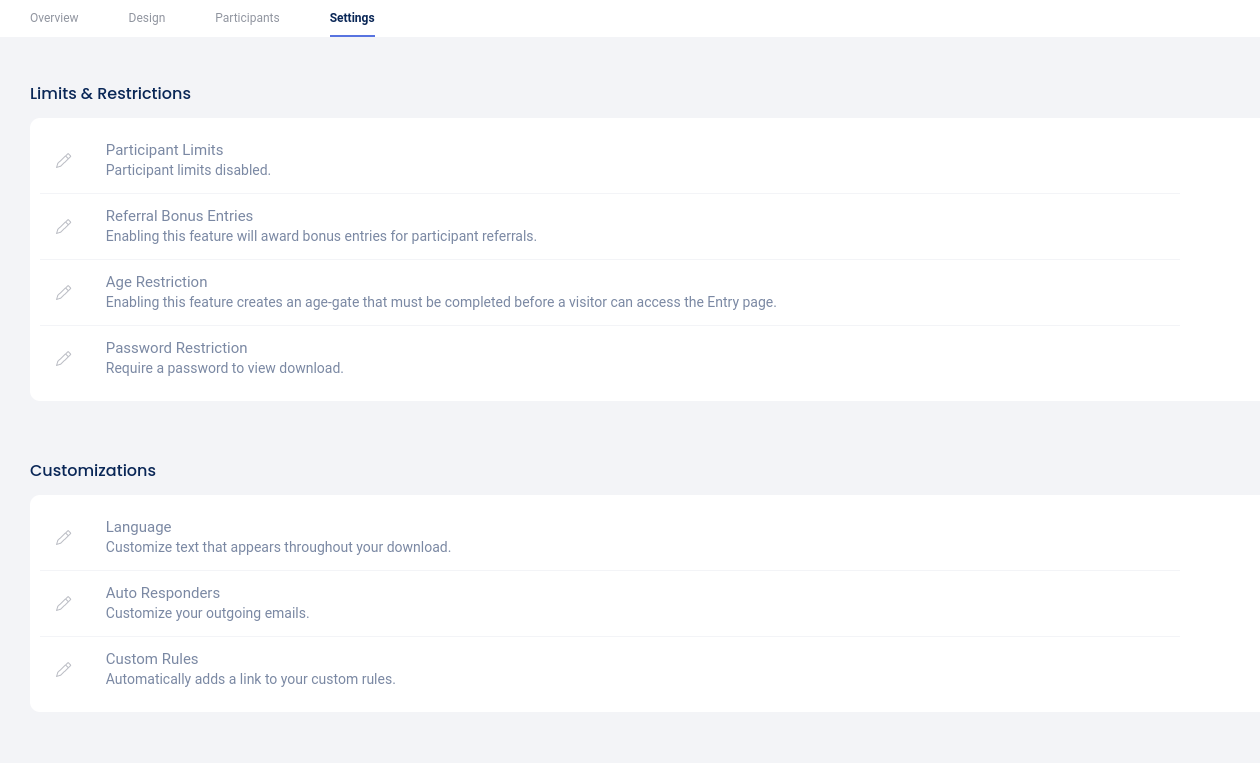

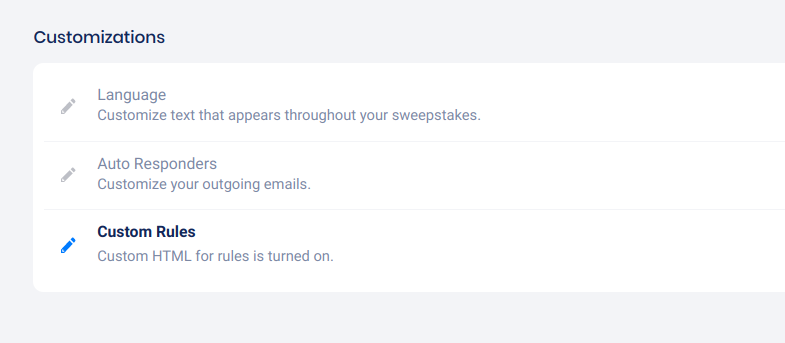
In the Customizations section, you can customize all of the default language and auto-emails for your Sweepstakes, and add your custom rules HTML or link.
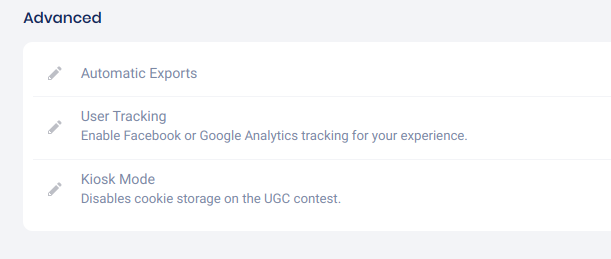
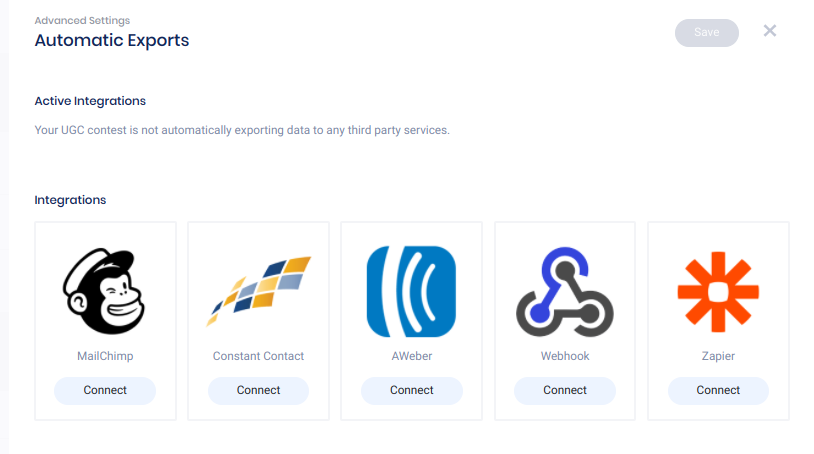
In the Advanced section, you can setup real-time integration for Automatic Exports, Facebook and Google Tracking, or enable Kiosk Mode for on-site campaigns.
At the bottom of the Settings page, you can Reset, Copy, or Delete your Sweepstakes.

Preview and Publish
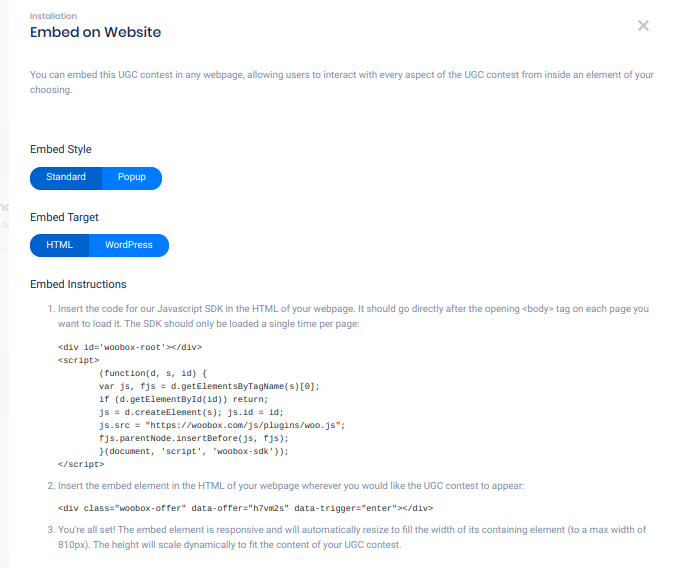
When you’re ready, go back to the Overview tab and test/preview your contest by clicking the experience URL under Installation.

Click Preview to redirect the URL to an embed on your website.
Clicking Embed on Website will open the Embed panel where you can copy the JavaScript embed code or WordPress short-code and adjust optional popup settings.
To turn off Admin-Only mode and publish your experience, click the Publish button in the Status area. Now you’re ready to accept entries!
If you have any questions or issues setting up your campaign, don’t hesitate to email us at support@woobox.com!