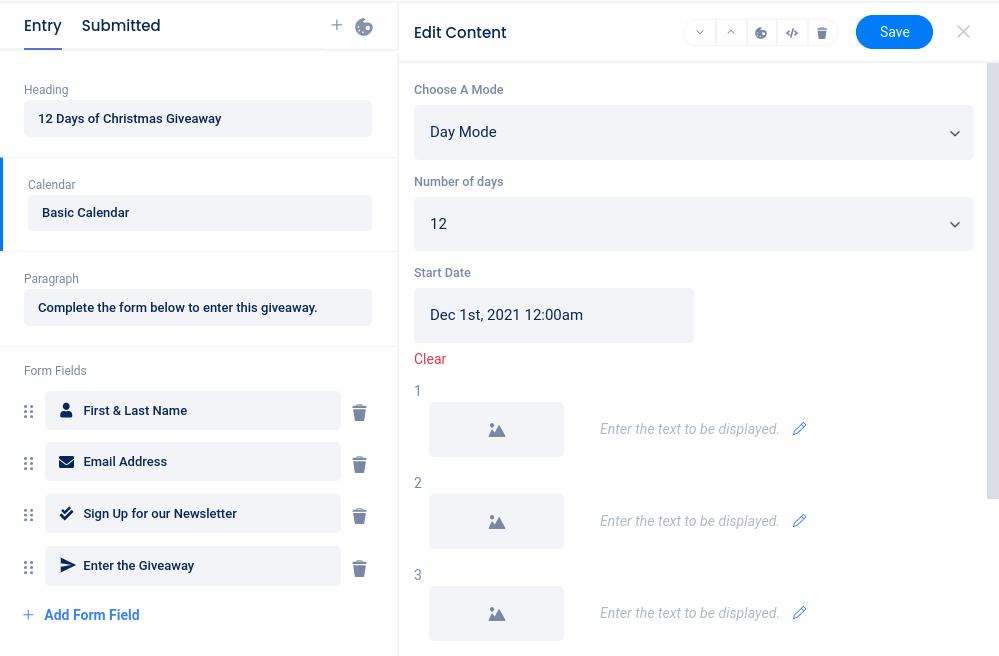
In the Design section, click “Add New Element” and then choose Calendar Countdown from the menu.

The first option is “Choose a Mode”.
Day Mode will display numbered days that are not date specific.
Calendar Mode will display the date of the month beginning with the date you set in the Start Date field.
Image Only Mode will hide the countdown/calendar entirely and only display the images/text you’ve added for the current day.

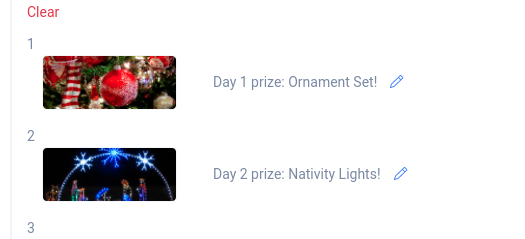
After choosing a mode, select the number of days to display and set a start date (if applicable). Then, you can add the image and/or text that will display on each day. If you’re awarding a prize each day, you should add that day’s prize information here. Otherwise, you can add fun images or messages like “10 days to go!”.

The text and images for each day will display on the entry page during that day.

Pictured above is the seasonal version of the Calendar Countdown element included by default in our holiday templates. A standard Calendar Countdown element added to your landing page will have basic outlined day/date boxes, and the font for the element is controlled by your Content Font setting. Here is an example:

As with any element, you can reposition the calendar, customize styles and colors, or delete the element with the controls at the top of the slider panel.
