*This article applies to the Classic Woobox campaign templates found at the bottom of the “New Site” creation screen.
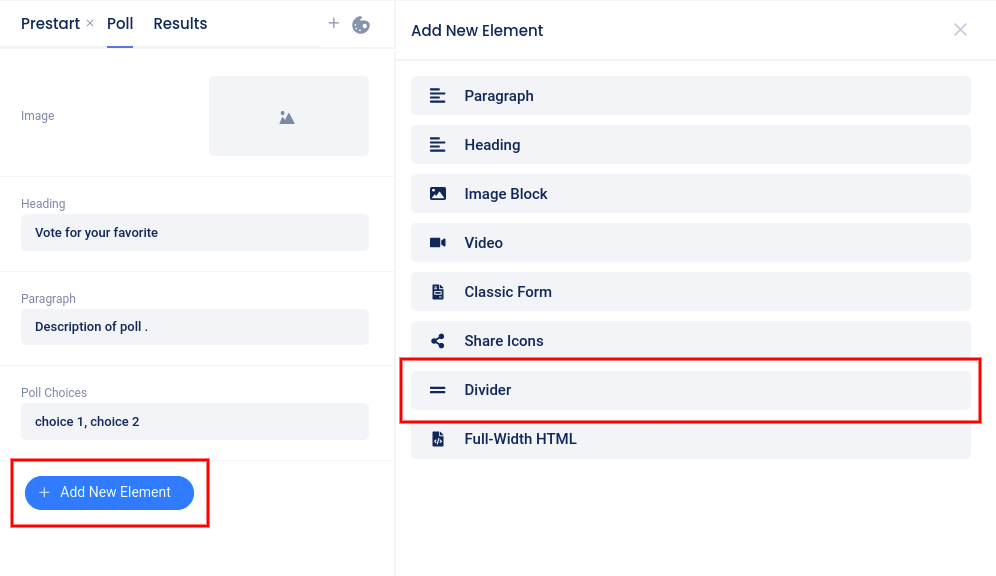
To add a Divider element to the page you are currently customizing, click the Add New Element button, then select Divider.
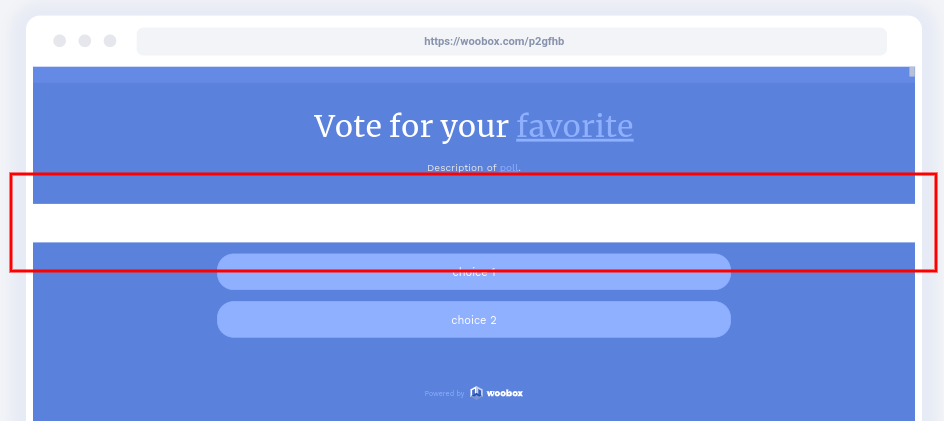
After adding the element, a slider will open on the left where you can adjust the height of the divider by typing the number of pixels into the field or using the up/down arrows.
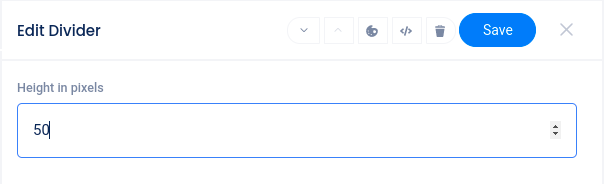
At the top of the slider, you can move the element up or down on the page, delete the element, or access styling options or custom coding (depending on your plan level).