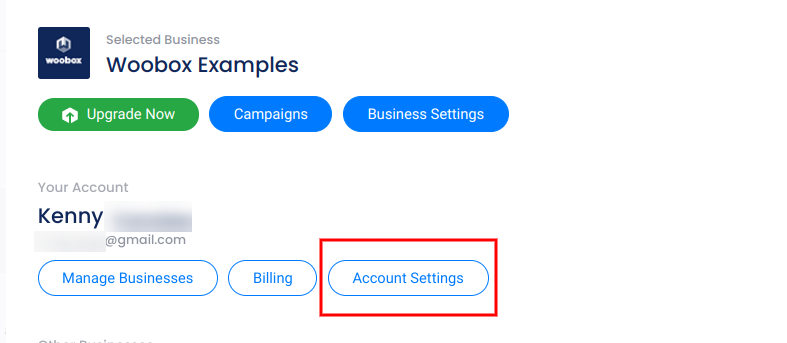
To edit business and account info, open your account panel by clicking the business name/email address in the upper right corner of your dashboard.

Then choose Account Settings.
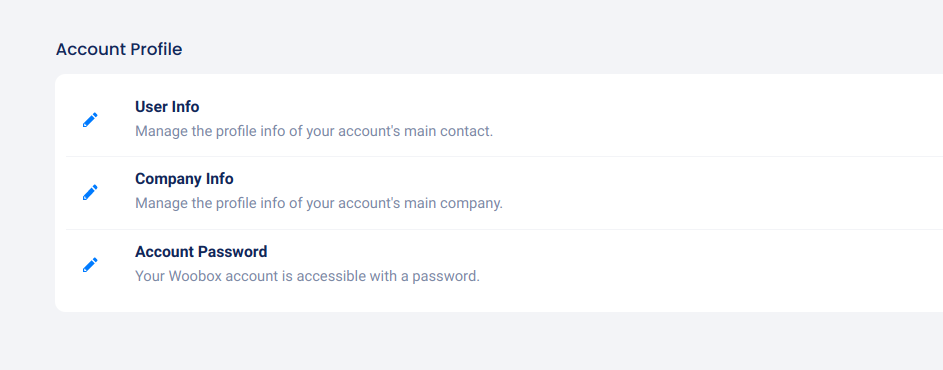
In this section, you can change the way your business name displays on your campaigns, change your personal contact info, and set a password for non-Facebook logins. Anything you add to the Company Info section (such as address or VAT number) will be included on your invoices.
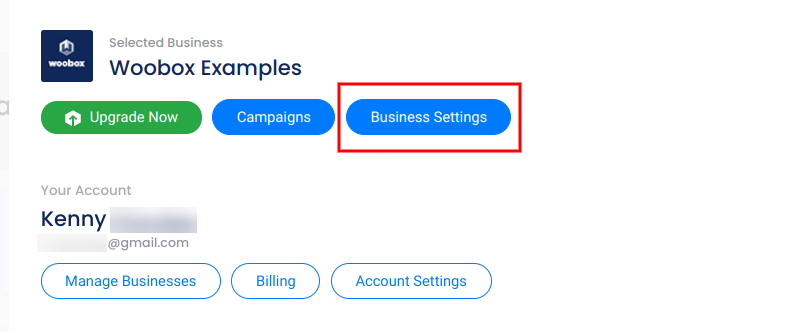
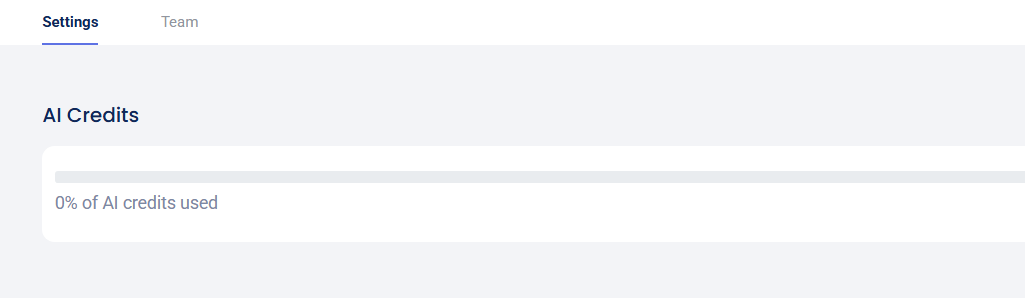
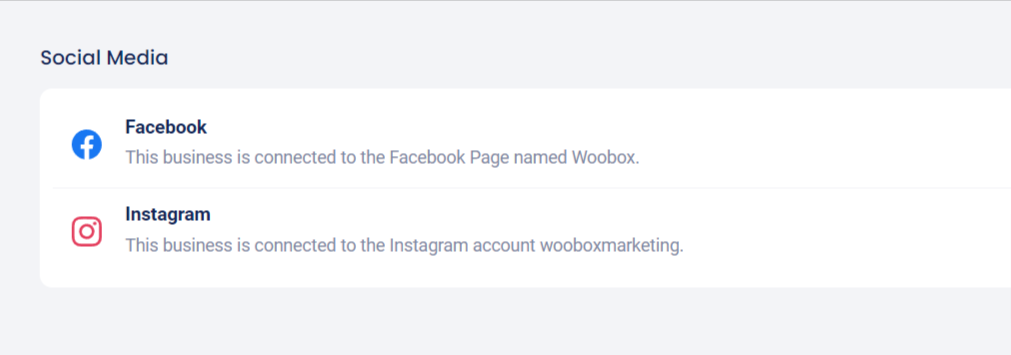
By clicking Business Settings from your account panel, you can check your AI credit usage, reauthorize your Facebook and Instagram connection (for legacy accounts with imported FB pages), assign Team Members, and set up other integrations.
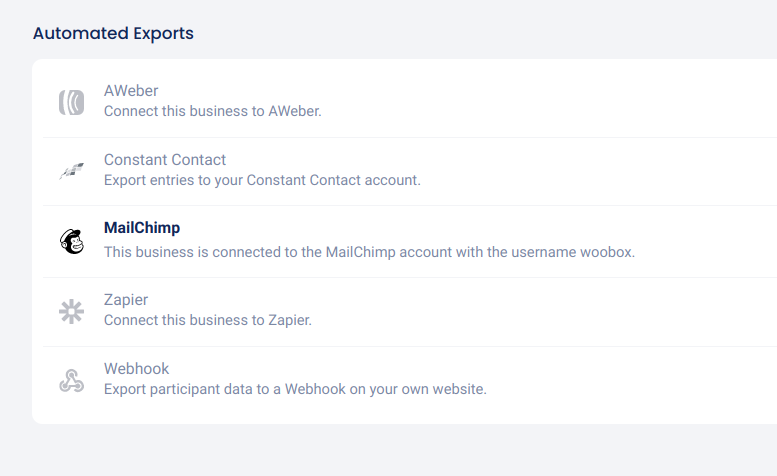
Below the Social Media section is Automated Exports where you can connect your CRM for real-time data exporting or setup a webhook to use your own server.
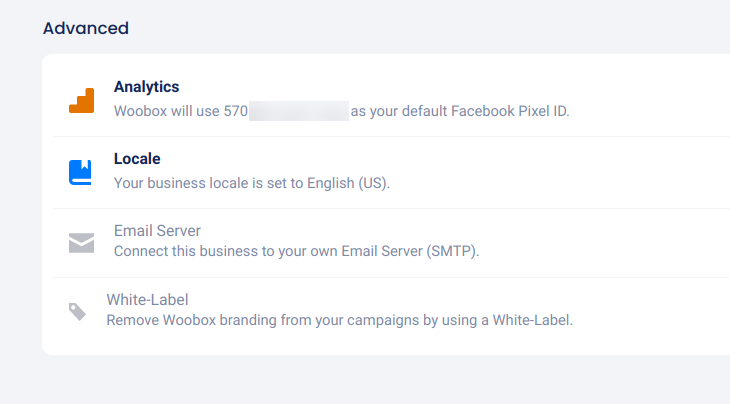
At the bottom of the page, you’ll see the Advanced section. Here you can add your Google or Facebook tracking info, setup your SMTP server and more.
If you need to delete the business you are currently managing as (shown in the upper right corner) from your account, click Delete Business.
