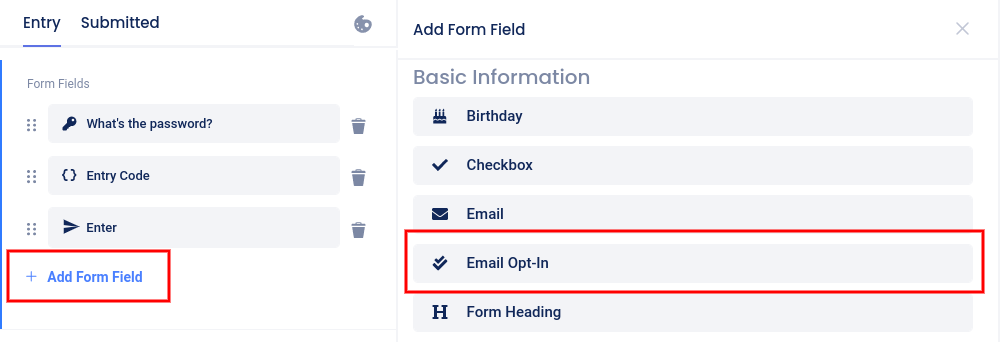
Woobox Form elements have an email field by default, but you may want to add an Email Opt-in checkbox for confirmation.
To add the checkbox, click to select the Form element on the Entry page in the Design section, then click Add Form Field and select Email Opt-In. Set the label to anything you’d like, and choose whether the checkbox should be marked by default.


From then on, every time a user enters, they may choose to be opted-in to emails. Once you have started collecting this data, all you need to do is export all of your user data to a spreadsheet file.
Where do I get the entrant data?
From the Participants or Votes tab (depending on the campaign type) click Download and select the Entries export.

How do I identify the form input associated with each column?
The label that you give most fields will become the title of the column on the Entries CSV.
You can also create a hidden Field Name. The field name is separate from the Label and will only appear as the title of a column in the Entries CSV. Set this under the Advanced link.
