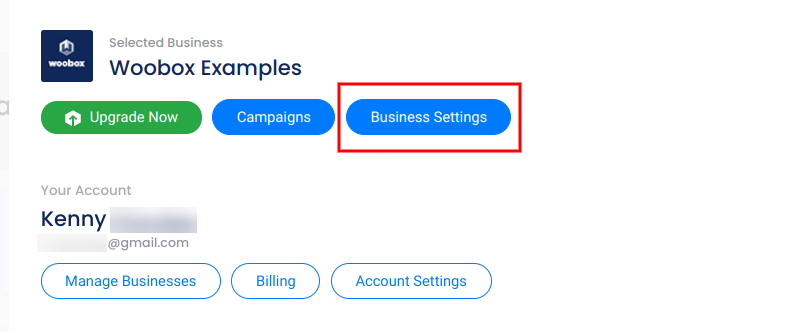
Log-in to Woobox and click your email/business name on the top right corner.
In the account panel, select Business Settings.
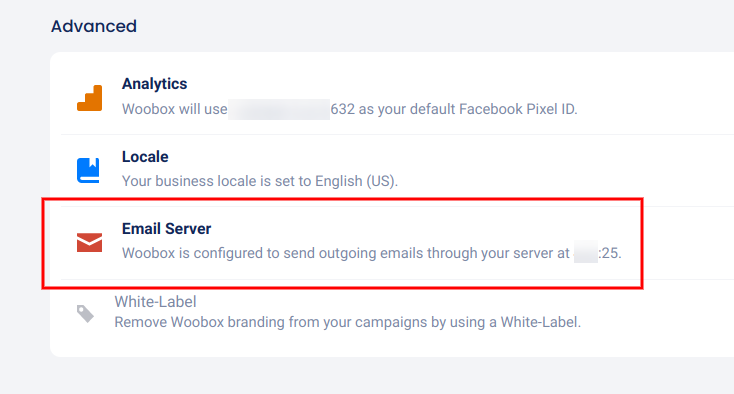
Scroll down to the Advanced section and click Email Server.
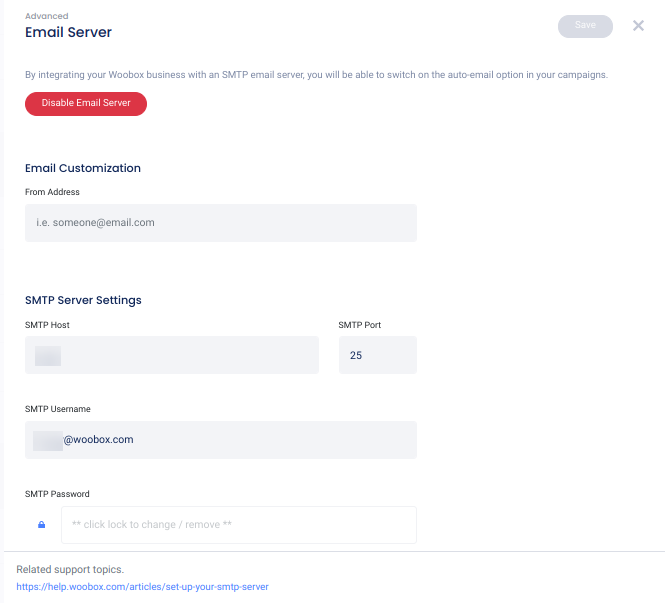
Enter your SMTP Host, Username, and Password and click Save. You can also set the “from email” that will appear as the sender in auto-emails (this must be an address recognized by/connected to the server).
If your server cannot be reached or there is an error in the data, you may see an error at the top of the screen like this:

If you have issues with completing this set-up, you’ll want to contact someone who has access to or controls your SMTP Server.