This article should help to familiarize you with the Design section of your campaign so you can create the perfect experience for your brand!
Add Elements
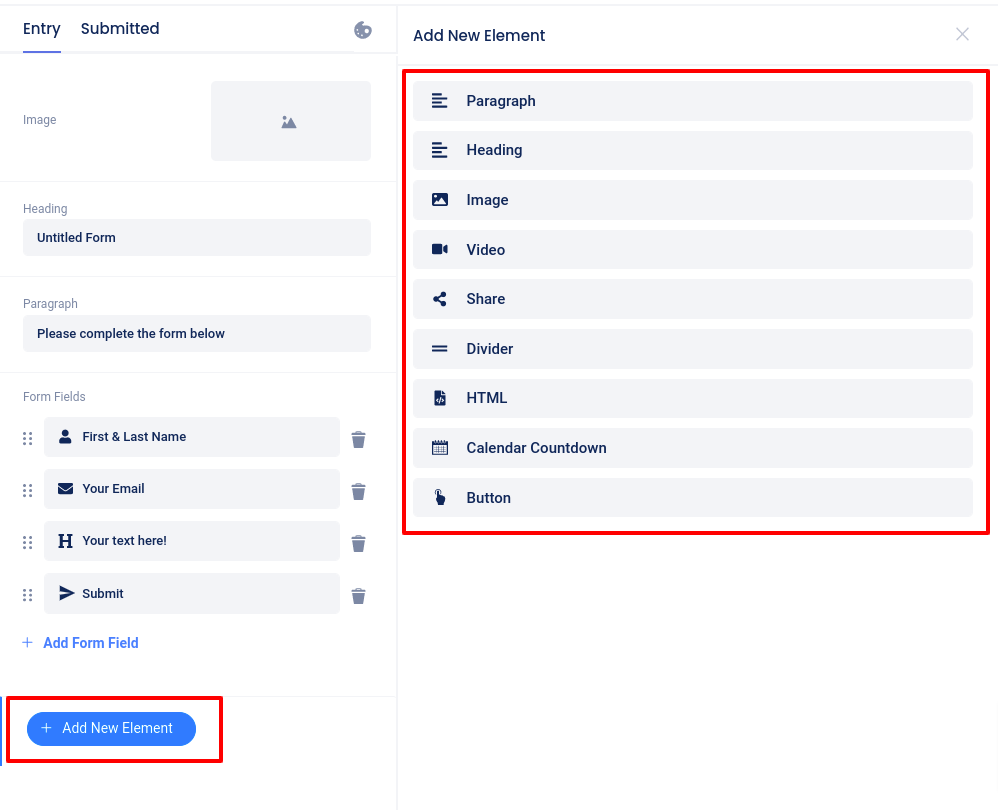
In the Design section of your campaign, you can add a number of different elements to any page of your campaign. To do so, select the page you want to add a component to, click Add New Element in the left navigation, then select the element you would like to add to the page.

How to edit your options
Each element can be adjusted and customized. Simply click on the element in the preview or in the left sidebar menu to open the slider panel on the left and edit, move, or delete the element (selected elements will be highlighted in blue):

Layout and alignment
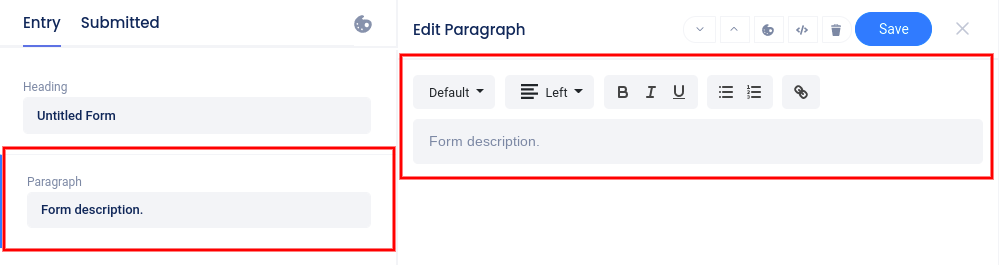
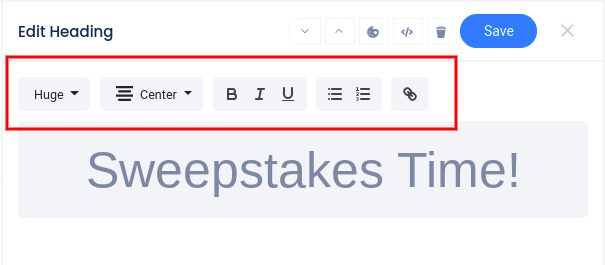
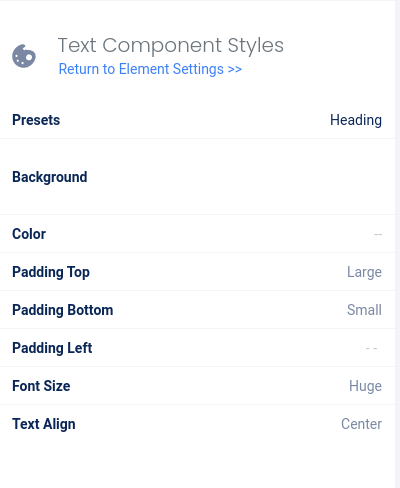
Text customizations such as font size, color, and alignment are now located in the toolbar that appears at the top of the left slider panel after selecting a text element:

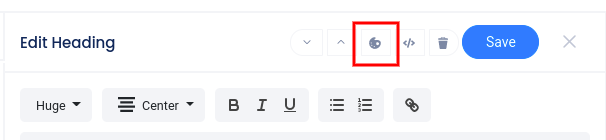
For advanced styling options, click the “Painter’s palette” icon in the slider menu when the element is selected.


Form fields
For each campaign, you are able to fully customize the entry form. To do so, click the Form Element on the Entry page or the Form Fields section in the menu to open the slider menu on the left.

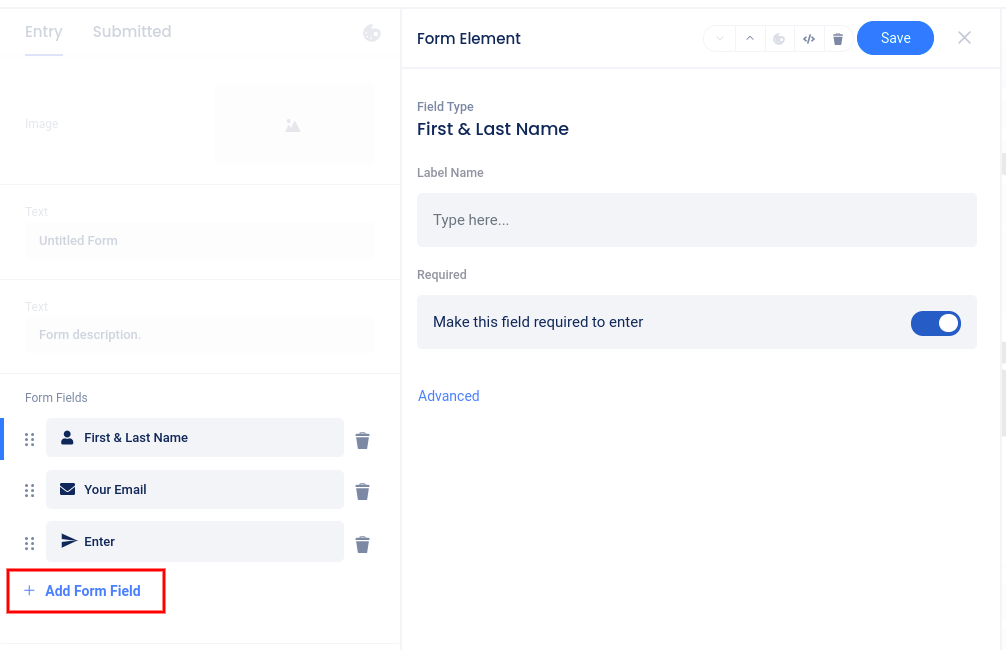
From here you can add a form field by clicking + Add Form Field. You can click on the form field in the menu on the left to edit the label or other options for that field.
Themes, Backgrounds, and Styling
Clicking the Painter’s Palette icon will open the themes and styling menu where you can choose from preset themes and even choose the primary theme color, or click Colors and Background to assign your own custom colors.

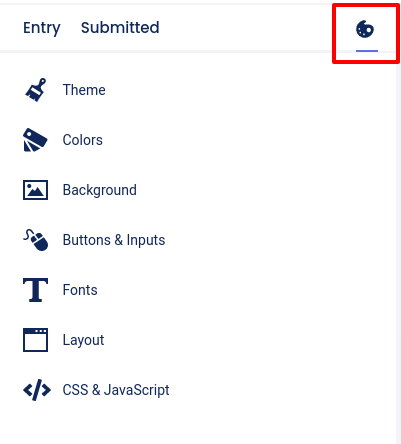
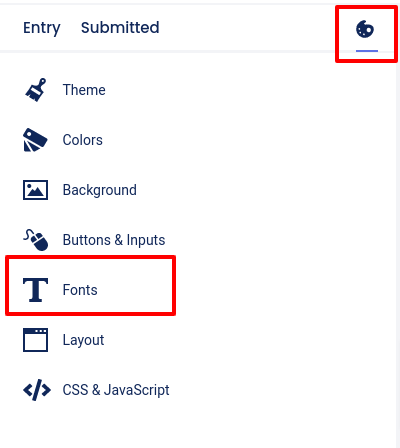
In this section, you can also customize button styles and fonts. Choose from preset font pairings, or choose custom fonts for each element type.

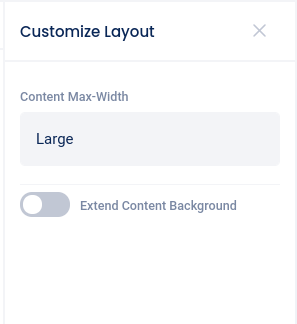
The Layout area allows you to set the content width (the width of the elements on the page).

Custom Coding
CSS and HTML are available on the Advanced and Power plans. If you are on the Basic or Standard plans, you will need to upgrade to use custom CSS or HTML.
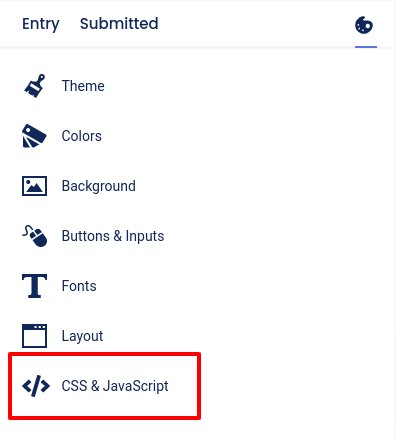
At the bottom of the Painter’s Palette menu, click CSS & JavaScript to add custom code (JavaScript is available on the Power plan).

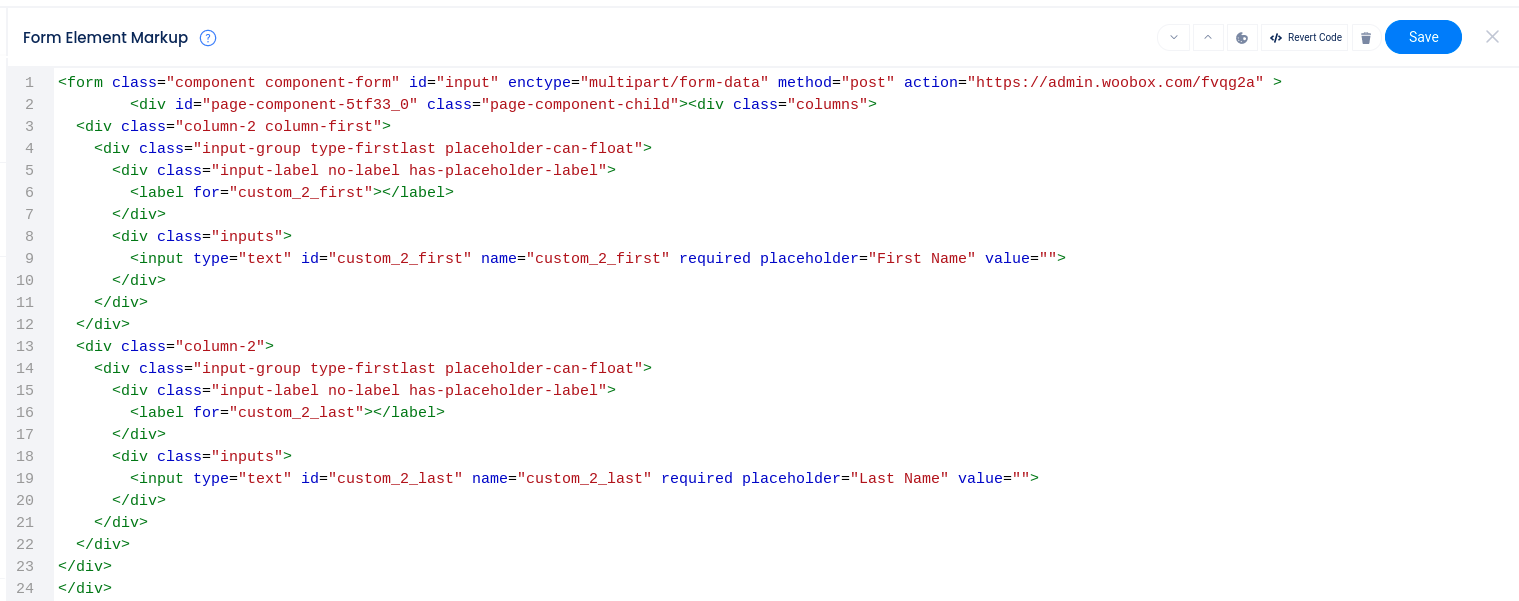
Clicking the “code” icon (</>) with an element selected will allow you to edit the HTML for that element.


Click Revert Code in the upper right corner of the code editor to remove custom coding and revert the element back to default.

On the Advanced plan or higher, you can also add an HTML element to code your own HTML component. However, custom forms must use the Form element.