In the Design section, you will see an “Image” area at the top of the left sidebar menu, even though there is no blank image element in the preview of your entry page.

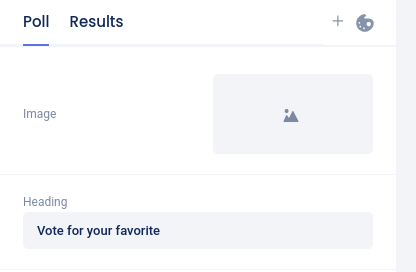
Click anywhere on the Image section to open the slider. Click on the blank image icon in the slider to upload a file. Once you have uploaded an image, the image element will appear on the entry page.


After uploading an image:

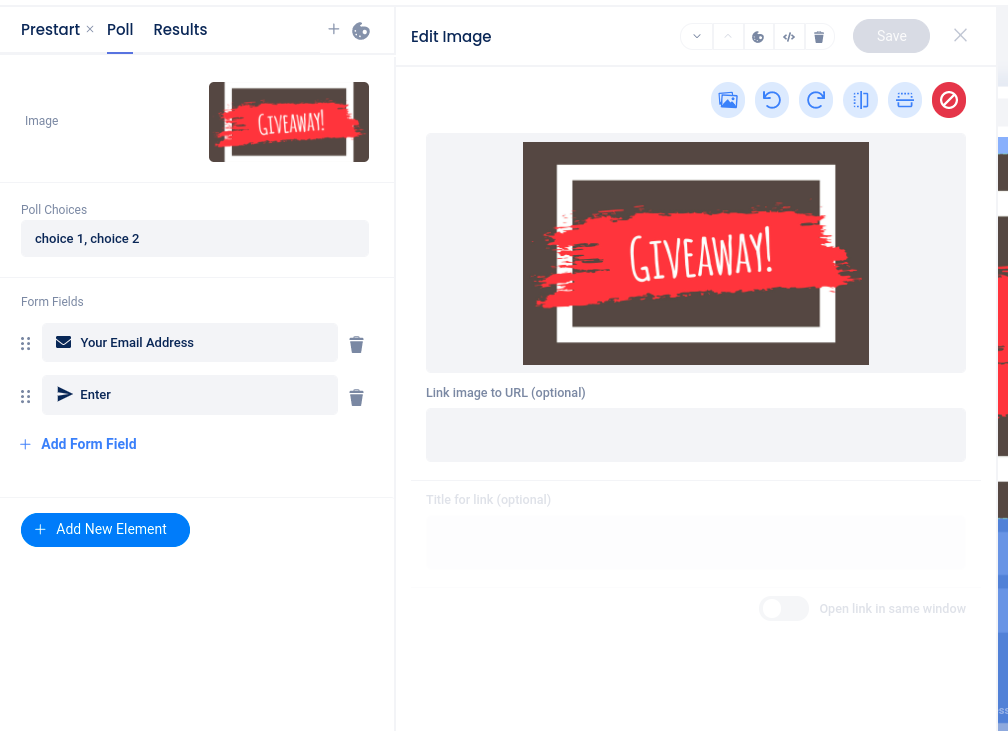
Use the controls above the image to replace, rotate, flip, or delete the image.


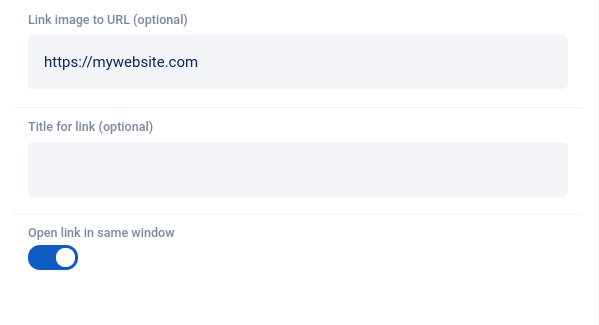
Below the image, you can add a URL to make the image a link, add an optional link title, and choose whether the link will open in the same window or a new one.

At the top of the slider, you can move the element up or down on the page, delete the element, or access custom coding or styles options (depending on your plan level).


To add a new image element to the page you are currently customizing, click the Add New Element button and select Image.

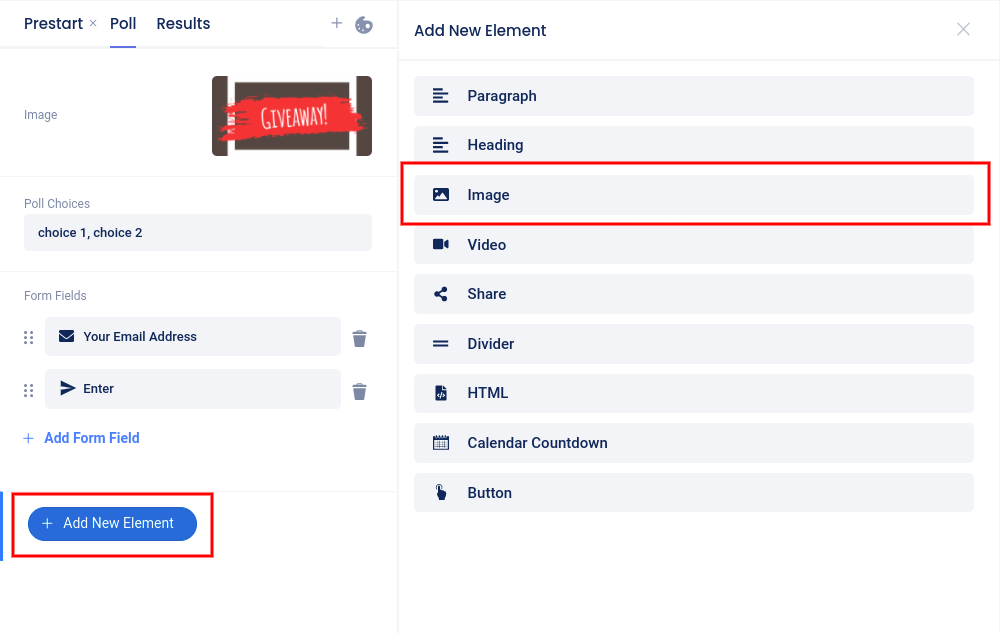
After adding a new image block and uploading an image, the new image element will automatically be placed at the top of the page. Use the up/down arrows at the top of the slider to reposition the element.