Zapier is a service that allows you to integrate one platform, like Woobox, with hundreds of other platforms. It can be used to integrate entry data from your users to a large number of CRMs that aren’t directly supported via our platform.
Getting started with Zapier is easy. Just be sure to follow each step.
Integrating with Zapier
First, you’ll need to log in or sign up for a Zapier account. They have a free option for limited usage, with paid plans available for more traffic and features.
After signing up, click “Make a Zap“.


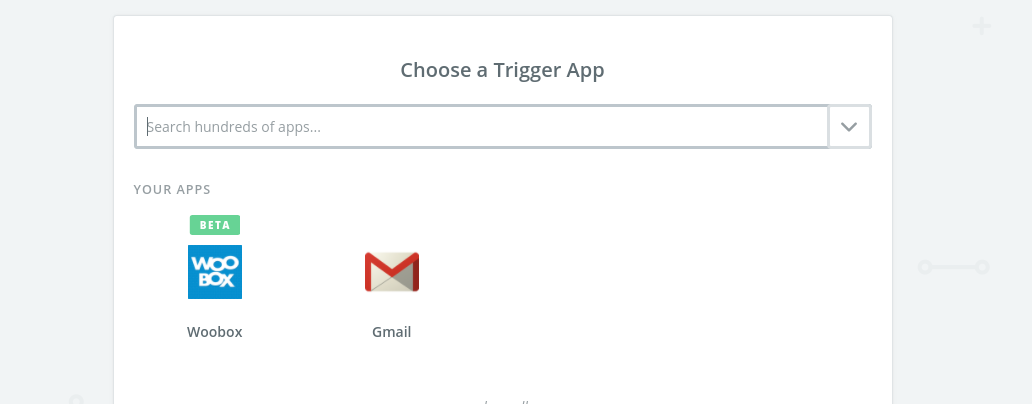
On the Choose a Trigger App screen, search for “Woobox” then select the Woobox icon.

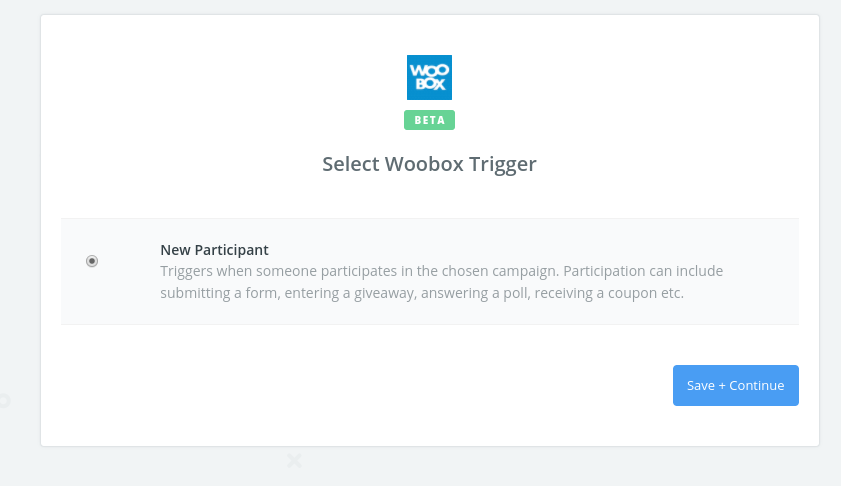
The next screen will ask you to select a trigger. “New Participant” is currently the only available trigger. Click “Save + Continue“.

The next screen will ask you to Select a Woobox Account.


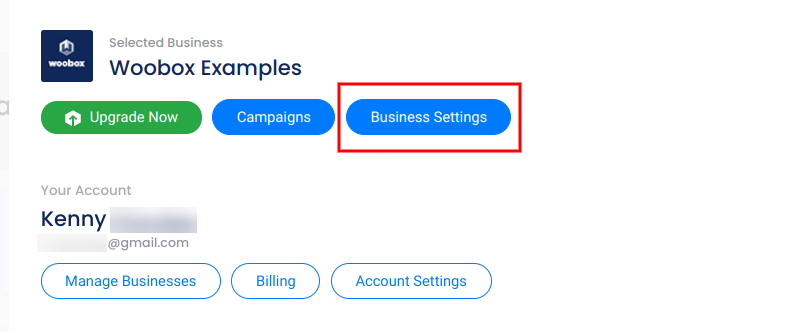
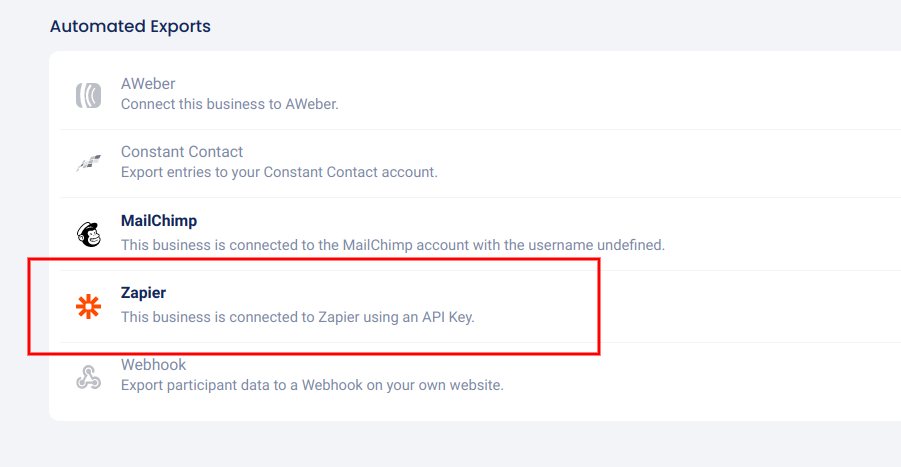
If this is your first time integrating Zapier, go to the Business Settings -> Automated Exports section of your Woobox dashboard and select Zapier. Generate an API Key if you haven’t already, and copy the API Key from this screen.
*Important: API Keys are created on the business level. You will have a unique API Key for each of your Facebook pages or businesses.


API Key:


Now, go back to Zapier and click “Connect an Account“. You will see this popup:
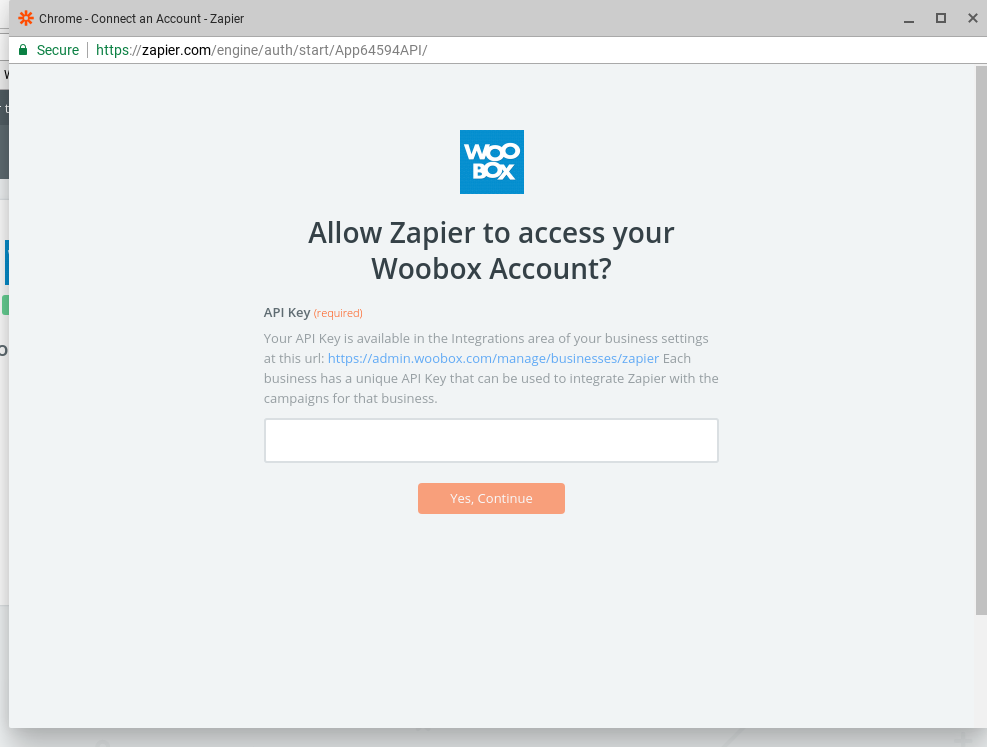

Paste the API Key into the field and click “Yes, continue“.
Once the account appears, click “Save + Continue“.
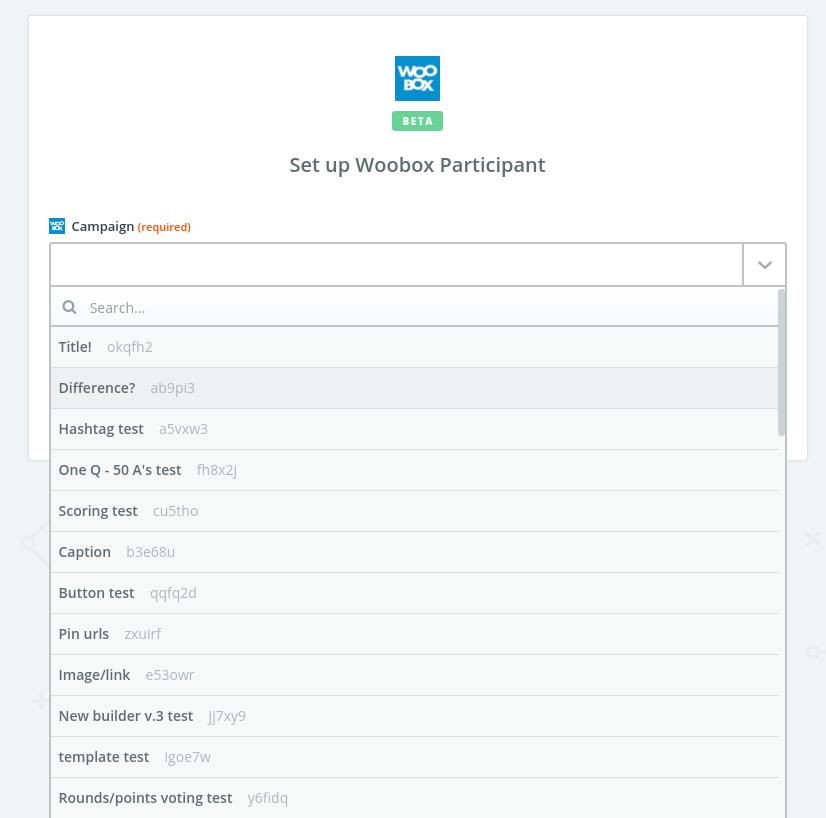
On the Set up Woobox Participant screen, select the campaign you wish to connect from the drop-down menu, then click “Continue“.

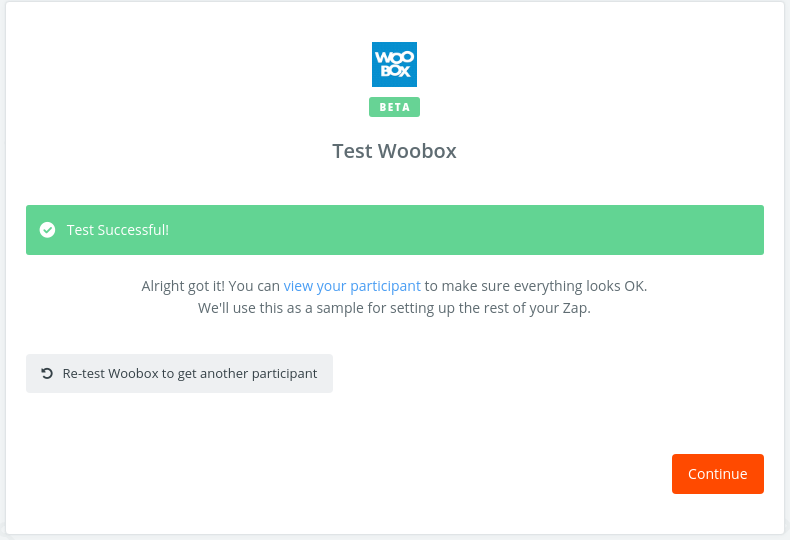
On the Test Woobox screen, you can test the connection. Be sure that you have submitted at least one test entry, then click “Fetch & Continue“.
Zapier should say “Test Successful!”. Click “Continue“.

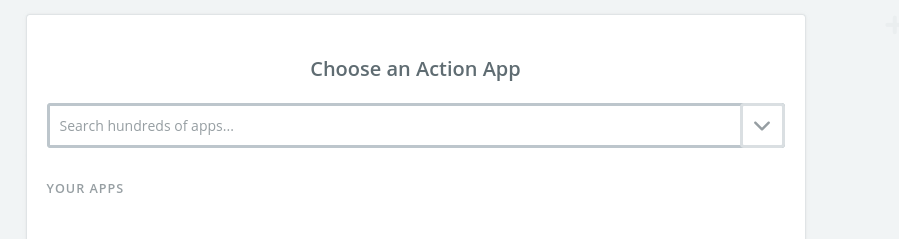
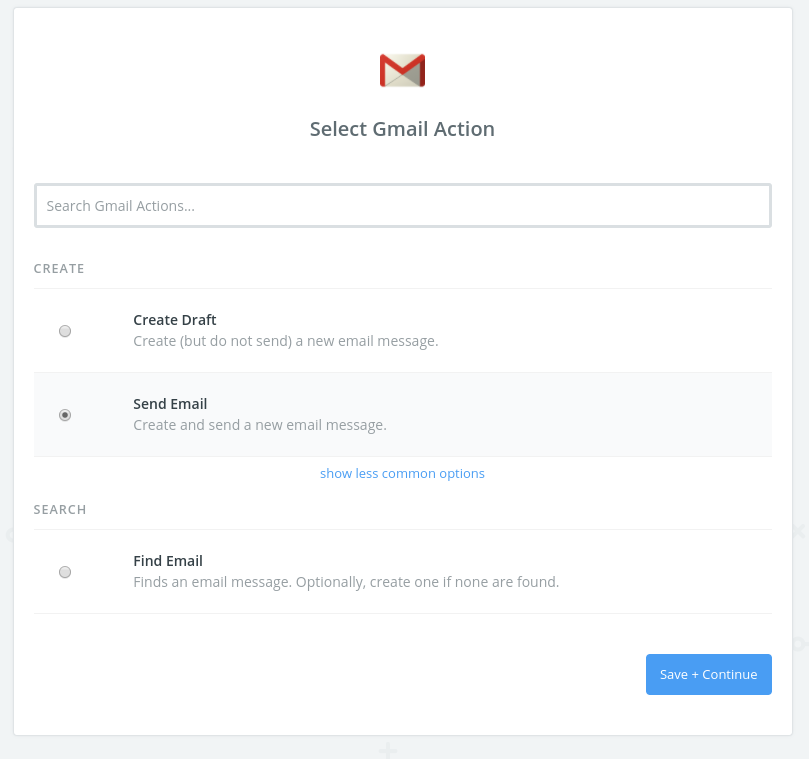
On the next screen, you will Choose an Action App. For this example, we’ll use Gmail.

Then you’ll Select an Action and click “Save + Continue“.

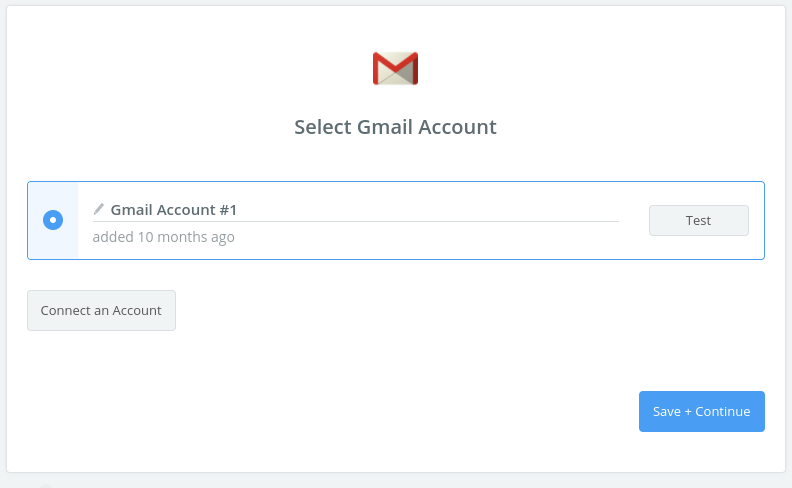
On the next screen, you will be asked to select or connect an account, then click “Save + Continue“.

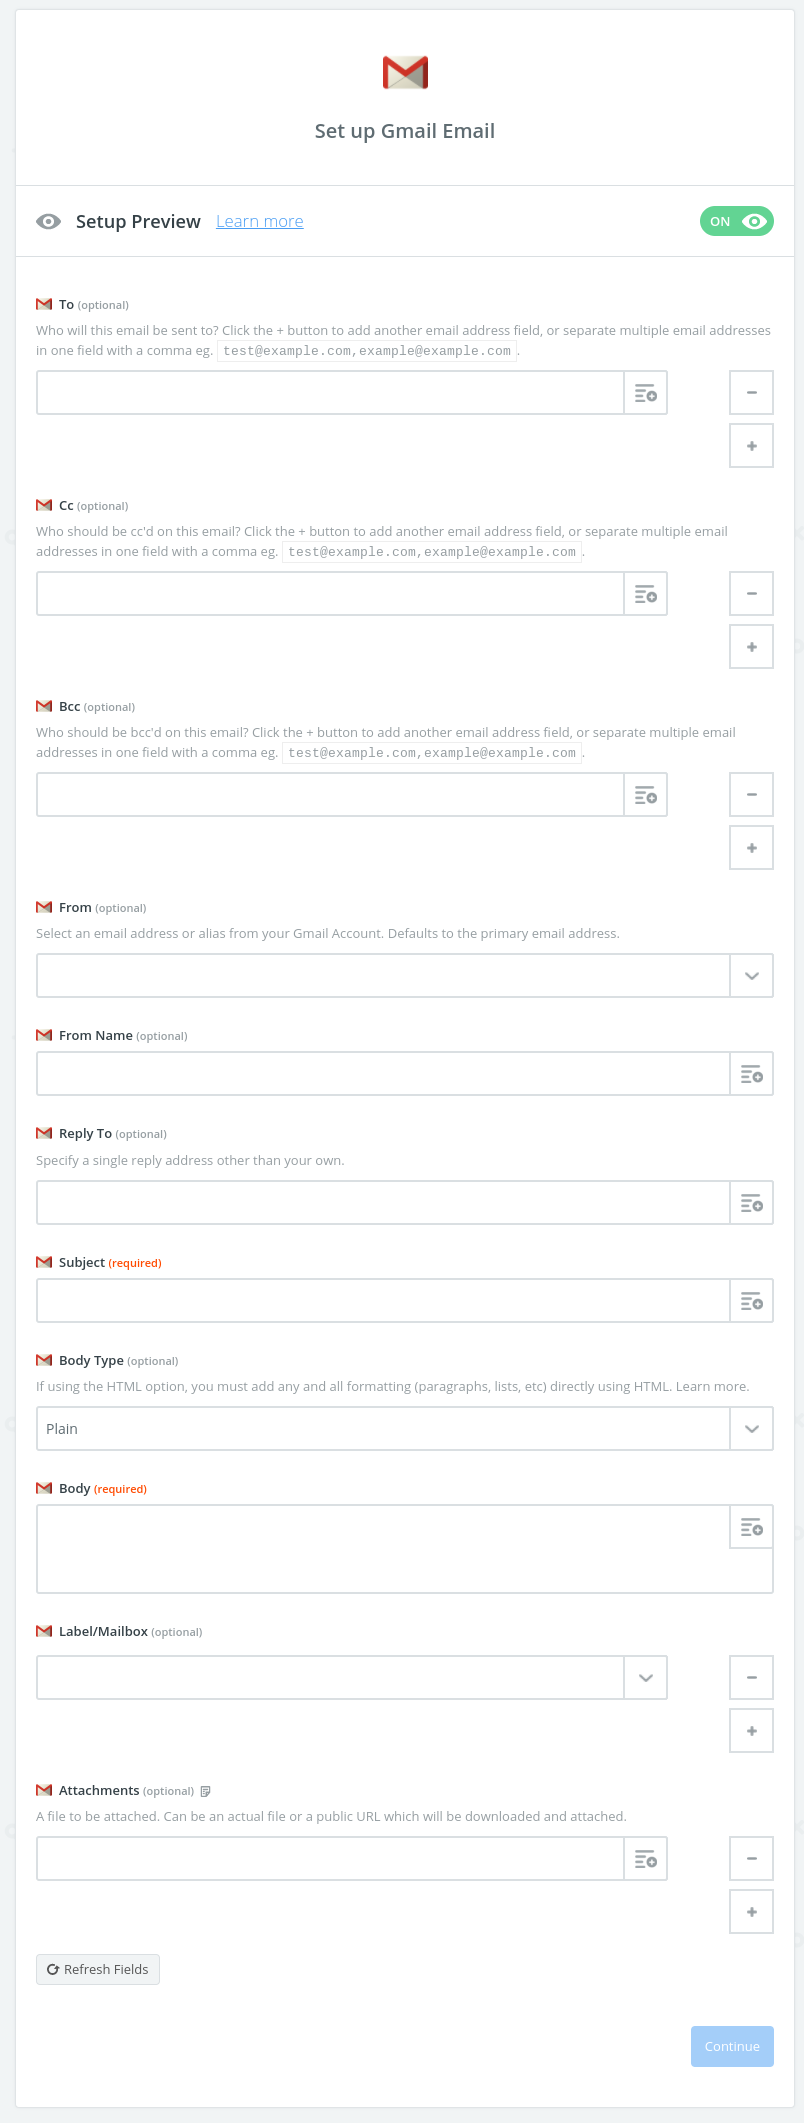
The next screen may vary based on the action app and action you’ve chosen. For Gmail, we’ll setup an email, then click “Continue“.

On the next screen, you’ll have an opportunity to send a test or skip the test.
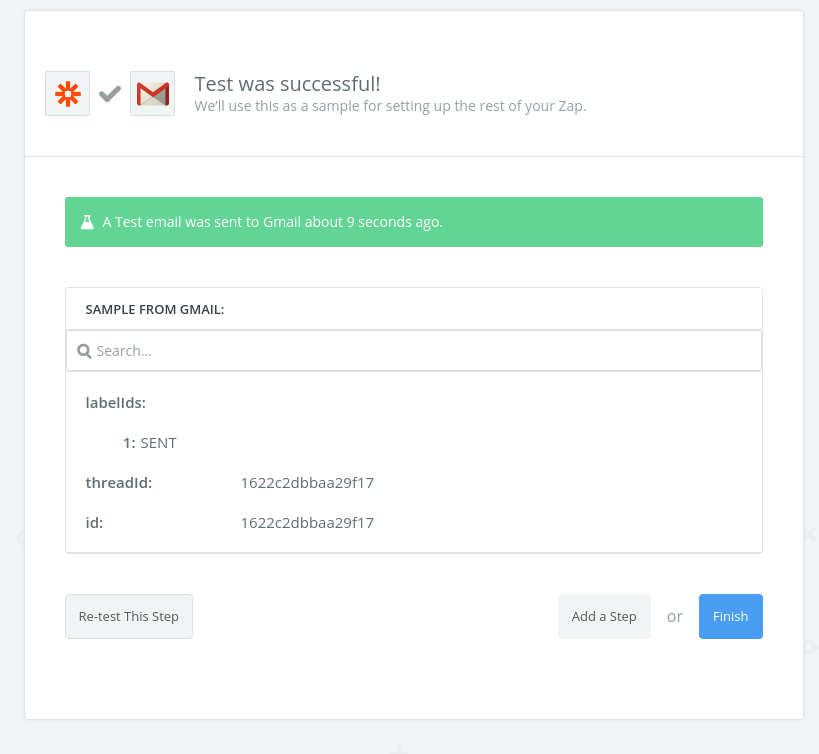

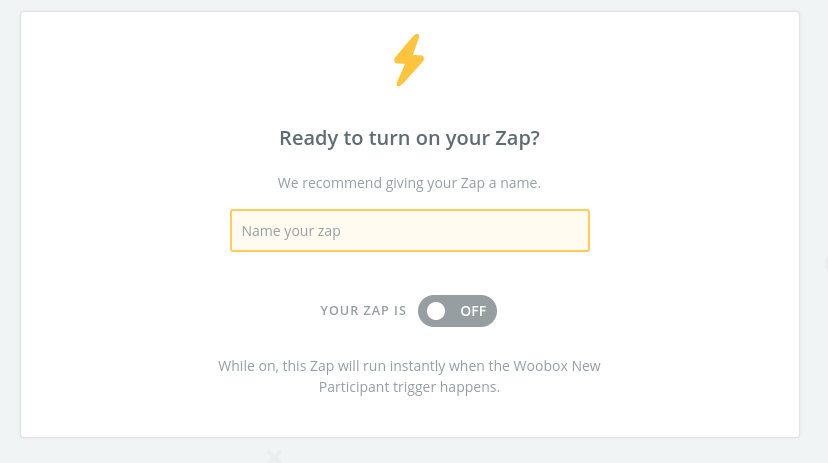
Now you can add another step, or click “Finish” to complete the Zap setup. After clicking “Finish” you’ll be asked to name your Zap and turn it on.
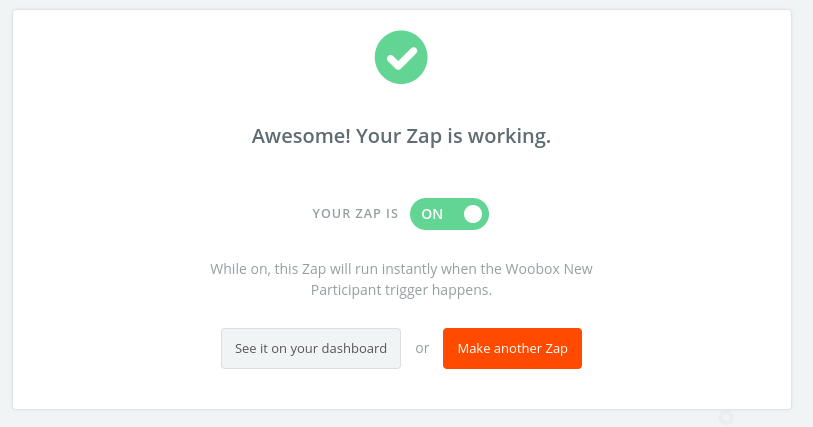


Your Zap is now setup! You can submit a test entry into your campaign to double-check that the export is working.
Our Zapier integration opens up hundreds of opportunities to integrate with new platforms. What will you choose?
Troubleshooting your Zapier integration
1. First, go to the Settings -> Automatic Exports section of the campaign. From there you will want to make sure the Zapier section is turned on and all of the needed fields are mapped over. Note: Email and Name will be done automatically.
2. Testing: The best way to test your Zapier integration is to actually submit an entry into your contest. By submitting a test entry this will send your information over to Zapier and would be the first step in figuring out if there is an issue.
3. Once the test is placed, you will want to give it about 5-10 minutes and then access your Settings -> Automatic Exports section. If the data was sent, the number next to the list name will increase.
4. If data is not being sent, you will want to go to your Zap in Zapier and take a look at your “Task History”. From here, Zapier will give you a clear indication of what specifically that issue is. If you are not sure what this error reads please send us an email at Support@woobox.com with a screenshot of this log and we will be able to explain and offer a resolution.
5. If you have fully set up the Zapier integration and it is giving you an error, request a new API key and try again. Sometimes those keys can expire and a new one will fix any issues.
Note: A common mistake is not mapping the fields correctly to take the information from the promotion to the service being used. This is done from the Zap set up and the Settings -> Automatic Exports panel in the campaign.